

Breast Augmentation Before and After Pregnancy Guide
Compare breast augmentation before and after pregnancy with expert guidance on timing, breastfeeding safety, implant choices, and realistic results.
Jul 28, 2026

If you plan to have children soon, waiting may reduce the chance of early revision; if your family is complete, having augmentation after pregnancy usually gives a more stable long‑term result. This choice shapes incision, placement, implant selection, breastfeeding outcomes, and revision likelihood.
Choosing whether to have breast augmentation before or after pregnancy is the single most consequential planning decision you will make for this surgery. It affects surgical technique, recovery logistics, and the probability you’ll need another operation later.

For those planning their family, it's crucial to understand key factors to consider before pregnancy; you can also browse vaginal health before conception for broader preconception guidance.
Here's a side‑by‑side snapshot of how each path differs on the issues that matter most to patients planning around family.
| Factor | Before Pregnancy | After Pregnancy |
|---|---|---|
| Timing | Schedule around uncertain future family plans; may need revision later | Plan once family is complete and tissue has stabilized |
| Recovery | Standard recovery without infant care responsibilities | Recovery must be coordinated with infant or toddler care |
| Breastfeeding | Incision and placement choices can preserve ductal tissue | Breastfeeding usually completed; ductal impact is moot |
| Likely Revision Needs | Higher chance of revision after one or more pregnancies | Single procedure more likely to remain stable long term |
The table above captures the core tradeoffs, but real decisions depend on your specific situation. Let's break down what these differences look like in practice.
Younger patients who want augmentation now but may have children soon should weigh the higher likelihood of a later revision against immediate quality‑of‑life benefits.
Mothers who delay surgery until after pregnancy typically need a focused plan to address tissue deflation and sagging, and often benefit from augmentation combined with a lift.
"Timing determines technique: the same implant placed before pregnancy can look very different after the tissue changes that follow childbirth and lactation."
Short practical examples make the tradeoffs real. For example, a 28‑year‑old wanting fuller contours before children may accept a 20–40% chance of a revision down the road, while a 36‑year‑old finished with children often prefers a single definitive procedure.
Next steps with Dr. Marc Fater at Cape Cod Plastic Surgery in Hyannis include a focused consultation to map your family timeline, evaluate skin quality, and choose incision and pocket strategies that align with your breastfeeding goals and revision tolerance.
Pregnancy sets off a hormonal cascade—estrogen, progesterone, and prolactin—that enlarges glandular tissue and ramps up blood flow to the breast. During the second and third trimesters, ducts and lobules multiply to prepare for lactation, which is why many women notice their breasts looking fuller and feeling firmer late in pregnancy.
After delivery, the engorgement phase hits fast and hard as milk comes in. That sudden volume surge can stretch the skin envelope quickly, and it doesn't always snap back once milk production settles. For someone with implants placed before pregnancy, this creates a tricky situation: the implant stays the same size while the tissue around it expands and then contracts.
Weaning kicks off involution, where glandular tissue shrinks and the skin and connective support loosen. Upper-pole fullness often drops, and ptosis can become more noticeable. Here's something that surprises many patients: breastfeeding itself isn't the primary culprit behind long-term sagging. Research and clinical experience point to the number of pregnancies, genetics, weight swings, and baseline skin quality as the real drivers of tissue laxity. That distinction matters because skipping breastfeeding won't necessarily preserve your pre-pregnancy shape.
"An implant doesn't change size with pregnancy—the tissue around it does. A great pre-baby result can look quite different after childbirth and involution."
A few practical comparisons help clarify what to expect:
Implants are inert—they don't respond to hormonal signals. But the skin, gland, and Cooper's ligaments do, which alters implant projection, nipple position, and upper-pole fullness after pregnancy. Upper-pole loss after weaning, for instance, can make implants sit lower or create a double contour that some patients later address with a lift.
The practical takeaway for planning: weigh your skin elasticity, family timeline, and tolerance for potential future surgery when choosing timing and technique. These factors determine whether you're prioritizing immediate enhancement or long-term stability.
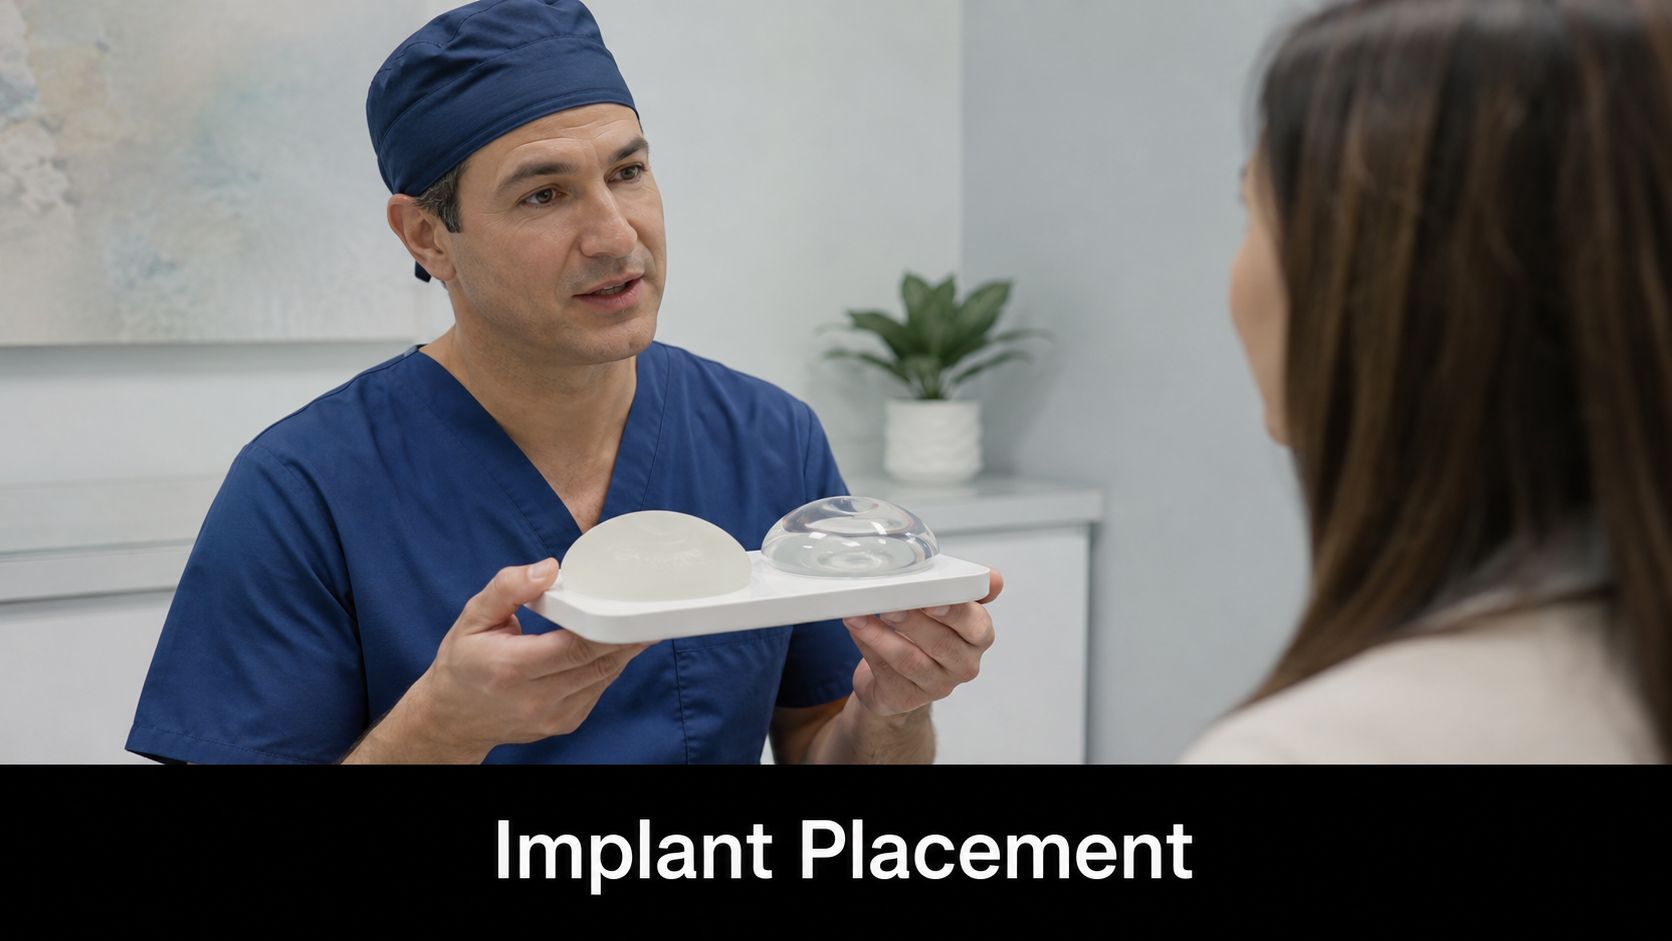
Picking the right implant type and pocket placement is a highly technical choice, but it carries massive weight for both breastfeeding and how your breasts look years down the road. Saline and silicone differ mostly in how they feel, how ruptures show up, and shell traits. Since both materials are inert and unaffected by hormones, the pocket position and incision site actually dictate your future lactation success far more than the gel type does.
Key Insight: Breastfeeding success varies wildly depending on pocket placement. Studies show an 82% success rate with retromuscular pockets compared to just 17% with retroglandular pockets. That is a massive clinical gap you should factor into your planning.
A focused look at how incision location and pocket position affect breastfeeding success, scarring, and long-term results.
| Option | Breastfeeding Impact | Best For |
|---|---|---|
| Retromuscular (under muscle) | Preserves ducts and nerves; higher breastfeeding success | Patients planning future breastfeeding who want lower revision risk |
| Retroglandular (over muscle) | Greater risk to ducts and nerves; lower breastfeeding success | Patients prioritizing upper pole fullness immediately, often older or finished with childbearing |
| Subfascial (partial muscle cover) | Intermediate effect on ducts; variable outcomes | Select cases balancing aesthetics and function |
Real-world scenarios make these tradeoffs easier to digest. A 30-year-old planning a pregnancy in a few years will likely lean toward retromuscular placement to protect her odds of breastfeeding and minimize contour shifts later. On the other hand, a patient done having children who wants maximum upper pole projection might opt for retroglandular placement, accepting the lower breastfeeding odds.
Where the surgeon cuts matters just as much as where the implant sits.
"If breastfeeding is a priority, prioritize pocket position and inframammary incisions during your consultation."
For a deeper dive into material choices, read our guide on Silicone Versus Saline Breast Implants to decide which option best fits your aesthetic goals and family plans.

When you're six months out from augmentation, the results usually look pretty settled. Implants have found their resting place, incisions have healed, and that initial swelling is long gone. You're seeing the real shape—smoother contour, better upper-pole fullness, the whole picture. But here's the thing many patients don't fully appreciate at that stage: pregnancy doesn't care about your implants. The volume stays the same, but the skin and tissue around it can stretch, shift, and change in ways that alter the final look.
That doesn't mean getting augmentation before kids is a bad idea. It just means going in with clear eyes about what might happen down the road.
For women who get pregnant after those early results, the story can change. Skin stretches, nipples shift position, and sometimes new sagging appears or implant edges become visible that weren't before. A result you loved at six months might look different two kids later. That's not a complication—it's just biology doing its thing.
"Both paths can produce excellent outcomes when timing and technique match the patient's life stage and goals."
At Cape Cod Plastic Surgery, post-pregnancy consultations tend to follow a familiar pattern. Most women are dealing with some combination of volume loss and sagging—sometimes both, sometimes one more than the other. That's why the conversation often turns to combining augmentation with a mastopexy, rather than implants alone.
Surgeons here are careful about timing. Operating too soon after weaning means tissue is still shifting, which makes results harder to predict. The general recommendation is waiting at least six months after you've completely stopped breastfeeding, and often closer to 9–12 months for everything to settle.
This table gives you a practical sense of what might shift after pregnancy and how those changes are typically addressed.
| Change | Likelihood | Typical Solution |
|---|---|---|
| Descent / Ptosis | High after pregnancy | Augmentation with mastopexy |
| Skin Stretch | Moderate to high | Smaller implant or skin excision |
| Asymmetry Development | Moderate | Revision with pocket adjustment |
| Implant Malposition | Low | Pocket revision or capsulectomy |
The takeaway? Pregnancy-related changes are common, but they're also well-understood and treatable. Knowing what to expect helps you plan smarter.
If you're thinking about having kids within the next few years, understand that your augmentation might not be your last breast surgery. Depending on your skin quality and how many pregnancies you have, there's roughly a 20–40% chance you'll want a revision later to address sagging or asymmetry. That's not a reason to wait—it's just a reason to plan with that possibility in mind.
On the other hand, if your family is complete, waiting until after pregnancy often means one comprehensive procedure instead of two. You're correcting both the deflation and the sag at the same time, which can give you a more durable result.
Realistic expectations come down to three things: honest assessment of your skin elasticity, clarity about your family plans, and willingness to accept that a staged approach might be the smarter path. When the surgical plan lines up with where you actually are in life—not where you wish you were—both before-pregnancy and after-pregnancy augmentation can give you results that hold up well over time.
A patient at this stage is often balancing an immediate desire for change with the understanding that a future pregnancy could alter the result. The goal is to enhance her now while keeping the door open for breastfeeding and minimizing the need for a major revision later on.
The surgical plan typically centers on preserving function. That means recommending an inframammary incision and a retromuscular pocket to protect the milk ducts and nerves as much as possible. Implant selection leans toward a moderate profile, sized conservatively relative to her existing skin envelope. This helps avoid excessive stretch during a future pregnancy. A breast lift is usually off the table unless there's already significant sagging.
This approach requires a staged mindset. If the emotional and aesthetic benefits of augmentation today outweigh the possibility of needing a mastopexy down the road, moving forward makes sense. It also means meticulously documenting baseline photos and measurements. That record becomes invaluable if a revision is ever needed.
For patients planning a pregnancy in the near future, protecting function through careful incision and placement choices should take priority over maximizing immediate projection.
Anatomy And Timeline Considerations
This patient usually comes in dealing with deflation and some degree of sagging. The priority shifts to restoring a full, lifted shape, ideally in a single operation. Combining augmentation with a mastopexy is the standard recommendation when tissue laxity is moderate to severe.
The implant choice often moves to a larger‑profile silicone, placed retromuscularly for a natural look and feel, since breastfeeding is no longer a concern. The incision pattern depends entirely on how much lift is needed. A periareolar approach works for mild cases, while a vertical or anchor pattern is necessary for more significant correction.
Sometimes, staging the procedures is the smarter call. If skin quality is borderline, doing the lift first and adding the implant later (or vice versa) can reduce tension on the incisions and lead to better scar quality over time.
Practical Implementation Tips
Revision cases are a different ballgame. The surgeon is working with altered anatomy, scar tissue, and a prior pocket that may no longer be ideal. A tailored plan starts with a detailed physical exam and, whenever possible, a review of the previous operative reports.
Common recommendations include a capsulectomy or pocket revision, often moving the implant to a retromuscular position if it was previously placed retroglandular. A mastopexy is frequently added to correct nipple position and remove excess skin. The implant type often shifts to silicone to achieve a more natural feel and smooth out any contour irregularities.
Revision Strategy And Risk Management
You might be interested in reading more about combined procedures in our guide on Mommy Makeover Procedures A Complete Overview Read also: Mommy Makeover Procedures a Complete Overview
Start your visit with a clear idea of your goals. Dr. Fater needs to understand your family timeline and anatomy to match the right technique to your life. Bring recent photos showing your breasts from multiple angles, along with notes on any past surgeries or implants.
Ask targeted questions about incision choice and how it impacts breastfeeding. For instance, you might ask if an inframammary incision is recommended to minimize duct disruption. Bring up pocket placement and milk production directly. Ask whether a retromuscular pocket is feasible for your anatomy, and how that specific choice alters breastfeeding odds and long-term contour.
Make sure to confirm how implant size relates to future pregnancies. Larger volumes naturally increase the risk of skin stretching, so ask for recommended size ranges based on your skin elasticity and family plans. Also, request the practice's policy on waiting after weaning before undergoing surgery. Cape Cod Plastic Surgery generally advises waiting until the tissue stabilizes—typically 6–12 months after you have completely weaned. Ask how they assess this stabilization during your exam.
Clarify the revision policy in case pregnancy alters your results. Find out what triggers a revision consult, what typical fees look like, and whether staged approaches are included in follow-up plans. Prepare a concise medical history focusing on pregnancies, lactation duration, weight fluctuations, and any breastfeeding complications. This information directly helps plan your incision and pocket choices.
Get familiar with what to expect inside the AAAASF-accredited on-site surgical suite in Hyannis. Inquire about anesthesia options, same-day discharge protocols, and the perioperative nursing care model. Request a walk-through of the personalized planning process, covering everything from measurements and implant sizers to scar-placement mockups and the expected timeline to surgery.
"A focused checklist keeps the consultation efficient and ensures your breastfeeding goals and revision tolerance shape the surgical plan."
For more practical tips and checklists, take a look at our preop prep guide. You can also learn more about preparing for breast augmentation in our article How To Prepare For Breast Augmentation.
Call Cape Cod Plastic Surgery to schedule your personalized consultation with Dr. Marc Fater.
Do implants make breastfeeding impossible?
The short answer is no—having implants doesn't automatically mean you can't breastfill. The material itself, whether saline or silicone, doesn't block milk production. The real variables are surgical ones. Retromuscular placement tends to preserve ducts and nerves more effectively, and an inframammary incision is less likely to interfere with lactation. So when you're planning, the incision site and pocket placement become central to protecting your breastfeeding odds.
How long should I wait after weaning before surgery?
Give your tissue time to settle. Most surgeons recommend waiting 6–12 months after you've completely weaned. This window allows glandular involution to finish and skin to retract, which leads to more predictable sizing and scar results. At Cape Cod Plastic Surgery, the team often leans toward the 9–12 month mark when possible, simply because it offers a more stable foundation to work from.
Can pregnancy rupture an implant?
Pregnancy itself doesn't raise the risk of rupture beyond normal wear and tear. Rupture rates remain low overall. That said, significant weight fluctuations or any chest trauma during pregnancy could affect implant integrity over the long term. Routine monitoring through clinical exams and imaging is a sensible precaution.
What does a typical revision look like years later?
Revisions usually focus on ptosis, implant position, or asymmetry. The process often involves:
Operating time is typically longer than a primary augmentation, and the goal is usually a targeted restoration of symmetry rather than a wholesale replacement.
When should I choose augmentation before pregnancy versus after pregnancy?
The decision comes down to your priorities and tolerance for future procedures. Opt for before pregnancy if immediate quality-of-life improvements matter more to you than the possibility of a later revision, and if you're comfortable with conservative sizing and protective placement. Choose after pregnancy if you prefer a single, stable procedure that works with tissue that has already settled into its post-breastfeeding state.
As you think through post-pregnancy recovery, understanding supports like what a maternity nurse does can be invaluable for planning your timing and care.
For personalized guidance and to map timing against your family plans, schedule a consultation with Cape Cod Plastic Surgery at https://ccplasticsurgery.com
Compare breast augmentation before and after pregnancy with expert guidance on timing, breastfeeding safety, implant choices, and realistic results.
July 27, 2026
Learn evidence-based capsular contracture prevention strategies, from surgical technique and implant choice to aftercare and early warning signs.
July 26, 2026
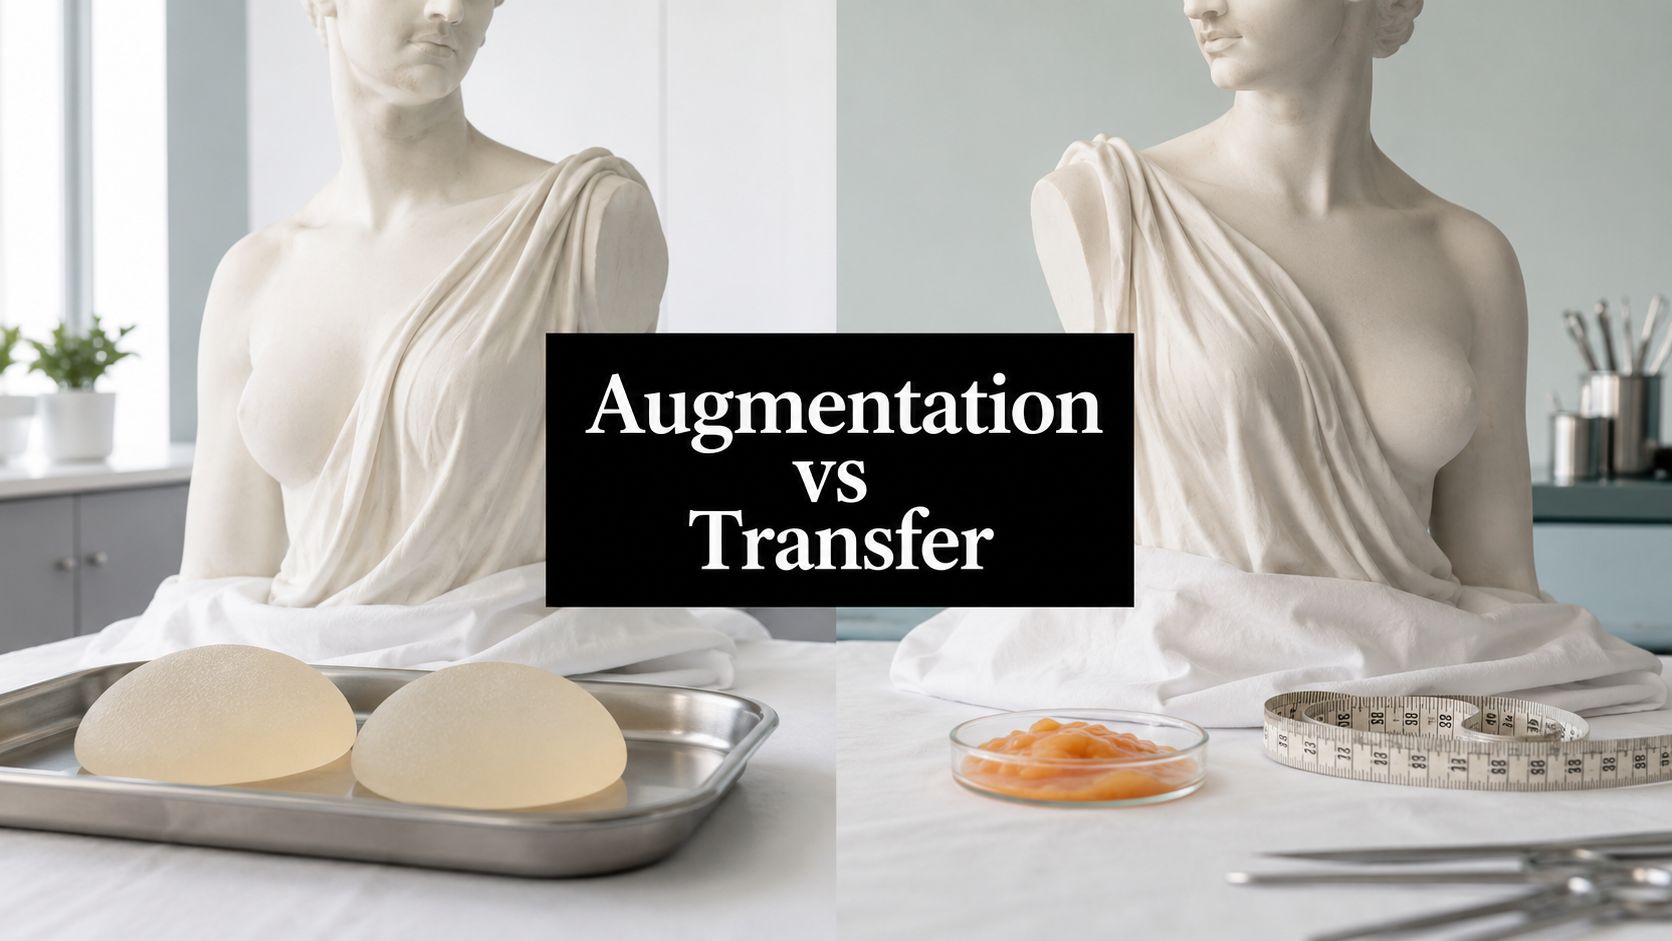
Breast augmentation vs fat transfer explained honestly. Compare results, recovery, cost, candidacy, and mammogram impact to choose with confidence.

Cape Cod Plastic Surgery offers expert cosmetic and reconstructive procedures in a safe, accredited setting. Led by Dr. Marc Fater, we combine advanced techniques with personalized care to help you look and feel your best.
Monday: 9:00 AM – 5:00 PM
Tuesday: 9:00 AM – 5:00 PM
Wednesday: 9:00 AM – 5:00 PM
Thursday: 9:00 AM – 5:00 PM
Friday: 9:00 AM – 5:00 PM