
Choosing Cape Cod Plastic Surgeons: Your Guide for 2026
Find the best Cape Cod plastic surgeons in 2026. Learn to verify credentials, evaluate results, and ask key questions for a safe, informed choice.
Sep 18, 2025

The first few days after a laser skin resurfacing treatment are absolutely critical for getting the amazing results you’re after. You can generally expect some initial redness and swelling that hangs around for 3-7 days, which is then followed by a peeling phase as your fresh, new skin comes to the surface. The total downtime really boils down to the type and intensity of the laser treatment you and your practitioner decided on.
The idea of "laser recovery" can sound a little daunting, but knowing what’s coming can make all the difference, replacing any anxiety with confidence. Think of this as your personal roadmap. I'll walk you through what your skin will experience, from the intensive care of those first few days to the moment you see a smoother, more vibrant complexion looking back at you in the mirror.
The most important thing is to set realistic expectations. Your healing journey will look very different depending on whether you had an ablative or a non-ablative procedure. Each one has its own timeline for healing and when you'll start to see those final results take shape.
Let's break down the two main paths. Ablative lasers, like CO2 and Erbium, are the heavy hitters. They work by removing the entire outer layer of skin, so they naturally require a more involved healing period. You should plan for significant redness, swelling, and peeling that makes dedicated downtime a necessity. Most patients need 7 to 14 days before their skin is healed enough to be considered "socially presentable."
On the other hand, non-ablative lasers, like Fraxel or Clear + Brilliant, work their magic underneath the skin's surface without disrupting the top layer. This means the recovery is far milder and quicker. Most people just look like they have a moderate sunburn for a few days, maybe with some light flaking. You can often jump right back into your normal routine.
I often tell my patients to think of it like this: Ablative recovery is a full-scale home renovation—you really need to stay out of the house while the work is being done. Non-ablative is more like redecorating a room; you can still live your life while the improvements happen behind the scenes.
To give you a clearer picture, here’s a side-by-side look at what to expect from each type of treatment.
As you can see, the intensity of the initial phase is the biggest differentiator, directly impacting how much downtime you’ll need to schedule.
The good news is that the recovery experience isn't what it used to be. Huge strides in fractional and hybrid laser technologies have made the whole process much more manageable for patients.
For instance, a recent clinical study highlighted that multiple treatments at a lower setting led to an average downtime of about 4.3 days, a big improvement over the 7.3 days associated with a single, high-intensity session. You can dig deeper into these modern approaches in this report on post-laser treatment trends.
Knowing which of the various laser treatments you’re getting is the first step toward a seamless recovery. It allows you to prepare your schedule, your home, and your mindset, so you can just focus on healing and enjoying the beautiful skin you've invested in.
The first three days after your laser treatment are, without a doubt, the most intense part of the entire healing process. What you do during this 72-hour window truly sets the stage for your final results, so it's all about following the plan. Proper care here is your best defense against infection, helps manage discomfort, and gives your skin the support it needs to heal beautifully.
Expect your skin to look and feel like you have a major sunburn. It will be very red, feel tight, and swelling is completely normal—especially when you first wake up. Forget everything you know about treating a typical burn; this isn't the time for home remedies or guesswork. Sticking to a specific, dermatologist-approved routine is non-negotiable for a smooth recovery.
Keeping the treated area clean is your number one job. This prevents bacteria from setting up shop and causing an infection. But your skin is incredibly fragile right now, so your usual face wash is way too harsh. Your doctor will almost always prescribe a specific cleansing method that you'll need to do several times a day.
A common technique that works wonders is the diluted vinegar soak. I know, it sounds a bit strange, but a solution of one teaspoon of white vinegar in two cups of cool water creates a gentle, mildly acidic environment. It’s perfect for disinfecting the skin without stripping it.
Here’s the right way to do it:
This simple soak helps remove the weeping fluid (serous fluid) and other debris that's a normal part of healing. Getting that off is critical for preventing thick crusts from forming and ensures the healing ointment you'll apply next can actually get to the skin.
This visual guide gives you a good idea of what to expect during these initial healing stages.
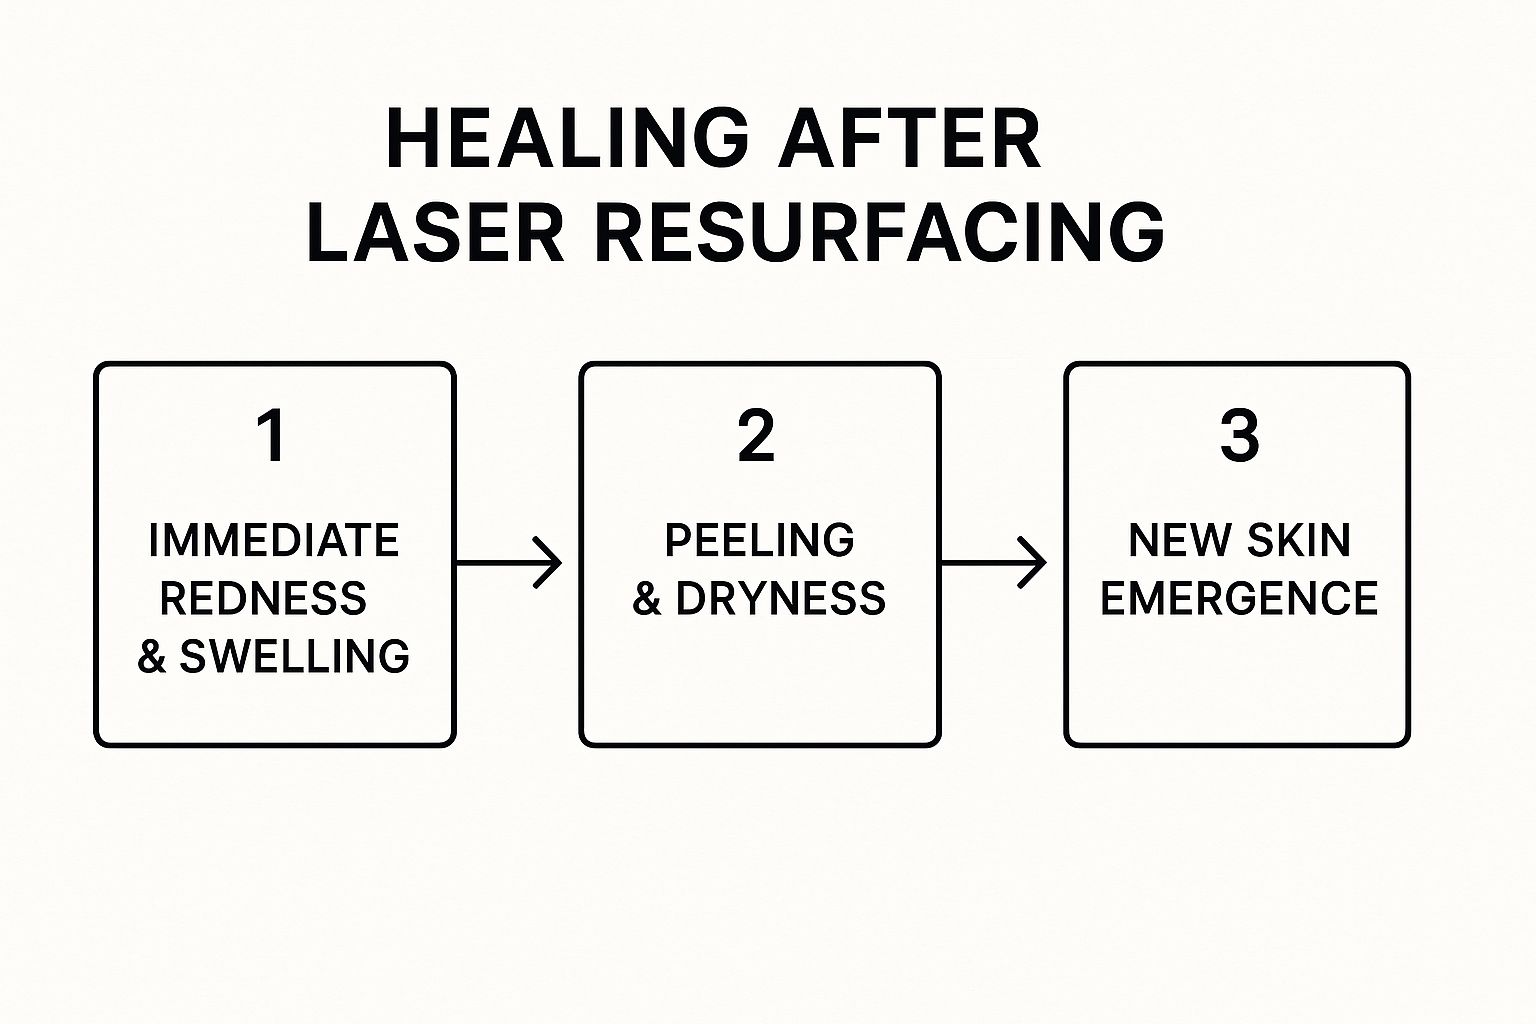
As you can see, the most intense redness and swelling happen right at the beginning. This is followed by a peeling phase, which is a necessary step before your fresh, new skin is revealed.
Immediately after every cleaning, you need to apply a thick layer of a protective healing ointment. Your doctor will likely recommend a specific product or give you something like Aquaphor. This isn't like putting on your daily moisturizer. The goal here is to create a complete barrier that keeps the skin constantly moist.
Think of the ointment as a protective shield. It prevents the new, vulnerable skin from drying out, which is essential for proper healing and helps reduce scabbing and potential scarring. A thin layer simply won’t cut it.
Be generous with the ointment and reapply it throughout the day. The moment your skin starts to feel even a little bit dry or tight, it's time for more. This constant moisture is what allows the new layer of skin to regenerate smoothly underneath.
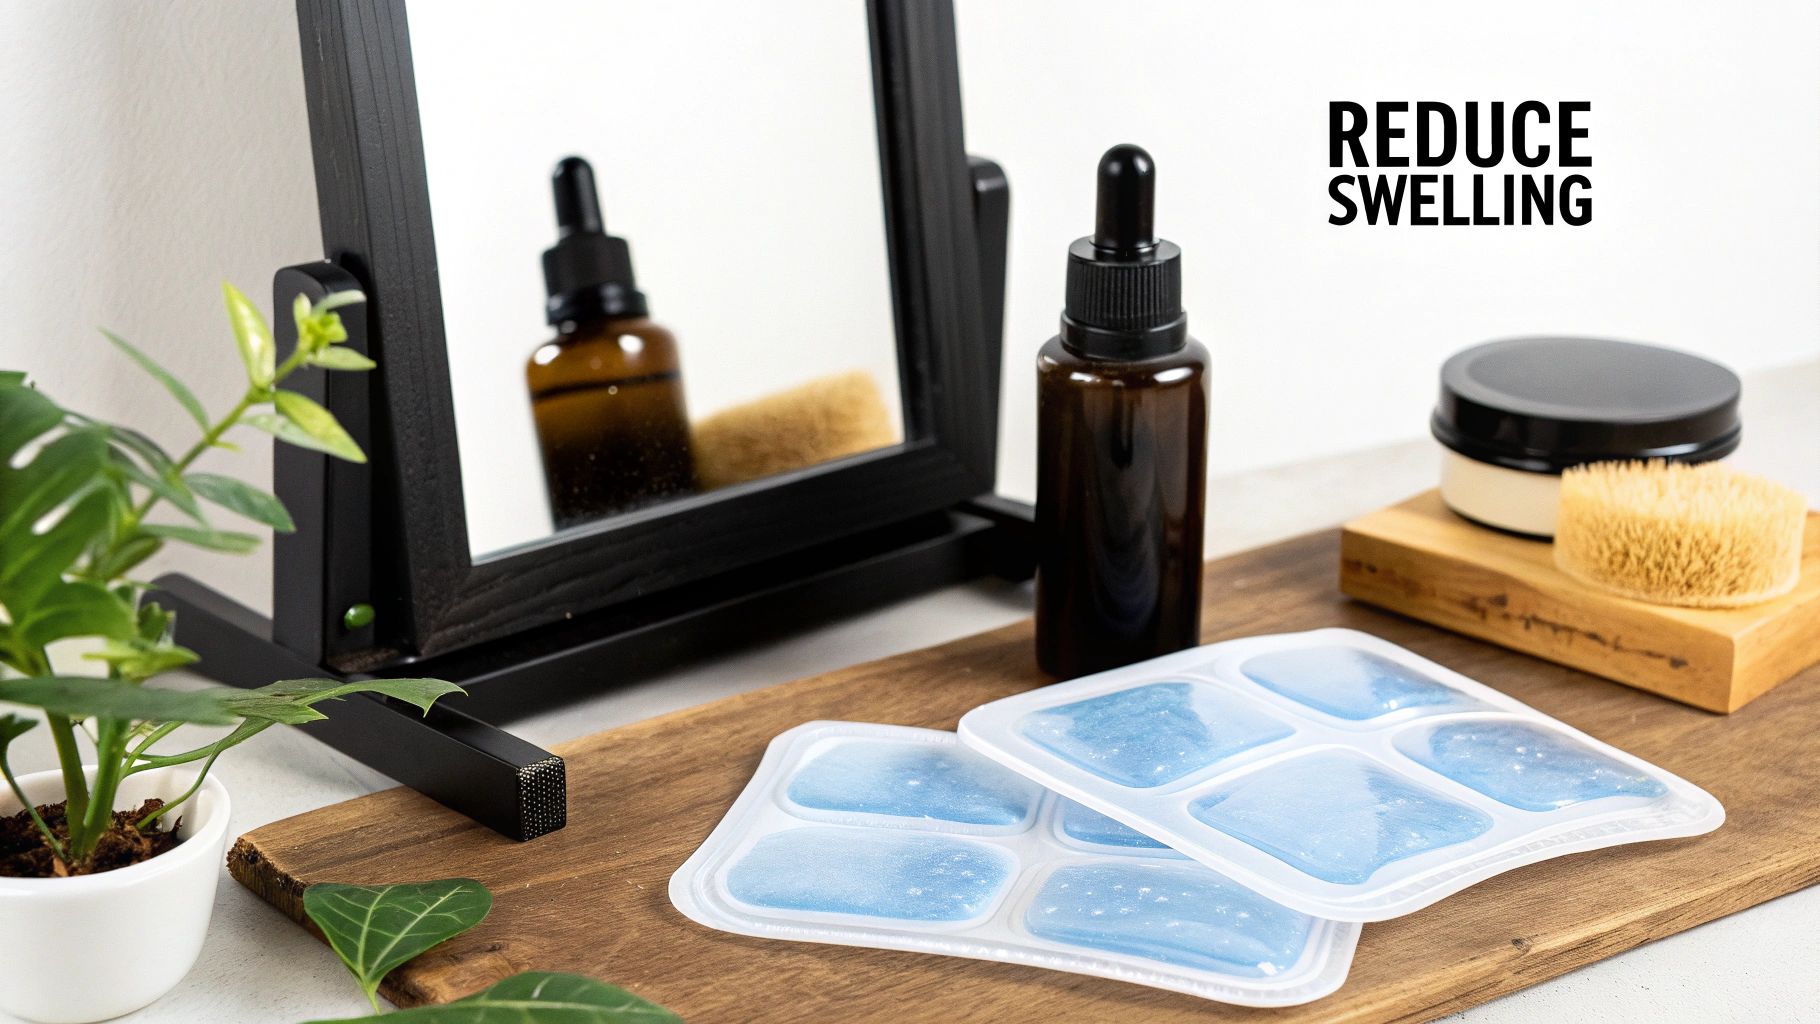
You'll also likely experience swelling and a feeling of heat. You can use cool compresses to get some relief—a soft washcloth dipped in ice water and wrung out works perfectly. Apply it for 15-minute intervals to soothe the skin. Just be sure to never put ice or a frozen pack directly on your face, as the extreme cold can cause more damage.
Beyond the cleansing and moisturizing, a few small adjustments to your daily life during these first 72 hours can make a huge difference in your comfort and recovery.
By diligently following this game plan, you're giving your skin the absolute best environment to heal, setting you up for that beautiful, renewed complexion you're waiting for.
Once you're past that initial 72-hour window, you've officially entered the next phase of recovery. The most intense swelling and redness should start to calm down, but now you'll face a new set of challenges: peeling, flaking, and some serious itching.
This is all a good sign. It means your skin is hard at work shedding the old, damaged layers to reveal the fresh, new skin underneath. Your job is to simply support this process and—most importantly—not get in the way. That means no picking, peeling, or scratching, no matter how tempted you are. Forcing the skin off before it's ready is a fast track to scarring and can undo all the beautiful results you're waiting for.
As your skin changes, your skincare needs to change with it. Those heavy, goopy ointments that were your best friend for the first few days can now take a backseat. Your skin is ready to breathe a little and is craving hydration and support for its healing barrier.
It's time to bring in a gentle, hydrating moisturizer. I always tell my patients to look for formulas loaded with ingredients that will help the skin heal and repair itself.
Slather your new moisturizer on after cleansing, especially when your skin feels tight or looks dry. This switch marks a major milestone—you're moving from pure protection to actively nourishing your brand-new skin.
Let’s be honest: the itching can be the most maddening part of this whole process, usually peaking around days four to seven. It’s actually a sign that your nerve endings are waking back up, but that doesn't make it any less frustrating.
A Quick Tip for Itch Relief
Whatever you do, don't scratch. Instead, try pressing a cool, clean compress against the itchy spot for a few minutes. Another trick I love is keeping a thermal water spray in the fridge. A quick mist over your face provides instant, cooling relief that can be a real lifesaver.
The flaking will happen on its own timeline. Just let the tiny pieces of skin shed naturally when you gently wash your face. This is all the "exfoliation" your delicate skin needs right now.
The intensity of this stage often links back to the type of laser treatment you had. We've seen in clinical studies that the laser's settings have a massive impact on recovery. For instance, data shows that having multiple sessions with lower-energy settings can mean an average downtime of just 4.3 days. That's a big difference from the 7.3 days often seen after a single, high-intensity treatment. You can read more about these treatment approaches and recovery findings.
Around the one-week mark (or whenever your provider gives you the okay), it’s time to reintroduce the single most critical product for your skin's future: sunscreen. Your new skin is incredibly fragile and susceptible to UV damage. Even just a few minutes of sun exposure—like sitting by a window—can cause hyperpigmentation and reverse the benefits of your treatment.
A broad-spectrum, mineral-based sunscreen with an SPF of 30 or higher is non-negotiable from this point forward. Every single day.
Sunscreen Best Practices
Think of this daily habit as your insurance policy. It's what will protect your investment and keep your results looking fantastic for years.
After about one to two weeks—again, depending on your laser's intensity and your provider's advice—you'll likely get the green light to wear makeup again. A lingering pink or reddish hue is totally normal and can stick around for several weeks, sometimes even a couple of months.
When you do reach for makeup, be incredibly selective. Mineral makeup is the gold standard here. It's generally free of common irritants like fragrance, dyes, and preservatives that could upset your still-healing skin.
A light dusting of a mineral powder foundation can work wonders to tone down redness without clogging your pores. Steer clear of heavy liquid foundations or any products with harsh active ingredients until your skin is fully recovered.
What you put on your face after a laser treatment is just as critical as the procedure itself. Honestly, using the wrong products can set your healing back, cause major irritation, and even sabotage your final results. Think of this as your personal shopping guide for getting through the recovery phase with skincare that will soothe, protect, and support your brand-new skin.
The market for these specialized products is huge and only getting bigger. In 2022, the post-laser recovery product scene in the U.S. was already valued at around USD 138.1 million. Globally, the entire skin resurfacing market is on track to hit USD 378.4 million by 2027. More options are great, but it can also feel like navigating a minefield. The secret is knowing exactly which ingredients to look for and which ones to run from.
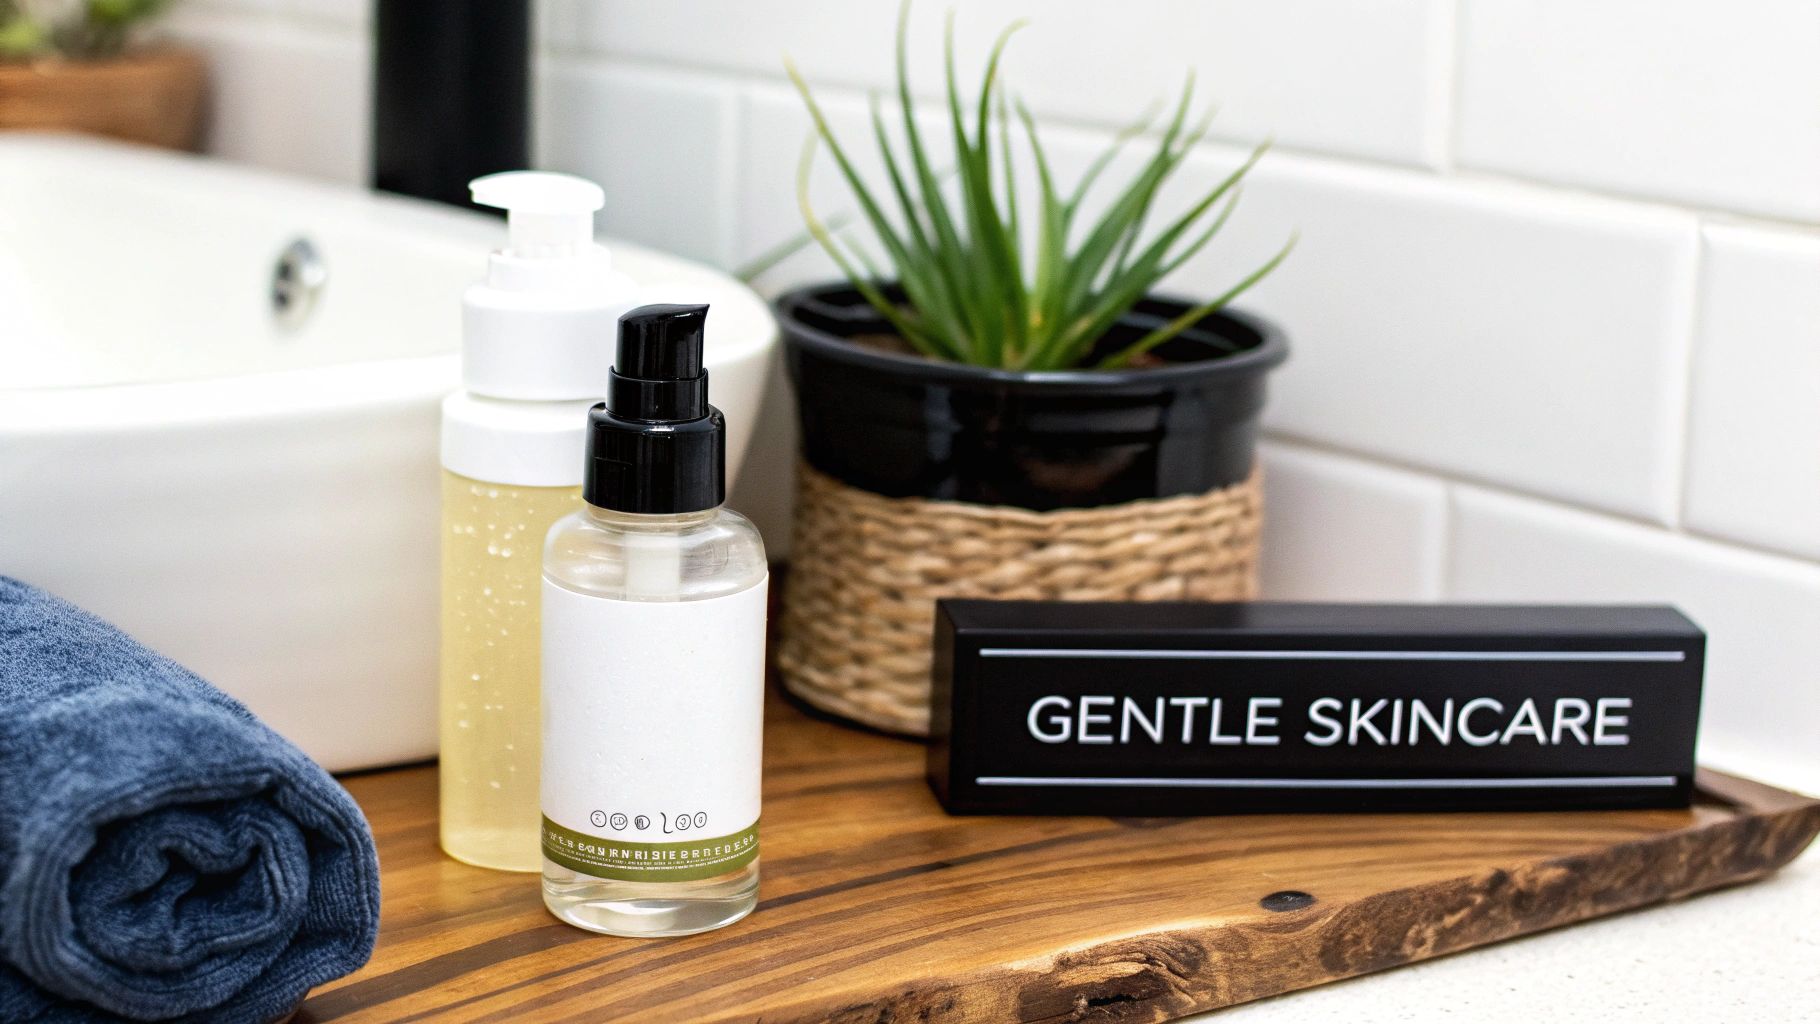
Right now, your only job is to help your skin heal without adding any stress. That means hitting the reset button on your routine and stripping it back to the bare essentials. All those powerful actives you love, like retinol and vitamin C? They need to go on a temporary vacation. This is a time for calm and repair, period.
First up, you need a cleanser that’s soap-free and doesn't foam. Those satisfying suds are usually a sign of harsh detergents that strip your skin’s natural oils—the last thing your compromised barrier needs. Instead, reach for a milky or creamy cleanser that will gently lift away grime without disrupting the delicate healing process.
Next, a serious moisturizer is a must. While you might use a heavy ointment for the first day or two, you'll soon transition to a cream that can deliver deep, lasting hydration. Look for ingredients that are bio-compatible, meaning they mimic what’s already in your skin.
Think of your skin barrier like a brick wall. Your skin cells are the bricks, and lipids like ceramides are the mortar holding it all together. After a laser treatment, some of that mortar has been removed. Your job is to reapply it with the right products.
If there's one product you absolutely cannot skip, it's sunscreen. Your fresh, new skin is incredibly susceptible to UV damage. Even a little sun exposure can trigger hyperpigmentation, completely undoing all the benefits of your laser treatment. This isn't like the sun sensitivity you might get from something like https://www.ccplasticsurgery.com/blog/chemical-peels-what-they-do-and-who-they-re-for; it's on a whole other level and requires extreme diligence.
Every single day—no exceptions—you need to apply a broad-spectrum, mineral-based sunscreen with an SPF of 30 or higher. Mineral formulas with zinc oxide and titanium dioxide are the way to go. They create a physical shield that sits on top of your skin, which is much less likely to cause irritation than chemical sunscreens that work by absorbing UV rays. Using a trusted, high-quality formula like the Skinceuticals SPF 50 sunscreen is a smart investment in protecting your results.
Trying to decipher ingredient labels can feel like a chore, especially when your skin is in such a delicate state. To make it simple, here’s a quick-glance table of what to embrace and what to avoid.
By sticking to this "less is more" philosophy and choosing your products wisely, you’ll create the perfect healing environment. This ensures your skin recovers beautifully and you get the absolute best, long-lasting results from your laser treatment.
https://www.youtube.com/embed/KhFOcgPWrXw
Even with the most diligent aftercare, the road to recovery after laser skin resurfacing can have a few bumps. Don't panic. Your skin is doing some serious repair work, and it's totally normal for minor issues to crop up. The key is knowing what's a normal part of the process versus what needs a quick call to your doctor.
Let's walk through some of the most common hurdles you might face and how to handle them like a pro.
I see this all the time. A few days into recovery, clients call me worried about tiny, hard white bumps that have appeared. These are called milia, and they’re simply little cysts that form when dead skin cells get trapped under the new surface.
These bumps are almost always caused by the thick, heavy ointments we have you use right after the procedure to keep the skin protected and moist. That same environment, combined with the skin’s natural inflammatory response, can also trigger an acne breakout, even in people who rarely get pimples.
What should you do?
If the bumps hang around for more than a couple of weeks, it's worth checking in with your dermatologist. Once you're fully healed, they might suggest a gentle exfoliant or perform a simple in-office extraction.
A pink or reddish tone is part of the deal, sometimes for a few weeks or even a couple of months with deeper ablative lasers. But if the redness seems stuck on high or gets worse, it could be a sign of heightened skin sensitivity.
A more frustrating issue is post-inflammatory hyperpigmentation (PIH), which shows up as dark spots or patches on the treated skin. This happens when the healing process kicks melanin production into overdrive, and it's a bigger risk for those with naturally darker skin tones.
The number one enemy of your recovery is the sun. Unprotected sun exposure is the fastest way to trigger hyperpigmentation. Just a few minutes of direct sun on that delicate new skin can set back your results significantly.
If you start seeing dark spots appear, double down on your sun protection immediately and let your provider know. For anyone concerned about this, reading up on professional hyperpigmentation treatment can show you what options exist once your skin has fully recovered.
A skin infection is rare, but it's the most serious complication we watch out for. The risk is highest in that first week when your skin's defensive barrier is wide open. Catching the signs early is absolutely critical.
Be on high alert for these warning signs:
If you notice any of these symptoms, call your doctor's office immediately. This isn't a "wait and see" situation. You'll need prompt treatment with antibiotics to knock out the infection and keep your skin safe. Following your aftercare instructions, especially about hand washing and proper cleansing, is your best defense. Understanding basic strategies for preventing skin infections is always a smart move.
Once you're home and settling into the healing process, a million little questions can start to pop up. This is completely normal. I've put together answers to some of the most common, real-world questions my patients ask during their laser skin resurfacing recovery.
Think of this as your quick-reference guide for those "is this normal?" moments. We'll get into the details that matter most for a smooth, worry-free heal.
This is probably the number one question I get, and the answer really hinges on the type of laser you had.
If you had a non-ablative treatment, like a Fraxel laser, your skin's surface is still intact. This means you can often start wearing makeup in just 1 to 3 days to help cover up any mild redness.
But for more intense, ablative laser treatments, you have to be more patient. Your skin is working hard to grow an entirely new top layer, and that takes time—usually about 7 to 14 days. Putting makeup on too soon can trap bacteria against that brand-new, vulnerable skin, which is a recipe for irritation or even infection. Don't rush it; always wait for your provider to give you the all-clear.
My pro tip? When you are cleared to wear makeup, start with a mineral-based powder. It’s much lighter and less likely to clog pores or irritate your sensitive skin compared to heavy liquid foundations.
The "sunburn" look after a laser is a big variable. For a lighter, non-ablative procedure, that redness often calms down significantly within a week.
With the more powerful, fully ablative lasers, the redness will be pretty intense for the first 1 to 2 weeks. After that, it slowly fades to a pinkish tone that might stick around for several weeks, and sometimes up to three or four months. It really depends on the individual.
What affects the timeline?
The absolute best thing you can do to help the redness go away faster is to be religious about your sunscreen. Consistent, daily use of a broad-spectrum mineral sunscreen is non-negotiable. Sun exposure will only keep that inflammation around longer and slow everything down.
You might be surprised by how much your diet can support your skin's recovery. For the first few days, comfort is everything. Your face will be tender, so think soft, cool foods. Smoothies, yogurt, applesauce, and lukewarm soups will be your best friends.
Once you're feeling up to it, it's time to focus on nutrition that fuels skin repair. Your body is in major construction mode, so you need to give it the right building materials.
Fuel Your Recovery with These Nutrients
Yes! It might feel maddening, but intense itching is a very common—and completely normal—part of healing. It tends to be at its worst around days three to seven. It's actually a good sign; it means the nerve endings in your skin are waking back up and regenerating.
That said, you must not scratch. I can't stress this enough. Scratching can easily damage that delicate new skin and lead to scarring, infection, or pigmentation problems.
Here’s how to get through the itch without giving in:
If the itching ever feels unbearable or you see any other signs of a bad reaction, don't hesitate. Call your provider's office right away.
At Cape Cod Plastic Surgery, we believe a well-informed patient is a successful one. If you have more questions about what to expect from laser skin resurfacing or are ready to explore your options, we invite you to schedule a consultation with our experienced team.
Find the best Cape Cod plastic surgeons in 2026. Learn to verify credentials, evaluate results, and ask key questions for a safe, informed choice.
June 23, 2026
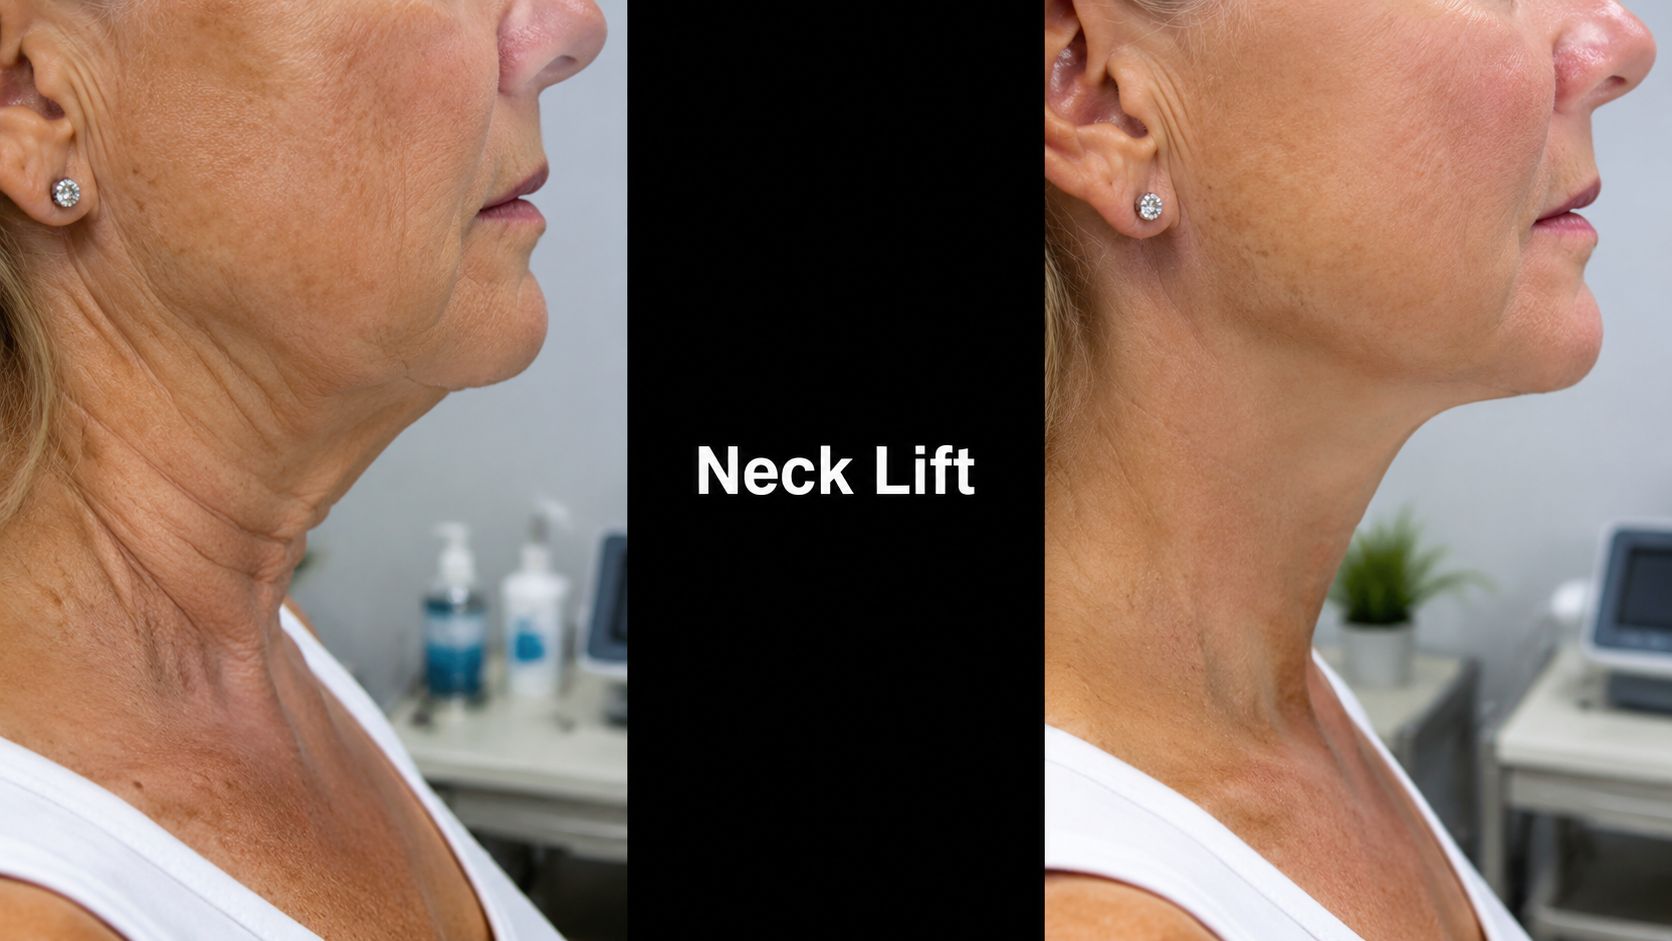
Explore 8 real neck lift before and after photos. Learn what to expect from results, recovery, and candidacy with expert insights from Cape Cod Plastic Surgery.

June 23, 2026
Considering a breast augmentation and tummy tuck? Our expert guide explains candidacy, recovery, risks, and costs for this combined procedure.
Cape Cod Plastic Surgery offers expert cosmetic and reconstructive procedures in a safe, accredited setting. Led by Dr. Marc Fater, we combine advanced techniques with personalized care to help you look and feel your best.
Monday: 9:00 AM – 5:00 PM
Tuesday: 9:00 AM – 5:00 PM
Wednesday: 9:00 AM – 5:00 PM
Thursday: 9:00 AM – 5:00 PM
Friday: 9:00 AM – 5:00 PM