
Your Guide to Tear Trough Treatment in Cape Cod
Considering tear trough treatment? This guide explains fillers, fat transfer, and surgery options at Cape Cod Plastic Surgery to refresh your look.
Nov 11, 2025
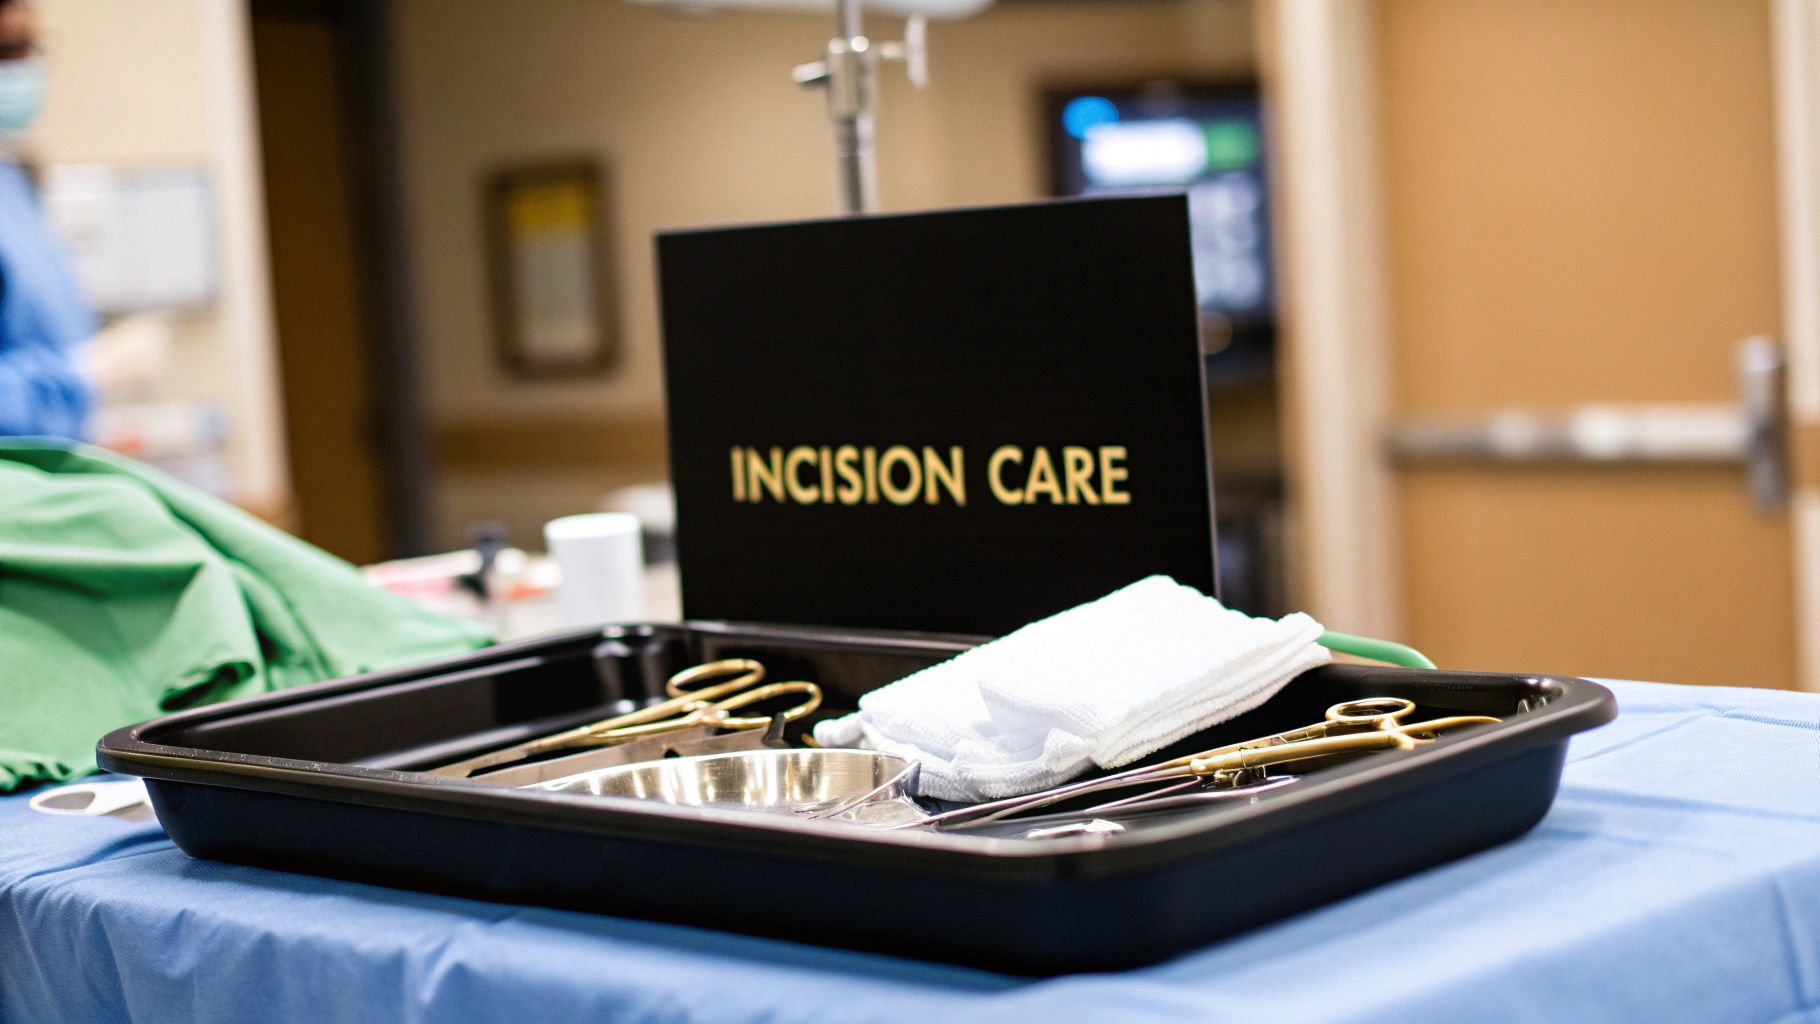
Taking good care of a new surgical incision is all about keeping it clean, dry, and protected from any strain.Taking good care of a new surgical incision is all about keeping it clean, dry, and protected from any strain. While your surgeon's specific instructions are always rule number one, the core principles are universal: gentle cleaning, minimal disturbance, and keeping a sharp eye out for signs of infection like spreading redness or unusual drainage. How you handle this initial period really sets the tone for the rest of your healing.
Those first two days after your surgery are a critical window. Your body is putting all its energy into kicking off the healing process, and what you do—or don't do—can make a huge difference. The goals are simple: rest, keep stress off the incision, and stay on top of any discomfort.
When you get home, your main job is to create a calm, restful space. This isn't the time to tackle a pile of laundry or entertain guests. Your only responsibility is to give your body the downtime it needs to mend itself.
Rest isn't just a suggestion; it's a prescription. You'll want to get up and walk around for a few minutes every couple of hours to keep your circulation moving and prevent blood clots, but the majority of your time should be spent resting. How you position yourself matters just as much.
If your surgery was on an arm or leg, propping it up on pillows so it's elevated above your heart will do wonders for reducing swelling and that throbbing sensation. For abdominal incisions, try lying on your back with a pillow tucked under your knees. This little trick helps relax your stomach muscles, which prevents tugging on your stitches.
Key Takeaway: Think of rest as an active part of your recovery, not a passive one. By resting, you are directing your body’s energy toward the most important task at hand—healing your incision.
Managing pain is also a big piece of the puzzle, as it's nearly impossible to rest properly if you're uncomfortable. Don't be a hero and try to "tough it out." Sticking to your prescribed pain medication schedule will keep discomfort at a level where you can actually relax. For a deeper dive into this, check out this excellent resource on pain management after surgery.
That first dressing was applied in a completely sterile environment, so it's best to just leave it alone. I know it's tempting to peel back a corner and peek, but resist the urge. This dressing is your primary shield against bacteria.
Surgical site infections (SSIs) are no joke, with rates ranging from 0.5% to as high as 9.0%, depending on the type of procedure. Keeping that initial dressing clean, dry, and intact is your best first line of defense. For those who have undergone specific skin cancer procedures, this detailed Mohs surgery recovery guide can provide more tailored advice.
To make things a bit simpler, here’s a quick-reference table summarizing what to focus on—and what to avoid—during these crucial first two days.
Following these simple guidelines can help you protect your incision and get your recovery off to the best possible start.
Changing your incision's dressing is one of the most critical parts of your recovery. Think of it as your hands-on role in keeping infection at bay. Your surgeon will give you specific instructions, but generally, you'll need to change it within a day or two, especially if you see any fluid soaking through. The whole point is to keep the area clean and protected, giving your body the best shot at healing smoothly.
Before you even touch the bandage, stop and wash your hands. This isn't just a quick rinse. Lather up with soap and warm water for a solid 20 seconds—that’s about how long it takes to sing "Happy Birthday" twice. It’s the single most effective thing you can do to keep harmful bacteria away from your incision.
When you're ready, take off the old bandage slowly and gently. Ripping it off like a band-aid can pull on your stitches and irritate the surrounding skin. If the adhesive is giving you trouble, you can dab the edges with a cloth soaked in warm water to help it release. Always pull the tape back parallel to your skin, not straight up and away—it's much more comfortable.
Once the dressing is off, pause for a moment and take a good look at the incision. This is your daily progress report. Notice the color of the skin, check for any new or unusual swelling, and inspect the old bandage for drainage. A little bit of clear or light-yellow fluid is totally normal in the first few days.
For more detailed guidance, we've put together a comprehensive list of do's and don'ts for effective post-surgery care in a related post.
Your surgeon likely recommended a specific cleaning solution, often just a simple saline wash or mild soap and water. Whatever you do, stay away from harsh antiseptics like hydrogen peroxide or rubbing alcohol. While they're great at killing germs, they’re indiscriminate—they also kill the fragile new skin cells your body is trying to build, which can slow down healing.
Gentleness is everything here. Grab a sterile gauze pad or a fresh, soft washcloth to carefully clean the area.
This visual guide offers a great summary of what to focus on during those crucial first 48 hours.

As the infographic shows, protecting the wound, resting, and keeping the area elevated all work hand-in-hand to help you heal faster.
A Quick Word of Caution: Resist the urge to put any lotions, creams, or ointments on your incision unless your doctor has specifically told you to. These products can trap moisture against the skin, creating a perfect breeding ground for bacteria and potentially causing a nasty infection.
Once the area is clean and dry, apply the new dressing exactly as you were shown. Make sure it completely covers the incision, with a little extra margin on all sides. By sticking to this routine, you’ll not only feel more in control of your recovery but will be actively helping your body heal properly.
Knowing the difference between what’s normal and what’s not is probably the most important part of your recovery. Your body is great at sending signals when something isn't right, and if you know how to read them, you can catch issues before they become serious. This isn't about being anxious; it's about being an active, informed participant in your own healing.
A healing incision is a dynamic thing—it changes every single day. In the beginning, you can absolutely expect some mild redness right along the cut and a bit of tenderness. That's just your body's inflammatory response kicking into gear, which is the first, crucial step toward healing. The key, however, is that these things should get better, not worse.
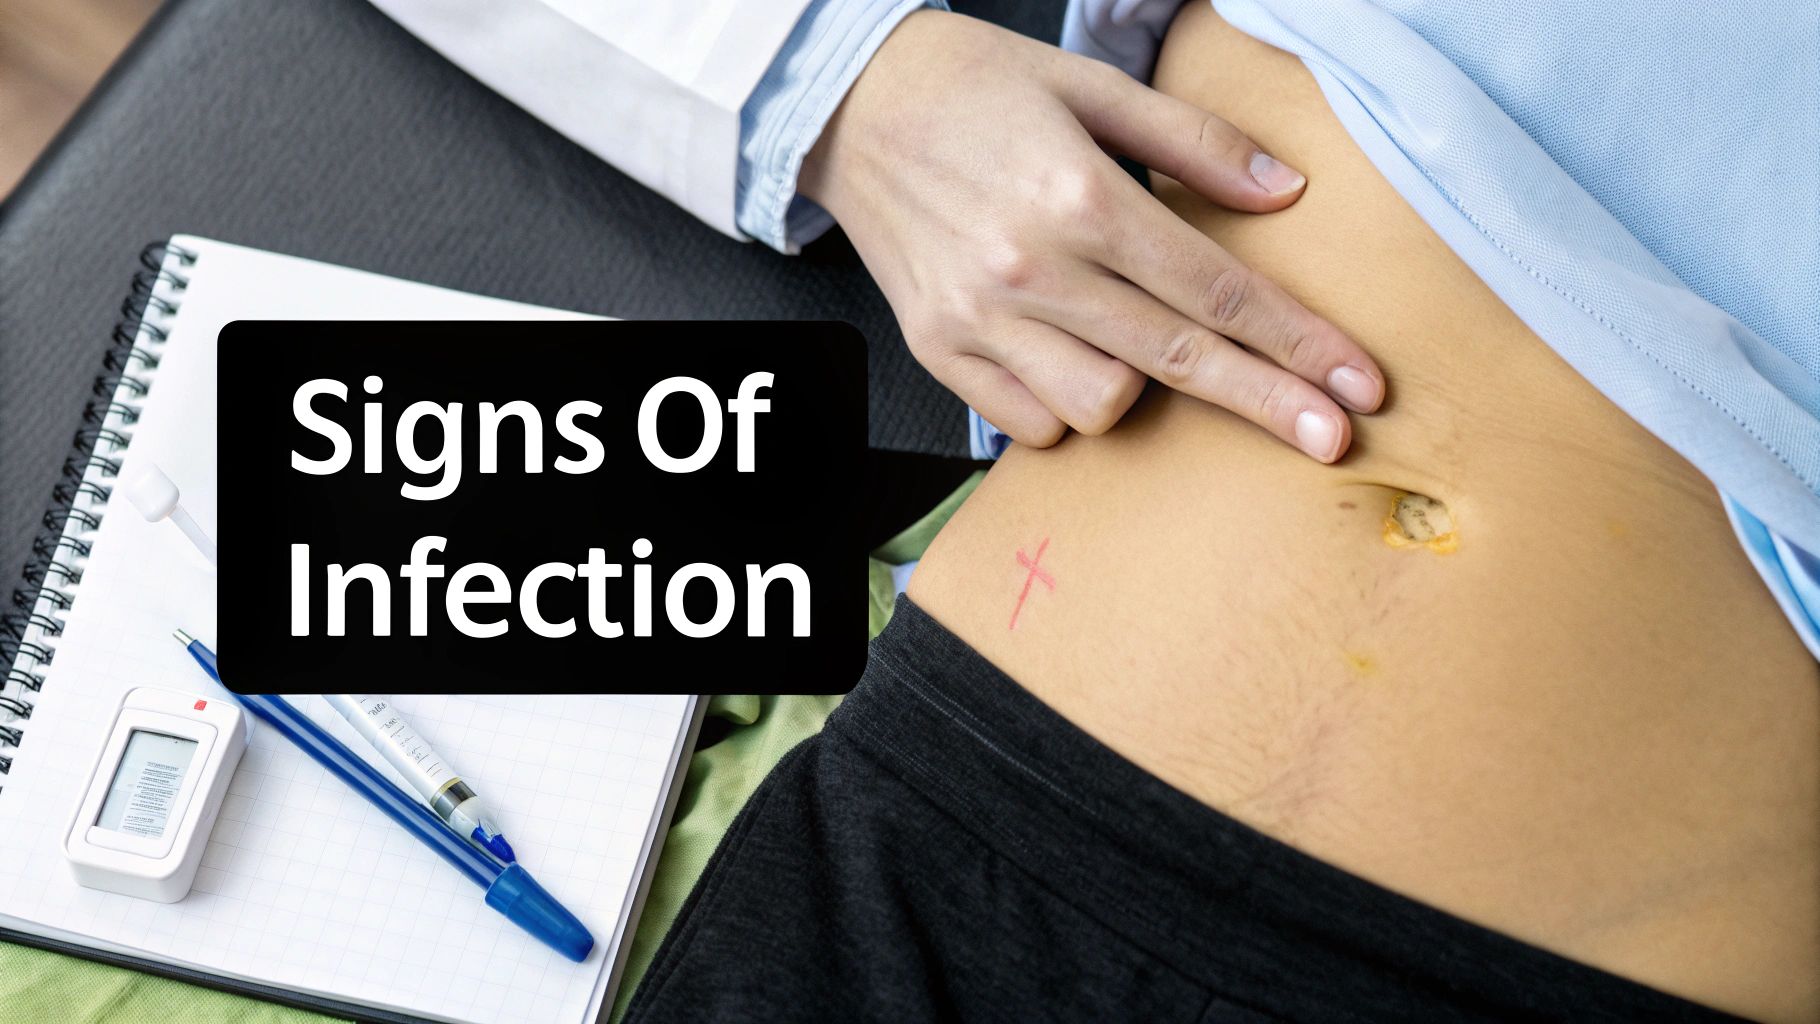
One of the biggest worries I hear from patients is, "How do I know if this is okay?" The single most important indicator is the progression of symptoms. Is the pain a little less sharp today than it was yesterday? Or did it suddenly spike? Is that redness just a thin pink line, or is it spreading across your skin like a bad sunburn?
Think of it like this: normal healing is a journey of gradual improvement. Complications usually involve a sudden U-turn or a steady downhill slide. A wound that was just a bit sore yesterday but is now throbbing and hot to the touch demands immediate attention. Trust your gut. If something feels wrong, it’s always, always better to get it checked. While every surgery is different, many of the core signs of infection after septoplasty are universal and worth a read.
Catching these problems early isn't just good for your health; it's also a smart financial move. Post-op infections caused by drug-resistant bacteria can rack up staggering treatment costs, often landing between $11,600 and nearly $35,700 per patient. Those numbers really underscore how critical it is to stay vigilant.
Expert Tip: I always tell my patients to take a quick, well-lit photo of their incision every day with their phone. It creates a visual timeline that makes it incredibly easy to see subtle changes and show your doctor exactly what's been happening.
To make things crystal clear, I've put together a simple table. Think of it as a daily checklist to run through when you’re examining your incision. It breaks down the key differences between a wound that's on the right track and one that's flashing warning signs.
If you spot anything from that "Potential Infection Warning Sign" column—especially if you also feel generally unwell or have a fever—don't wait. Call your surgeon’s office right away. Getting ahead of a problem is the best way to ensure a small issue doesn't turn into a major setback.
https://www.youtube.com/embed/QWF9mGtjju4
Keeping your incision clean and properly dressed is non-negotiable, but it’s only half the battle. Your daily habits—what you eat, how much water you drink, and how you move your body—are what truly fuel the healing process from the inside out. Think of it this way: your body is working overtime on a major repair project, and it needs the right tools and materials to get the job done efficiently.
It’s easy to take healing for granted, but globally, it’s a massive challenge. An estimated five billion people don't have access to safe surgical care, which often leads to serious complications and poor wound healing. This global perspective, detailed in this World Bank Open Data blog post, really puts into perspective how crucial it is to control every factor you can during your own recovery.
Right now, your body is rebuilding tissue, and that requires high-quality fuel. You don’t need a complicated diet plan; just focus on giving your body the nutrients it’s craving for this specific task.
When I talk to patients about how to care for surgical incisions, I always emphasize three nutritional powerhouses:
And don't forget about water. Staying hydrated is critical. Dehydration slows down the delivery of all those great nutrients to your incision and can make your skin less elastic. Just keep a water bottle with you and sip on it all day.
A well-nourished body is a well-healing body. Don't underestimate the power of simple, whole foods to accelerate your recovery and strengthen your new tissue from within.
Rest is essential, of course, but that doesn't mean staying completely still. Gentle movement is incredibly beneficial. Even short, slow walks around the house can work wonders by boosting circulation. Better blood flow means more oxygen and nutrients are getting delivered directly to the wound, which speeds up repairs and even helps prevent dangerous blood clots.
On the flip side, some habits can completely derail your healing. Smoking is one of the worst offenders. Nicotine actually constricts your blood vessels, which chokes off the oxygen supply that your healing tissues are desperate for. Alcohol isn't much better; it can lead to dehydration and mess with your immune system's ability to fight off infection.
If you can, put these habits on pause while you recover. It’s one of the most effective things you can do for yourself. By making these smart lifestyle choices, you're not just passively waiting to heal—you're actively becoming a partner in your own recovery. For more ideas on this, check out these top strategies for quick healing and faster recovery after surgery.
Once your incision is fully healed and any stitches are out, you’re not quite done. This is when the real work on minimizing the scar begins. Shifting your focus from just keeping the wound clean to actively managing the new scar tissue can make a world of difference in its final appearance.
Think of this new tissue as delicate and still under construction. Your goal now is to help it become as strong, flat, and flexible as possible so it blends in with the skin around it. Two of the most powerful tools you have for this are consistent, gentle massage and vigilant sun protection.
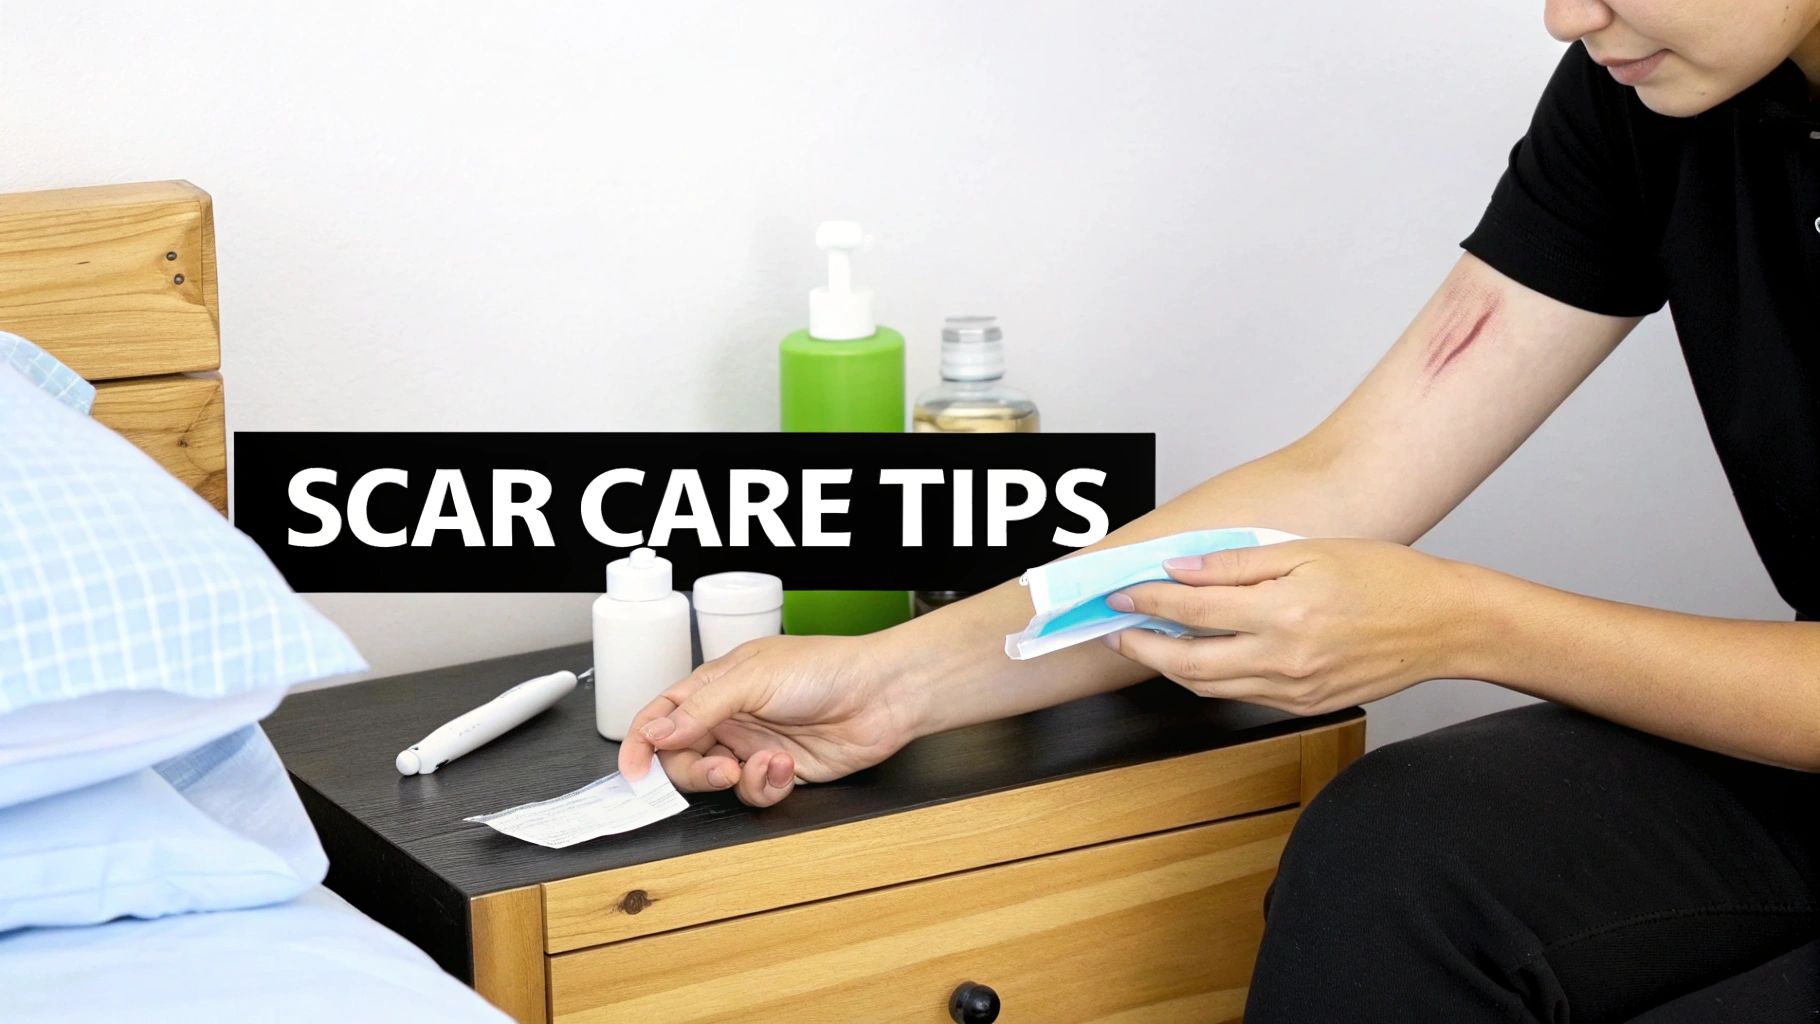
As soon as your surgeon gives you the all-clear (this is usually a couple of weeks after your operation), you can start massaging the area. This isn't just about rubbing lotion on it; it's a technique that physically helps break down the dense, lumpy scar tissue, brings much-needed blood flow to the area, and improves the skin's overall flexibility.
It's pretty simple. Grab a good, fragrance-free moisturizer or a specialized scar gel. Use your fingertips to apply firm, steady pressure directly onto the scar. You're not just gliding over the top layer of skin—you want to feel like you're moving the scar tissue itself.
Just a few minutes of this, twice a day, can have a huge impact over the long run.
For even better results, you might want to look into silicone gels or sheets. They are a well-researched, over-the-counter option that works by keeping the scar tissue hydrated, which helps soften and flatten it. You just wear them for several hours each day.
I can't stress this enough: sunlight is your new scar’s worst enemy. Fresh scar tissue has almost no melanin, which is the natural pigment that protects your skin from UV radiation.
If you expose a new scar to the sun, it can lead to hyperpigmentation, a permanent darkening of the tissue. Honestly, this dark discoloration can often be far more noticeable than the scar line itself.
Your best defense is a multi-layered approach. For at least the first year, make it a habit to cover the scar with clothing. If the scar is in a place that’s hard to cover, slather it with a broad-spectrum sunscreen of SPF 30 or higher. Reapply it religiously every two hours if you're outside.
Keep in mind that scars mature slowly. The appearance will continue to improve for up to 18 months, gradually fading from a bright pink or red to a much fainter, silvery line. By being diligent with massage and fanatical about sun protection, you’re giving your body the best possible chance to heal well and leave behind the faintest possible reminder of your surgery.
Even with the best instructions, you're bound to have questions as you heal. It's completely normal. You're living with this new incision day-to-day, and little things will pop up. Let's walk through some of the most common questions I hear from patients to give you some clarity and peace of mind.
This is usually the first thing everyone asks! The answer really comes down to what your surgeon says and the kind of dressing you have covering the incision. In many cases, you'll get the go-ahead to shower within 24 to 48 hours, as long as the incision is covered with a waterproof bandage.
The key here is to be gentle. Let the water run over the area, but don't aim the showerhead directly at it or scrub it. Submerging the incision, however, is a different story. Taking a bath, getting in a hot tub, or going for a swim is a hard no until the wound is completely sealed. Standing water is a breeding ground for bacteria, and soaking your incision is an open invitation for infection.
Finding a loose stitch can definitely cause a moment of panic, but it's not always a crisis. If you notice one stitch or staple has come undone but the incision still looks like it's holding together well, your first move should be to call your doctor's office. They'll probably tell you to just pop a sterile bandage over it and keep an eye on things.
Now, it's a much bigger deal if several stitches let go and the incision starts to gap or open up. If that happens, cover the area with a clean, sterile dressing and get medical help right away. Don't try to be a hero and push the edges back together or tape it closed yourself.
A Quick Word of Caution: If your wound opens up (this is called dehiscence), it needs to be looked at by a professional immediately. This is crucial for preventing infection and making sure you heal correctly.
Yes, itching is a totally normal—and admittedly, very annoying—part of healing. As the skin knits itself back together and the nerve endings start to wake up, you'll likely feel an itchy sensation. As tempting as it is, you absolutely must not scratch the incision or the tender skin around it.
Scratching can easily damage that delicate new tissue, introduce bacteria from under your fingernails, and derail your recovery. If the itch is making you miserable, try lightly patting or tapping the skin nearby. If the itching is severe, or if you see a new rash or redness spreading, give your doctor a call. It could be an allergic reaction to the bandage adhesive or even an early warning sign of an infection.
At Cape Cod Plastic Surgery, Dr. Fater and his team are here to support you through every single step of your recovery. For expert care and advice tailored to you, see what's possible at https://ccplasticsurgery.com.
Considering tear trough treatment? This guide explains fillers, fat transfer, and surgery options at Cape Cod Plastic Surgery to refresh your look.

July 1, 2026
Transforming Your Body and Improving Wellness After Massive Weight Loss

June 30, 2026
Understand the full gynecomastia surgery cost in 2026. This guide breaks down fees, factors, insurance, and financing options to help you plan your budget.
Cape Cod Plastic Surgery offers expert cosmetic and reconstructive procedures in a safe, accredited setting. Led by Dr. Marc Fater, we combine advanced techniques with personalized care to help you look and feel your best.
Monday: 9:00 AM – 5:00 PM
Tuesday: 9:00 AM – 5:00 PM
Wednesday: 9:00 AM – 5:00 PM
Thursday: 9:00 AM – 5:00 PM
Friday: 9:00 AM – 5:00 PM