
July 1, 2026
Advantages of Tummy Tuck After Significant Weight Loss
Transforming Your Body and Improving Wellness After Massive Weight Loss
Dec 29, 2025
Deciding to have an arm lift is a big, exciting step. But the surgery itself is just the beginning—understanding what happens during your arm lift surgery recovery is just as important for getting those beautiful, toned results you’re looking for. Think of it less as a waiting game and more as an active journey. We’re here to give you the roadmap so you know exactly what to expect.

The road to your final, sleek arm contours happens in stages. Knowing what's coming can turn a lot of the unknown and anxiety into confidence and anticipation.
Think of it like building something from the ground up. The first few days are all about setting a strong foundation. After that, it’s a matter of steady, structured progress week by week until you see the final, incredible results. This guide will walk you through the whole thing, from the first few hours after surgery to what you can expect long-term.
Your recovery timeline has a few distinct phases, and each one comes with its own focus and set of rules. Getting your head around these milestones ahead of time helps you line up the support you'll need for a smooth, successful recovery.
Here's a quick look at the main stages:
Your body is an incredible healer, but it works on its own timeline. Patience is everything. Following your surgeon's instructions isn't just a suggestion—it’s the single best way to get the amazing results you want while keeping complications at bay.
A little prep work goes a long way toward a comfortable arm lift surgery recovery. Before your surgery day, take some time to set up a cozy "recovery nest" at home.
This means gathering plenty of pillows to keep your arms propped up, stocking the fridge with easy-to-make meals, and having loose, button-up or zip-up tops ready so you don't have to lift your arms. It's also a good idea to line up a friend or family member to help you out for those first few days. For more tips, check out this practical guide to recovering from surgery at home. A solid plan lets you put all your energy where it belongs: on healing.
The first two days after your arm lift surgery are absolutely crucial. Think of it as laying the foundation for your entire recovery—what you do now directly impacts how well you heal in the weeks to come. Your only jobs are to rest, stay comfortable, and follow our team’s instructions meticulously.
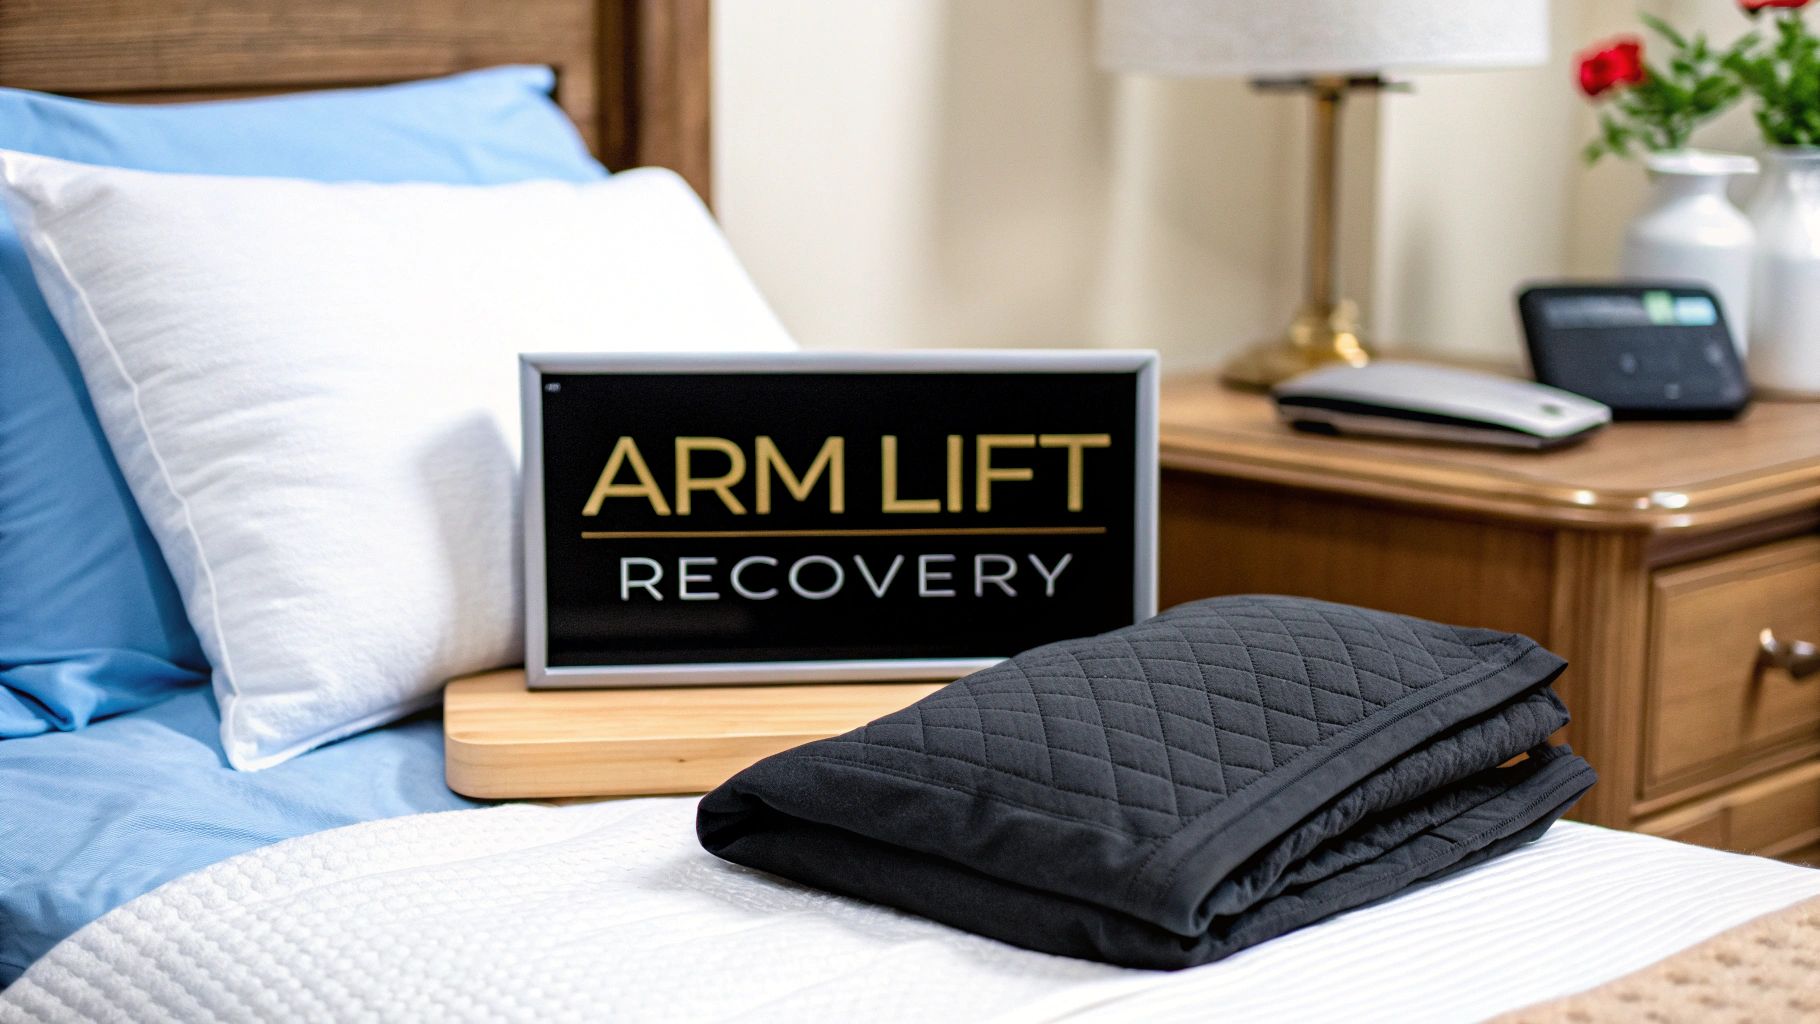
Right after your procedure in our accredited surgical suite, you’ll wake up in a cozy recovery area where our staff will be looking after you. We’ll have already placed you in special compression garments. These aren't just for show; they act like a firm, supportive hug for your arms, keeping swelling down and helping your new contours set properly.
When you get home with your caregiver, your role is simple but non-negotiable. The single most important thing you can do is keep your arms elevated. Use a few soft pillows to prop them up whenever you're resting. This simple trick lets gravity do the work, dramatically reducing the swelling and soreness you'll feel.
This is a time for total rest. That means no lifting, no pushing, and no pulling—not even light items. Your caregiver is there to help with everything, from fetching a drink to fixing a simple meal. We'll send you home with a precise medication schedule to manage any discomfort, making your initial arm lift surgery recovery as easy as possible.
The care you take in these first two days really sets the tone for your whole healing process. By focusing on rest and elevation now, you're paving the way for less swelling, more comfort, and the best possible final result.
You're going to feel sore and tired. That's perfectly normal. You'll also see some swelling and bruising, which tends to peak around day three to five. Your arm movement will feel pretty restricted, and that’s by design. Gentle movements are okay, but you must avoid reaching for things or raising your arms above shoulder height.
This initial period of rest is what allows for a faster return to normal life later on. Most of our patients are back to desk jobs in about 10 to 14 days. Driving is often possible around day 10, as long as you're off prescription pain medication and feel comfortable. We typically clear patients to begin gentle range-of-motion exercises around week three, but hold off on any real upper-body workouts for at least 6 to 8 weeks to protect your incisions as they heal. For more details on these timelines, hayatmed.com offers some great general insights.
Getting your space ready before surgery makes a huge difference. Make sure you have these things set up and within easy reach:
By creating this little "recovery nest," you can take the stress out of the small stuff and put all your energy into healing. Getting these first 48 hours right is the best first step toward the beautifully contoured arms you've been waiting for.
Knowing what to expect after your arm lift is key to a smooth, stress-free recovery. Think of it less like a waiting game and more like a well-mapped journey with distinct phases. Treating your recovery like a marathon, not a sprint, helps you appreciate the small victories each week as you heal. Every stage builds on the one before, leading you toward those beautifully contoured arms you've been waiting for.
This timeline gives you a bird's-eye view of those critical first 48 hours, focusing on the essentials: your surgical dressings, compression garments, and keeping your arms properly elevated.

As you can see, these first steps are all about creating the ideal environment for healing by providing support and minimizing swelling right from the start.
The first week is dedicated almost entirely to rest. Your job is simple: manage any discomfort with the medication we provide, keep your arms propped up on pillows, and wear your compression garments exactly as we instruct. This is absolutely not the time to test your limits.
We'll have you up and moving for short, gentle walks throughout the day—just 10 minutes at a time is perfect. This light activity is fantastic for your circulation and helps prevent serious complications like blood clots. You must avoid any lifting, pushing, or even reaching for things, as this can put dangerous strain on your new incisions.
During this next phase, you'll really start to feel more like yourself again. The most significant swelling and bruising will begin to fade, and any discomfort should be much easier to manage. For many patients, this is when they feel they've truly turned a corner.
Your mobility will improve day by day, but you still need to be careful. Continue to avoid lifting anything heavy and resist the urge to raise your arms above shoulder level. Most of our patients with desk jobs feel comfortable returning to work within 10 to 14 days. By the end of week four, we may clear you to begin some very light, approved stretching exercises to gently get your range of motion back.
Patience is your best friend during recovery. Each week brings visible progress, but pushing your body too soon can cause a real setback. Following Dr. Fater’s specific timeline is the surest way to a fantastic outcome.
This is an exciting time! As the last of the major swelling resolves, your new arm contours become much more defined. Your incisions will continue to heal and soften, and you'll feel far more comfortable going about your daily routine. You can get a broader sense of what to expect by reading our general guide to recovery after plastic surgery.
Once you get the green light from Dr. Fater, you can typically start reintroducing more significant physical activity. This usually starts with lower-body exercises and slowly progresses to light upper-body workouts. The most important thing is to listen to your body and stick to the specific guidelines we give you.
From the two-month mark forward, your focus shifts to long-term care and scar maturation. While the heavy lifting of healing is done, your scars will continue to fade, flatten, and soften for up to a year. Diligent scar care and protecting your arms from the sun are crucial now to ensure your scars become as faint as possible.
By now, most activity restrictions are lifted, and you can get back to your full exercise routine, including more intense upper-body training. Maintaining a stable weight through a healthy lifestyle is the final piece of the puzzle, ensuring you can enjoy your sculpted, confident new look for years to come.
Here’s a quick-reference table to help you visualize when you can get back to certain activities. This is just a general guide, so remember to always follow the specific instructions Dr. Fater provides for your unique case.
Following this roadmap carefully will not only make your recovery smoother but will also help protect the beautiful results of your procedure.

A successful arm lift surgery recovery is about more than just resting—it's an active partnership between you and your body. Think of it this way: Dr. Fater did the expert work, and now it’s your turn to protect that investment. Proper aftercare is your secret weapon for a smooth, comfortable healing process and the beautiful, refined results you’ve been waiting for.
It all starts with your incisions. Right after surgery, they’ll be protected by dressings, and your main job is to follow Dr. Fater's instructions to the letter, especially when it comes to keeping the area clean and dry. That means no baths, hot tubs, or swimming pools until you get the official all-clear. Resisting that urge is non-negotiable for preventing infection.
For a more detailed look at the do's and don'ts, we’ve put together a comprehensive guide on https://www.ccplasticsurgery.com/blog/how-to-care-for-surgical-incisions. Sticking to these protocols is one of the best ways to set the stage for minimal, clean scarring later on.
Swelling is a perfectly normal, expected part of healing. It’s simply your body’s way of sending a flood of healing resources to the surgical site. While it can be a nuisance, your job is to help your body manage this response efficiently.
You have two powerful tools at your disposal: elevation and compression. When you’re resting or sleeping, prop your arms up on a few pillows. This simple trick uses gravity to your advantage, helping drain excess fluid away from your arms and back toward the center of your body.
Your compression garments are just as crucial. They provide constant, gentle pressure that not only supports the healing tissues but also prevents fluid from pooling. Wearing them consistently, exactly as we instruct, is one of the most effective things you can do to control swelling and stay comfortable.
Now, let's talk about scars. I always tell my patients that scar healing is a marathon, not a sprint. Right after surgery, your scars will look red and a bit raised—this is completely normal, so don't be alarmed.
Over the next 6 to 12 months, you’ll watch them go through a remarkable transformation.
Your final scar appearance is heavily influenced by two things: your genetics and how diligent you are with aftercare. The single most important step you can take is to protect your healing scars from the sun for at least a year. Sun exposure can cause them to darken permanently.
Once Dr. Fater gives you the green light, usually after a few weeks, you can start a more active scar care routine. We often recommend silicone-based gels or sheets, which have been proven to hydrate the tissue and promote a flatter, softer scar. Gentle massage can also work wonders by breaking down firm scar tissue and improving flexibility.
Understanding the goals of advanced home wound collaborative care can give you a deeper appreciation for this process. This knowledge empowers you to be an informed, active partner in your own healing journey, which is the best way to ensure a fantastic outcome for your new arm contours.
Think of your arm lift recovery as a partnership between you and our team. Your follow-up appointments are a vital part of that teamwork, giving us a chance to see how you’re healing and giving you a chance to ask all your questions.
These visits aren't just random check-ins. We schedule them to match the key phases of your healing. The first few are all about making sure your incisions look good and that early swelling is under control. Later on, we’ll shift our focus to scar care and checking in on your new arm contours. This hands-on approach is how we keep your recovery on track and catch any potential hiccups before they become real problems.
Everyone's timeline is a little different, but this is what a typical follow-up schedule looks like. We’ll be with you every step of the way.
Your recovery journey continues long after you leave the operating room. Sticking to your follow-up schedule is one of the most important things you can do to ensure you get the beautiful results you’re looking for.
While our team is always here for you, you're the one on the front lines of your recovery. Knowing the difference between what’s normal and what’s not gives you both power and peace of mind. Serious complications are rare, but catching them early is everything.
Please call our office right away if you experience any of the following:
Arm lift surgery is overwhelmingly safe, but it’s important to be informed. A major review of studies found an overall complication rate of around 28.9%, with the most common issues being treatable things like raised scars or fluid collections. Knowing what to look for makes you an active, empowered partner in your own healing and success.
So much of your arm lift surgery recovery comes down to the choices you make every single day. While rest and following our medical advice are your foundation, the habits you embrace during this time can have a huge impact on how you feel, how quickly you heal, and how amazing your final results look.
Think of it this way: your body is working overtime to repair itself. Giving it the right fuel and the right environment is one of the most powerful things you can do to help it succeed.
Let's talk about food. Good nutrition is always important, but right now, it’s a critical part of your healing toolkit. Certain foods provide the raw materials your body desperately needs to rebuild tissue and keep your immune system strong.
When you're intentional about what you eat, you're not just having a meal—you're actively participating in your own healing process from the inside out.
Beyond diet, a few key lifestyle factors can either speed up or slow down your progress. The single most important thing you can do for your healing is to avoid nicotine.
Smoking and using any nicotine products constricts your blood vessels, which chokes off the supply of oxygen and nutrients to your incisions. This can lead to serious complications like poor healing, a higher risk of infection, and much more noticeable scars. For this reason, avoiding all nicotine is an absolute must.
A stable weight is the best way to protect your surgical results for years to come. Once you are fully healed and cleared for activity, maintaining your beautifully sculpted arms is achieved through the same healthy habits that supported your recovery.
Even simple, everyday tasks need a little rethinking to protect your arms. When getting dressed, opt for loose, button-up or zip-front shirts. Trying to pull a tight shirt over your head will put unnecessary strain on your incisions.
When you get the green light to shower, follow Dr. Fater’s instructions to the letter. Be incredibly gentle around your incisions and always pat the area dry—never rub. These small adjustments might seem minor, but they go a long way in preventing stress on your healing tissues and making your recovery that much smoother.
Going through recovery after an arm lift naturally brings up a lot of questions. We find that having clear, straightforward answers ahead of time helps our patients at Cape Cod Plastic Surgery feel much more confident and prepared for the healing journey.
Think of this as your go-to resource for those final details. Getting your questions answered now lets you focus on what really matters later: resting and healing.
Think of your compression garments as your best friend during recovery. They apply steady, gentle pressure to your arms, which is absolutely essential for keeping swelling down, supporting the healing tissues, and helping your skin settle into its new, sleeker contour.
Most of our patients wear their garments pretty much around the clock for the first 3 to 6 weeks, only taking them off for a quick shower. The exact timeline really depends on how your body is healing. Dr. Fater will check on your progress at each follow-up and give you the green light when it’s time to wear them less or stop altogether.
While you’ll definitely be looking forward to a nice shower, our top priority in the first few days is protecting your incisions from moisture. Getting the area wet too soon can slow down healing and open the door to infection.
You can typically take your first shower 48 to 72 hours after your surgery, but you'll need the direct go-ahead from Dr. Fater first. He’ll provide very specific instructions on how to gently wash the area (no scrubbing!) and carefully pat everything dry before you put your dressings and compression garments back on.
"Your surgical incisions are the gateway to proper healing. Keeping them clean, dry, and protected according to your surgeon's specific instructions is the single most important step you can take to prevent infection and ensure minimal scarring."
Following these rules isn't just a suggestion—it's a critical part of a successful recovery.
Whether or not you'll need surgical drains really depends on the specific surgical plan Dr. Fater maps out for you. These are just small, thin tubes that serve an important function: they prevent fluid (called a seroma) from building up under the skin.
By giving this fluid a way to exit, drains help reduce swelling, take pressure off your incisions, and lower the risk of certain complications. If drains are used in your procedure, they’re usually removed painlessly in our office within the first week. We’ll send you home with simple, clear instructions on how to manage them until then.
Scarring is an unavoidable part of any surgery that involves an incision. With an arm lift, we’re very strategic about placement. The incision usually runs discreetly along the inside of your arm, from the armpit down towards the elbow, which helps keep it out of sight during most normal activities.
Right after surgery, the scars will look red and might be a little raised—that’s completely normal. Over the next 6 to 12 months, they'll go through a "maturation" process. This just means they will gradually flatten, soften, and fade to a much lighter, less noticeable line. Sticking to our scar care plan, especially protecting the area from the sun for at least a year, is the key to getting the best final result.
At Cape Cod Plastic Surgery, Dr. Fater and our entire team are here to support you through every single step of your recovery. If more questions pop up or you're ready to talk about your goals, please don't hesitate to schedule a consultation. https://ccplasticsurgery.com
July 1, 2026
Transforming Your Body and Improving Wellness After Massive Weight Loss

Understand the full gynecomastia surgery cost in 2026. This guide breaks down fees, factors, insurance, and financing options to help you plan your budget.

June 29, 2026
Explore the 2026 radiofrequency skin tightening cost. Our guide covers prices, influencing factors, and what's included for wise aesthetic investment.
Cape Cod Plastic Surgery offers expert cosmetic and reconstructive procedures in a safe, accredited setting. Led by Dr. Marc Fater, we combine advanced techniques with personalized care to help you look and feel your best.
Monday: 9:00 AM – 5:00 PM
Tuesday: 9:00 AM – 5:00 PM
Wednesday: 9:00 AM – 5:00 PM
Thursday: 9:00 AM – 5:00 PM
Friday: 9:00 AM – 5:00 PM