Excess Skin Removal Surgery: A Patient's Guide (2026)
Your complete guide to excess skin removal surgery. Learn about procedures, candidacy, recovery, costs, and choosing a surgeon with Cape Cod Plastic Surgery.
Nov 5, 2025
So, you're considering breast augmentation and wondering what life looks like after the procedure. It's a journey, not a sprint, and knowing what to expect can make all the difference. While everyone heals at their own pace, full recovery—meaning you're back to all your normal activities—usually takes about six to eight weeks. The final, settled look of your new breasts will continue to develop for several months after that.
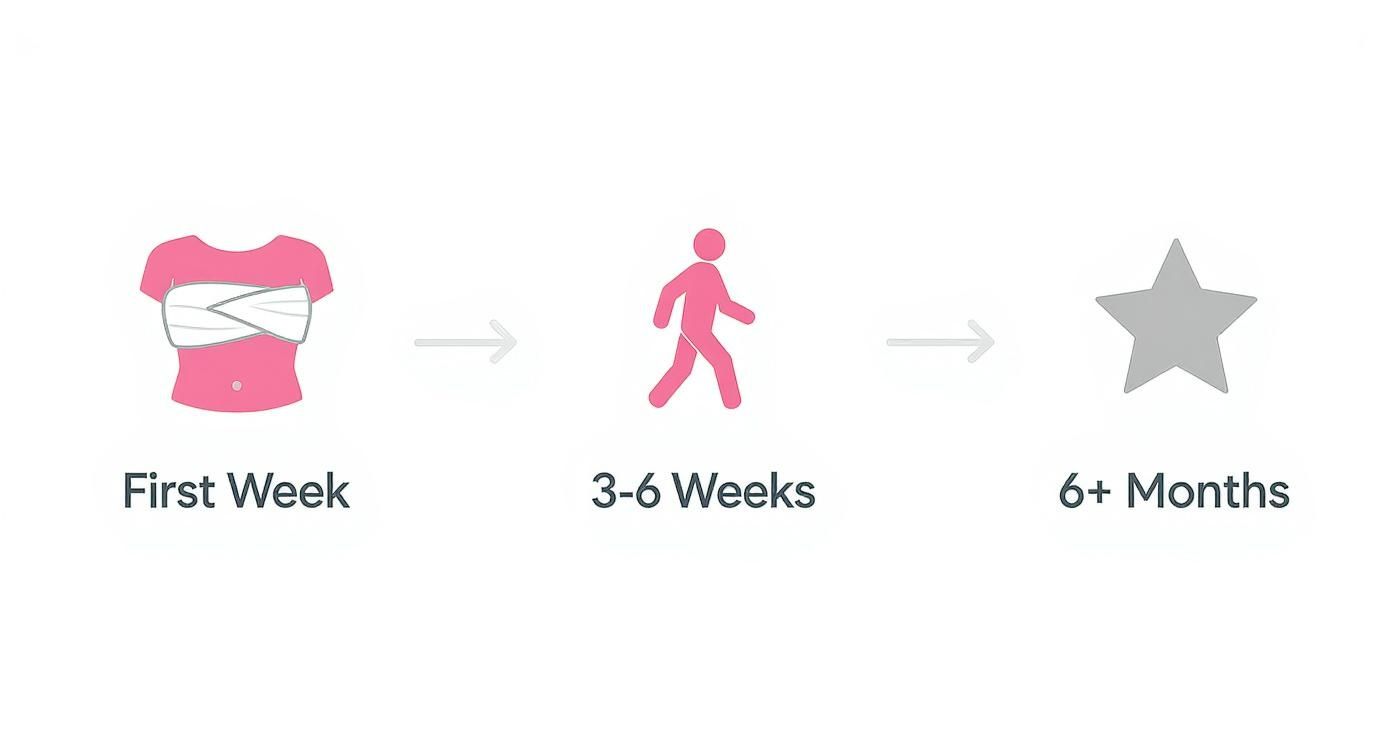
Let's be real: that first week is the most intense part of the healing process. After that, things get progressively easier. Think of your recovery as a roadmap with distinct phases, each with its own set of milestones and care instructions.
Your personal timeline will depend on a few things, like your overall health, your age, and the specific surgical techniques your surgeon used. But generally, the first week involves managing swelling and discomfort with prescribed medication. By weeks three to six, you'll notice a big difference as the initial swelling goes down, you can start reintroducing light exercise, and your implants begin to "drop and fluff," settling into their final position.
To help you visualize what's ahead, we've broken down the key phases of recovery. This should give you a clear picture of the healing process day by day, week by week.
As you can see, the first week requires the most TLC. From there, it's a steady progression back to your normal routine over the next couple of months.
Your body is doing incredible work behind the scenes. The key is to support this natural process by following your surgeon's guidance, prioritizing rest, and being patient as your final results emerge.
Setting yourself up for a smooth recovery starts before you even have the surgery. A little preparation goes a long way. For a seamless transition home, it's worth reading up on planning for home care after hospital discharge.
To give you an even clearer snapshot, here’s a quick summary of the key milestones you can expect.
This table is a great reference, but always remember to follow the specific instructions provided by your surgeon, as they know the details of your procedure and what’s best for your individual healing process.
Alright, let's talk about the first two days after your surgery. Honestly, this is the toughest part, but your only job right now is to take it easy and let your body start the healing process. Right after the procedure, you'll feel pretty groggy and wiped out as the anesthesia wears off. That’s completely normal, so just lean into it.
You'll wake up with your chest wrapped snugly in bandages or a special surgical bra. This isn't just for show—this compression is absolutely essential. It helps keep swelling down and gives much-needed support to your healing tissues and the new implants. Plan on wearing this around the clock.
During these initial 48 hours, you're going to feel sore and tight across your chest. It’s a significant surgery, so some discomfort is expected. Your surgeon will prescribe pain medication, and my best advice is to stay on top of it. Don't try to be a hero; take your medication on schedule, especially for the first day or two, to keep the pain manageable. For a deeper dive, our guide on effective pain management after surgery has some great tips.
This is where having a helper is non-negotiable. You'll need someone to drive you home and stay with you for at least the first 24 to 48 hours. Their job is to help you with everything you can't (and shouldn't) be doing yourself.
You'll have very limited mobility. For now, pretend your arms are just for show. No reaching for things on a high shelf, no lifting anything (not even a full jug of milk), and definitely no pushing. Rest is your priority.
Everyone’s experience is a little different, but the first couple of days follow a pretty standard script. The sensations you're feeling are just your body’s natural reaction to the surgery.
That tight, stretched feeling across your chest? It’s a mix of swelling and your skin and muscles getting used to the volume of the implants. It's a completely normal part of the process and will slowly get better over the next few weeks.
To give yourself the best head start on healing, you absolutely must sleep on your back. Prop yourself up with a few pillows to keep your upper body elevated. This little trick works wonders for reducing swelling by helping fluid drain away from your chest. It also keeps you from accidentally rolling over and putting pressure on your incisions.
Focus on staying hydrated and eating small, healthy meals. This gives your body the fuel it needs to start repairing itself. This period of intense rest really lays the groundwork for a smooth and successful recovery.
The first week is where your body kicks into high gear with its most intense repair work. Your job? To create the perfect, peaceful environment for that healing to happen. Think of this first phase of your recovery as the most critical one for laying the foundation for your final results. You're protecting a very new, very delicate investment.
During these first seven days, you’ll see the most swelling and bruising. These symptoms tend to hit their peak around day three and then slowly start to get better. Your chest will probably feel incredibly tight, a sensation that's even more common if your implants were placed under the pectoral muscle. It's an odd feeling, but it’s completely normal as your body's tissues get used to their new situation.
Being careful with your daily routine this week isn't just a suggestion—it's non-negotiable. Following your surgeon's instructions to the letter will help you sidestep complications and set yourself up for a much smoother recovery.
Your activity level needs to be practically zero. The golden rule is no lifting, pushing, or pulling anything heavier than a gallon of milk. This isn't just about avoiding the gym; it includes everyday tasks you do without thinking, like shoving open a heavy door or carrying a full laundry basket.
Instead, your focus should be on these key areas:
The pain should get a little easier to manage with each passing day, but you'll definitely still be leaning on your prescribed medication to stay comfortable. A pro tip: don't wait for the pain to get bad before you take your meds. Staying ahead of it makes a world of difference.
Remember, the goal of this first week isn't to feel "back to normal"—it's to rest and give your body a real chance to heal. That tightness and soreness are just temporary signs that your body is doing its job.
By the time the week is over, you should see a real improvement. That initial, intense soreness will have faded, and the swelling will have begun its slow retreat. You’ll also have your first follow-up appointment with your surgeon, who will check on your progress and give you the game plan for the next stage of recovery. This first week takes a lot of patience, but all your careful efforts will absolutely pay off.
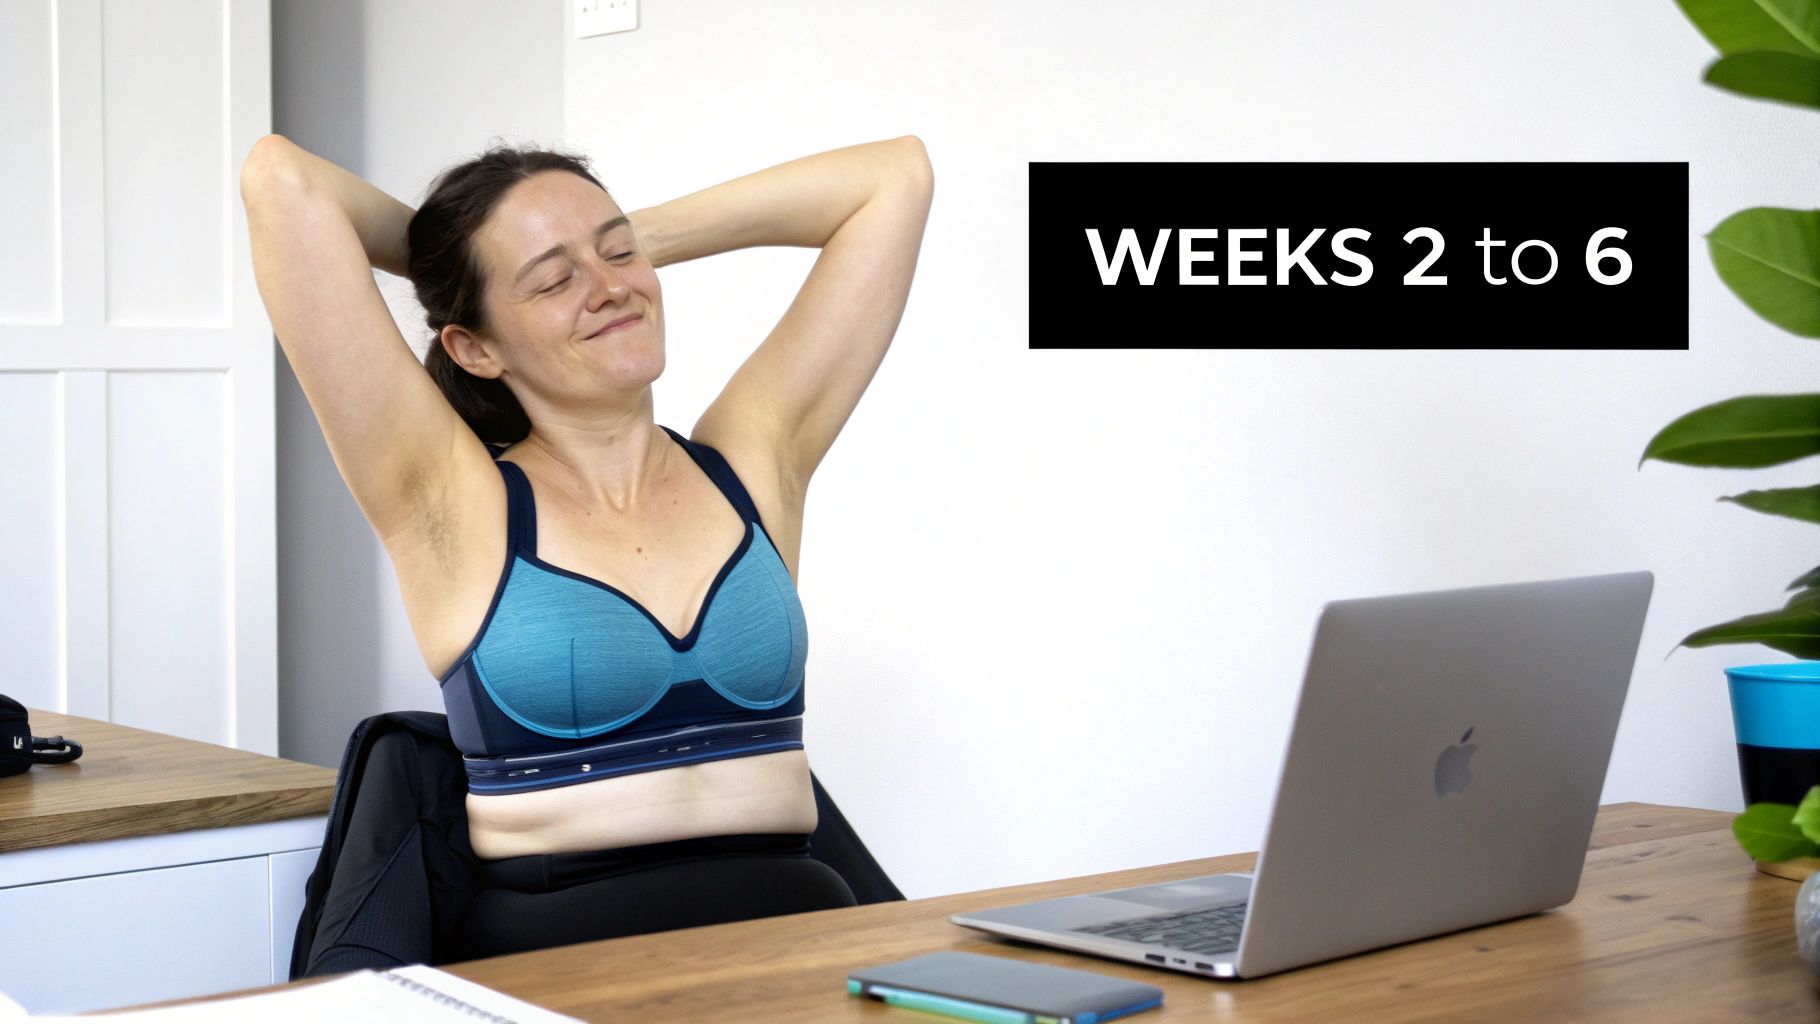
Once you cross into the second week of your recovery, you'll start to feel a real shift. The worst of the initial discomfort is usually in the rearview mirror, and your focus can finally move from pure rest to gently easing back into your life. You’ll likely notice your energy levels coming back and the soreness and swelling beginning to fade.

This phase is all about listening to your body. You're reintroducing daily activities, but with caution. For those with desk jobs, returning to work within one to two weeks is often realistic, as long as there's no physical strain involved. Just remember, anything strenuous is still strictly off-limits.
Your surgeon will give you a specific roadmap, but the general theme for this period is to reclaim your routine without putting your healing at risk. You still have to be careful with your movements, but you won't feel nearly as restricted as you did right after surgery.
Here are some of the milestones you can look forward to:
This is where the magic really starts to happen. You finally get a sneak peek of your final results. Right after surgery, implants tend to sit high on the chest and can feel quite firm because of muscle tightness and swelling. But during weeks two through six, you'll start to see the famous "drop and fluff."
This is the process where the implants begin to settle downward into a more natural position. At the same time, your breast tissue relaxes and softens around them. It’s a slow, beautiful transformation that reveals the softer, fuller look you were hoping for.
Seeing your implants settle is a fantastic sign that your body is healing and adapting just as it should. Be patient—this process can continue for several months, but you'll see the most dramatic changes begin during this window.
Breast augmentation remains one of the most common cosmetic procedures, with around 255,200 performed in the U.S. in 2022 alone. While you'll feel significantly better after that first week, this two-to-six-week period is essential for carefully reintroducing activity and ensuring a smooth recovery. You can find more about these plastic surgery trends and what they mean for patients.
By the time you reach the end of week six, the bulk of the swelling should be gone. You'll feel much more like yourself again, ready for the final stages of healing.
Your breast augmentation recovery isn't a pre-set calendar—it's a unique journey. The specific choices you and your surgeon make before ever entering the operating room are what truly shape your healing process, so it's vital to understand them to set realistic expectations.
Think of it like this: your surgical plan is the blueprint. From where the implant sits to the type you choose, every detail influences how you'll feel in those first few days and weeks, and how your body will adapt long-term.
One of the biggest decisions you'll make is about implant placement. Your surgeon can place the implant either subglandular (over the pectoral muscle) or subpectoral (partially or fully under the pectoral muscle). Each path comes with a different immediate post-op experience.
Placing implants under the muscle generally means more initial discomfort. You'll likely feel a distinct tightness across your chest because the pectoral muscle has been lifted and stretched. This means you can expect a slightly longer recovery with more restricted arm movement at first. The trade-off? This technique often creates a beautifully natural-looking result, especially if you have less natural breast tissue.
On the other hand, placing implants over the muscle is less disruptive to the body's tissues. Research confirms that this approach often leads to a quicker recovery with less upfront pain. One study even found that patients with over-the-muscle placement had a shorter duration of pain and were able to have their surgical drains removed sooner. You can read the full research findings on implant placement recovery to see the data for yourself.
To help you visualize the differences, let's compare the two placement options side-by-side.
Ultimately, this table shows there's no single "best" option—just the best option for your body and your goals.
The type of implant you select also plays a part. While the day-to-day recovery is quite similar for both saline and silicone, the way they feel as they settle can be different. For a deep dive into this, take a look at our guide on choosing between saline and silicone breast implants.
Finally, your incision site—whether it's tucked away under the breast (inframammary), placed around the areola (periareolar), or hidden in the armpit (transaxillary)—will affect your specific scar care routine. Each location has its own healing quirks.
Talking through all these variables with your surgeon is the key to creating a personalized roadmap for your recovery and ensuring you're well-prepared for a smooth, successful outcome.
Once you cross that six-week milestone, you’ve officially passed the most intense part of your breast augmentation recovery. But the journey isn’t quite over yet. Think of it this way: the first six weeks were the major construction phase. Now, it’s all about the finishing touches—the subtle settling and refining that happens over the next several months.
This longer-term period, which can last anywhere from a few months up to a year, is when your new breasts truly begin to feel like a natural part of you.
Your body is still working its magic behind the scenes. Even though you’ll likely be cleared to resume most of your normal routine, you’ll want to ease back into high-impact workouts. Things like running, intense interval training, or heavy chest exercises should wait until you get the green light from your surgeon, which is typically around the three-month mark.
Patience is your best friend during this phase. The “drop and fluff” process, which started a few weeks ago, will continue to work its magic. Most of the dramatic settling happens by about six months post-op, as your implants finish their descent into a more natural position on your chest wall.
At the same time, your breast tissue and pectoral muscles will finally relax completely around the implants. This is what makes them feel so much softer and more integrated with your body—a far cry from how they felt in those early weeks.
By the one-year anniversary of your surgery, what you see in the mirror is it—your final result. The shape, the feel, and the position of your breasts at this point are what you can look forward to enjoying for years to come.
Your incision sites go through their own incredible transformation during this time, too. For the first several months, it's completely normal for scars to look pink, reddish, and maybe even a little raised. That's just your body's way of building new collagen to heal the area.
Over the next six months to a year, you’ll notice those scars start to fade, flatten out, and lighten in color. Eventually, they will blend much more seamlessly with your skin. To help this process along, make sure you:
This long-term healing is what "fully recovered" really means. It’s a gradual, patient process where your final, beautiful results are slowly unveiled, letting you step into your newfound confidence.
Even with a detailed timeline, it's natural to have specific questions pop up as you navigate your breast augmentation recovery. Getting clear, straightforward answers can make all the difference in feeling confident and secure during your healing. Let's walk through some of the most common questions we hear from our patients.
This is a big one for all the side-sleepers out there! You'll need to be patient with this. For the first four to six weeks, we ask you to sleep on your back, propped up with pillows.
This position does two crucial things: it takes all the pressure off your new implants and incisions, and it helps minimize swelling. Your surgeon will let you know when your body is ready for side sleeping based on how you’re healing.
You'll hear the term "drop and fluff" a lot, and it's a key part of the journey to your final look. It describes the natural process of your implants settling into their permanent home on your chest.
This doesn't happen overnight. It starts a few weeks after surgery and can take anywhere from three to six months. As the initial post-op swelling goes down and your chest muscles relax, the implants soften and drop slightly. This is what creates that beautiful, natural-looking contour.
At first, your implants will look high and tight—almost like they're sitting on top of your chest. This is totally normal! The drop and fluff is the gradual "unveiling" of your final, softer result.
Think of that surgical bra as your best friend for the first few weeks. It's essential for providing support, minimizing swelling, and protecting the healing tissues.
You'll likely be wearing it 24/7 for the first several weeks. Once you hit the six-week mark and get the go-ahead from your surgeon, you can usually switch to supportive, comfortable sports bras. You'll be cleared to go back to your favorite underwire bras once you're fully healed.
Knowing what's normal versus what's a red flag is critical for a safe recovery. While you'll have some expected discomfort, you should call your surgeon right away if you notice any of these signs:
Ready to start your own aesthetic journey with an expert team you can trust? At Cape Cod Plastic Surgery, Dr. Fater and our dedicated staff are here to guide you every step of the way. Schedule your consultation today to discuss your goals.
Your complete guide to excess skin removal surgery. Learn about procedures, candidacy, recovery, costs, and choosing a surgeon with Cape Cod Plastic Surgery.
June 20, 2026
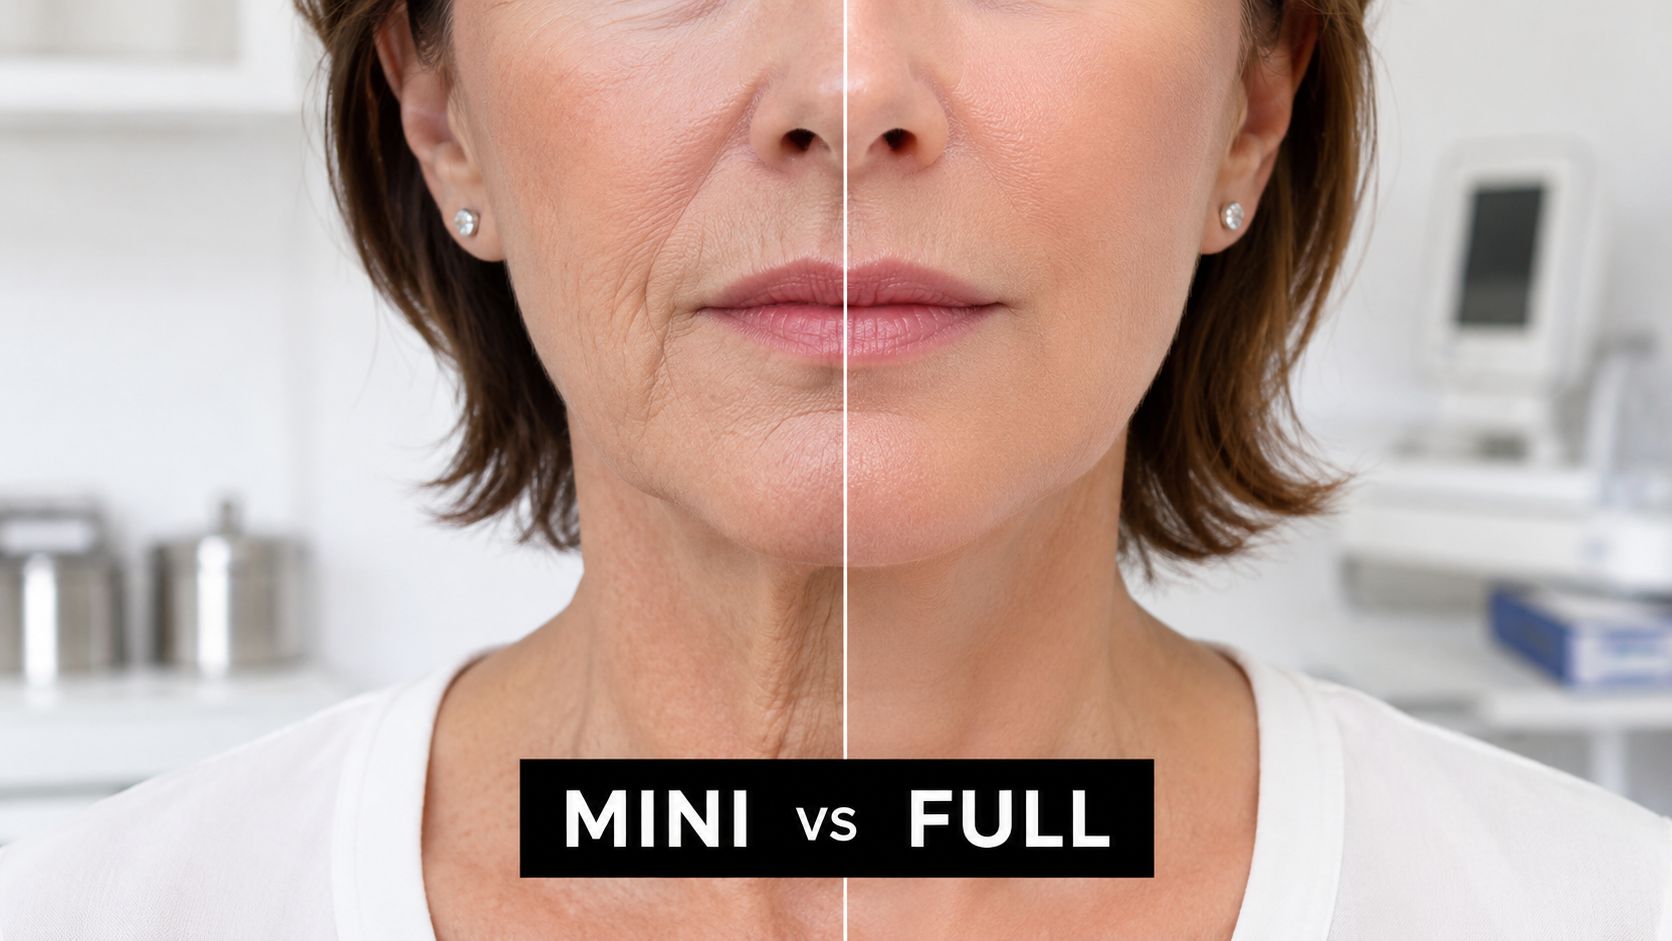
Mini facelift vs full facelift: a clear guide. Understand the differences in technique, recovery, cost, and results to choose the best option with Dr. Fater.

June 19, 2026
Learn how to make your face look slimmer with expert advice on makeup, diet, exercises, and cosmetic procedures from a board-certified plastic surgeon.
Cape Cod Plastic Surgery offers expert cosmetic and reconstructive procedures in a safe, accredited setting. Led by Dr. Marc Fater, we combine advanced techniques with personalized care to help you look and feel your best.
Monday: 9:00 AM – 5:00 PM
Tuesday: 9:00 AM – 5:00 PM
Wednesday: 9:00 AM – 5:00 PM
Thursday: 9:00 AM – 5:00 PM
Friday: 9:00 AM – 5:00 PM