
How to Make Your Face Look Slimmer: An Expert Guide
Learn how to make your face look slimmer with expert advice on makeup, diet, exercises, and cosmetic procedures from a board-certified plastic surgeon.
Jan 23, 2026

You're excited about your liposuction results, and you should be! But a huge part of achieving that amazing new contour is understanding what comes after the procedure. Knowing what to expect during your recovery is the key to a smooth, successful, and stress-free journey.
Think of your healing process not as a single event, but as a series of phases. Each one builds on the last, taking you from initial rest and recuperation to the final reveal of your sculpted results. Your patience and commitment to following post-op instructions are just as important as the surgery itself.
To give you a snapshot of what those first crucial weeks look like, this infographic maps out the initial stages of your liposuction recovery timeline.
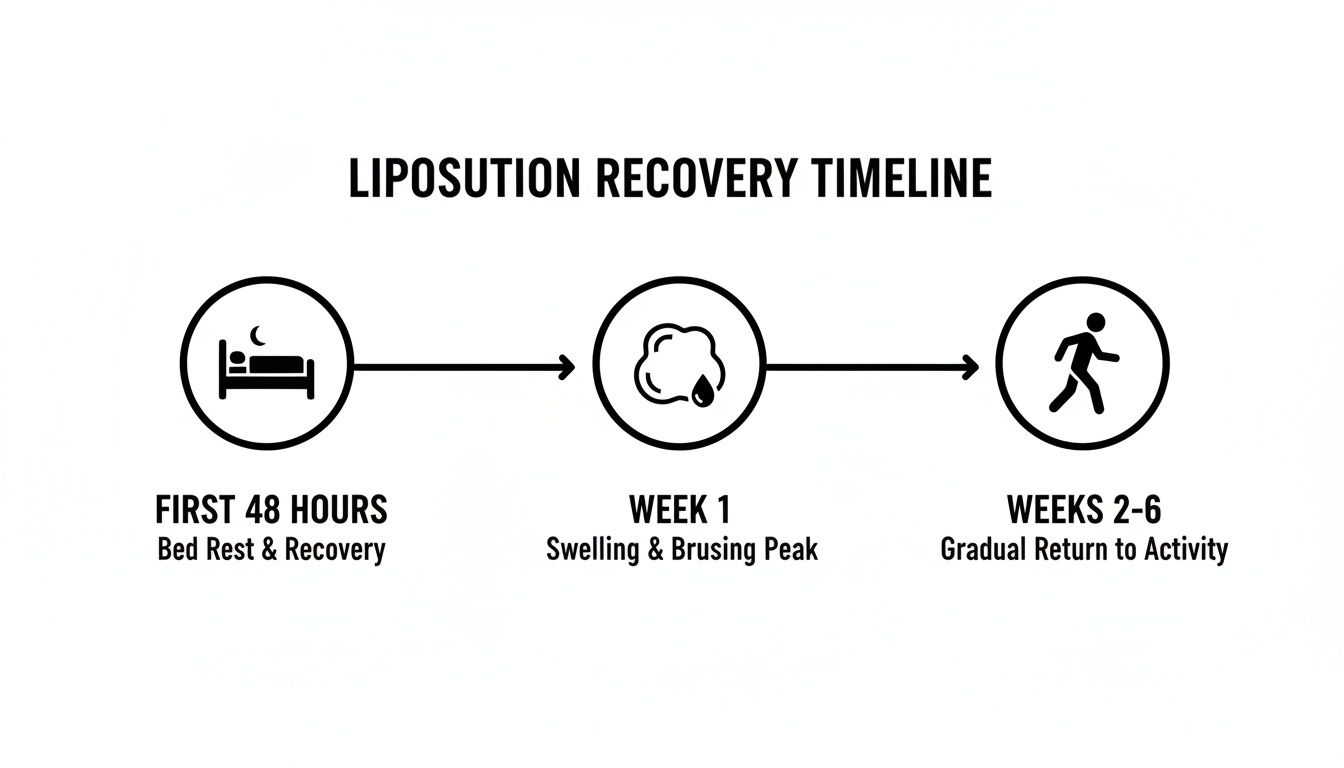
As you can see, recovery starts with dedicated rest before moving through a period where swelling is at its peak. From there, you’ll gradually and safely begin to reintroduce more movement into your daily routine.
We’ve created this guide to be your go-to resource, demystifying the healing process and giving you a realistic framework for what’s ahead. We'll break down the entire recovery timeline, so you’ll know exactly what to anticipate every step of the way.
Here’s a look at what we'll cover:
To give you a high-level overview, here’s a quick summary of what you can expect during the main phases of your recovery.
This table provides a great starting point, but remember that every patient's journey is a bit different.
Your body’s healing process is unique, but following a structured recovery plan is the most reliable way to support it. Patience and adherence to post-operative instructions are your most powerful tools for achieving a fantastic result.
Ultimately, our goal is to help you set realistic expectations, from the first few hours after your procedure to the moment you see your final, beautifully sculpted new shape. By arming yourself with this knowledge, you can approach your recovery with confidence and focus on what truly matters: healing well and loving your transformation.
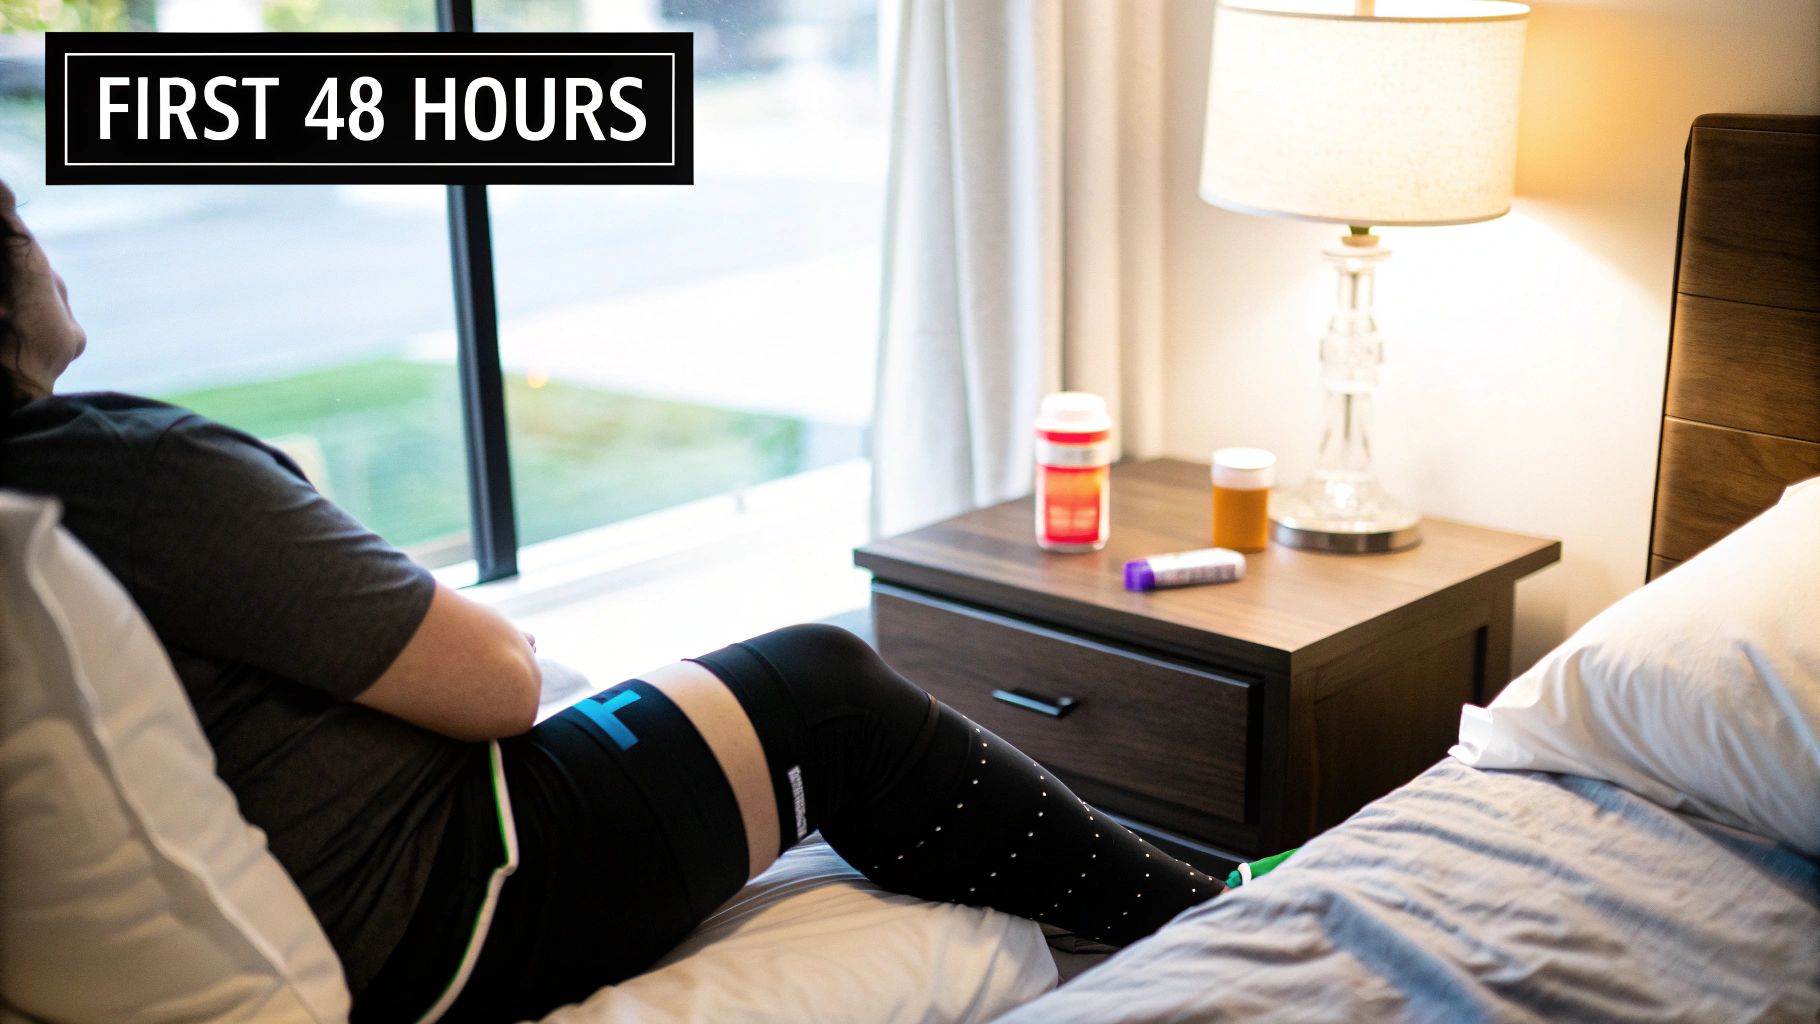
The moment your liposuction procedure wraps up, your body kicks into healing mode. These first 48 hours are the bedrock of your entire recovery, and the mission is simple: rest. Think of this time as a mandatory reset, where every ounce of your body's energy is focused on managing inflammation and kicking off the repair process.
Don’t be surprised if you feel groggy and pretty tired right after surgery as the anesthesia fades. That's completely normal. Your only job is to let yourself sleep and relax so your body can bounce back.
You'll wake up already fitted into a specialized compression garment. This snug garment is your best friend in these early days. It’s critical for minimizing swelling, keeping bruising in check, and supporting the treated areas as your tissues and skin start to settle into their new shape.
Everyone feels sore during this initial phase, but it might not be what you expect. Most of our patients describe it not as a sharp, cutting pain, but as a deep, muscle-like ache—very similar to how you’d feel after a really tough workout.
This discomfort peaks in the first couple of days and is easily managed with the pain medication prescribed by Dr. Fater. The key is to stay ahead of the pain. Take your medication on the dot, rather than waiting for the soreness to build and become intense.
To make yourself more comfortable and help your body heal, stick to these steps:
Crucial Insight: These first two days aren’t about being tough or pushing through. It's about giving your body exactly what it needs to heal: rest, fluids, and consistent pain relief. This lets your body channel all its resources directly into recovery.
It is absolutely essential to have a trusted friend or family member with you for at least the first 24 to 48 hours. They can handle the little things—like making a light meal, grabbing you a glass of water, or helping you get up—so you can focus entirely on resting.
While you're definitely not going for a jog, short, gentle movements are actually encouraged. We’re talking about slow, careful walks to the bathroom or from your bed to a comfy recliner. These small trips are vital for boosting circulation and lowering the risk of blood clots.
You’ll also need to keep your tiny incision sites clean and dry. Our guide on how to care for surgical incisions has some great tips on this. Here at Cape Cod Plastic Surgery, we’ll give you very specific instructions on when you can shower and how to look after your dressings, ensuring your recovery starts off smoothly and without a hitch.
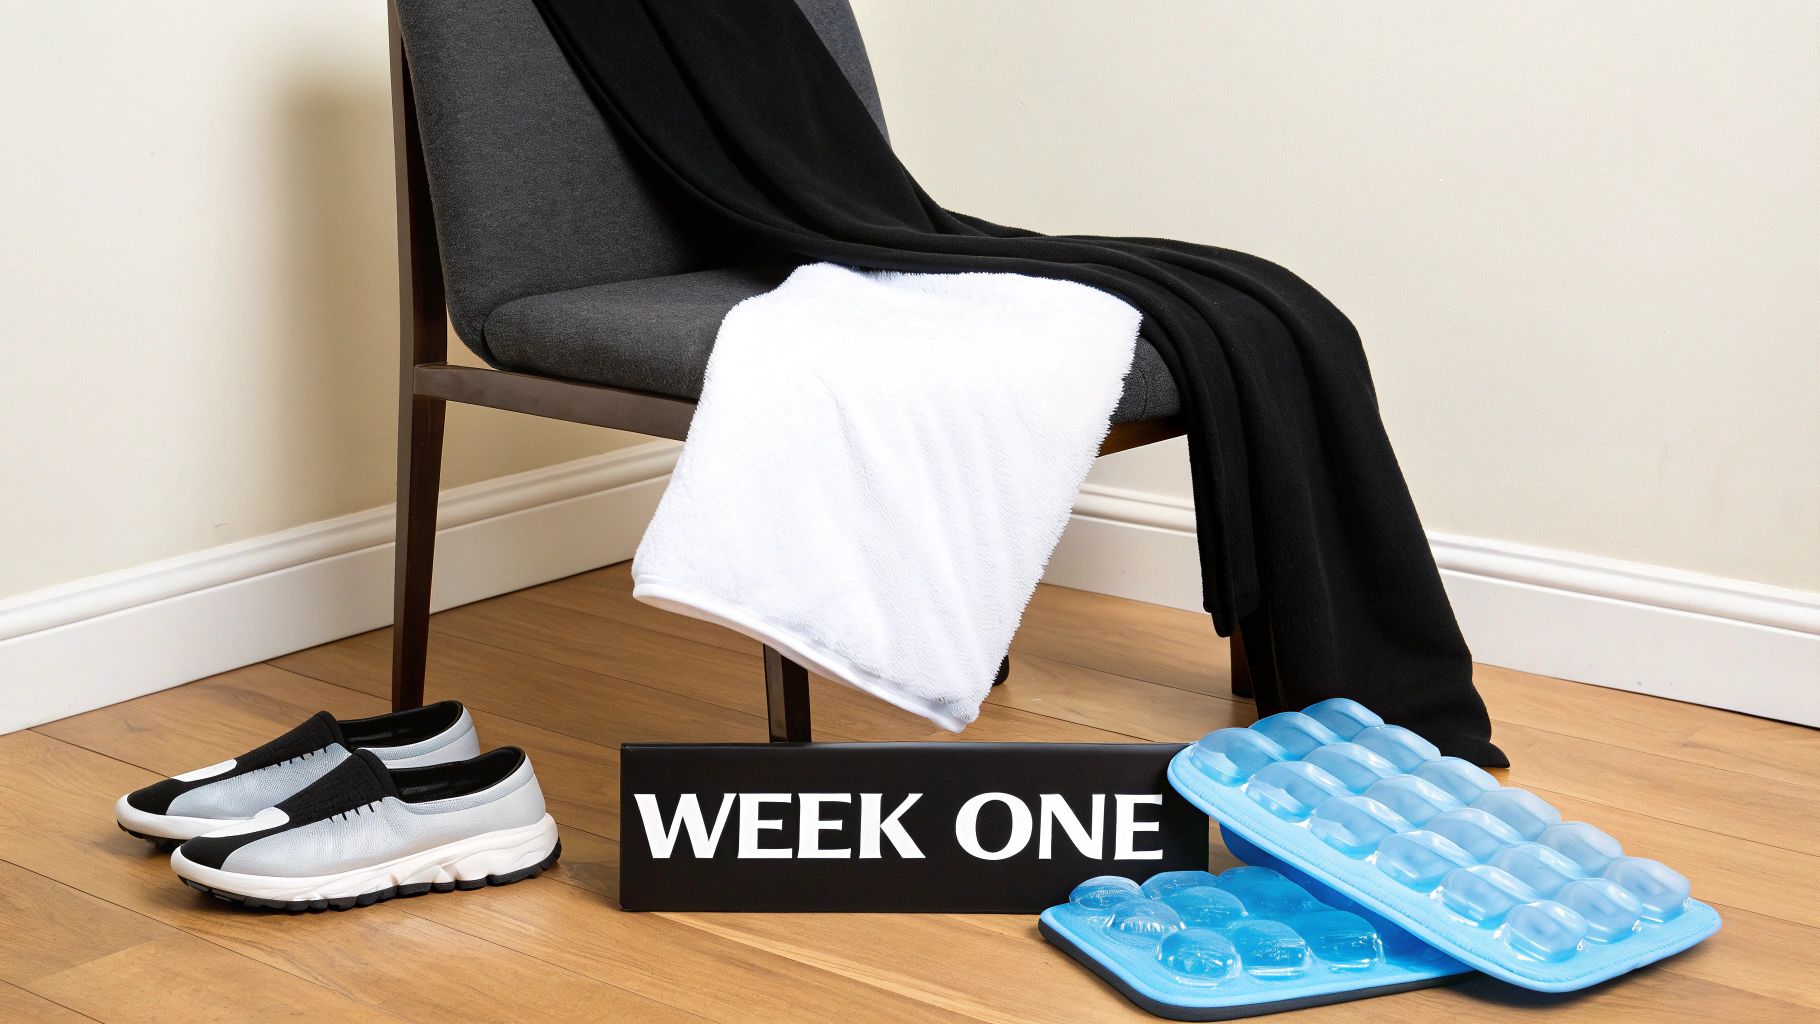
Once you’re past the first 48 hours, you’ve officially entered the most intense part of your recovery. Days three through seven are when your body is really kicking its healing mechanisms into high gear. As a result, this is typically when you'll see swelling and bruising reach their peak before they finally start to fade. It might feel counterintuitive, but it's a completely normal sign that the healing process is working just as it should.
Think of this first week as the big uphill climb. It's tough, but the view from the top is worth it. Your main job is simply to manage your discomfort and give your body the support it needs to heal. You’ll be living in your compression garment, drinking plenty of water, and focusing on gentle movement. You won't feel like a million bucks just yet, but every single day gets you closer to seeing your final results.
From about day three onward, you'll probably notice the swelling get more pronounced, often hitting its peak around the end of the week. This is just your body's natural inflammatory response to the procedure. The treated areas might feel surprisingly firm, tight, and even look a bit larger than they did before your surgery. I know this can be a little alarming, but I promise it's temporary and expected.
This is the week that 90-100% of patients experience their most significant swelling and bruising. While it can take 10-14 days to really subside, the most intense period is right now. Most of our patients describe the feeling as a deep soreness, not a sharp pain, and it’s usually managed well with the prescribed medication.
Your compression garment is your absolute best friend this week. It’s not just a piece of clothing; it's a medical tool that acts like a constant, gentle hug for the treated areas. Its job is to:
You'll need to wear your garment 24/7, taking it off only for brief showers as Dr. Fater instructs.
While you absolutely need to avoid strenuous activity, becoming a complete couch potato isn’t the goal either. The key is to strike a balance with light, intentional movement. The guidelines for this week are pretty straightforward.
What You Should Be Doing:
What to Avoid:
To help with swelling and circulation during this phase, some patients find that incorporating specialized at-home massage therapy can be beneficial.
Sometime this week, you’ll come back to our Cape Cod Plastic Surgery office for your first follow-up visit. This is a really important check-in.
During this appointment, we’ll take a look at your incision sites to assess your healing, check on the swelling to make sure everything looks normal, and answer all of your questions. It's the perfect time to address any concerns and make sure your recovery plan is working for you.
This visit is our chance to confirm everything is on track and to give you the guidance and peace of mind you need to continue healing with confidence.
As you move into the second week of your recovery, you’ll start to feel a real turning point. The intense, deep soreness from that first week begins to subside, replaced by a more manageable tenderness. You’ll finally start feeling more like yourself again. This entire period, from week two all the way to week six, is all about bridging the gap between that initial healing phase and getting back to your normal life.
This is also when you'll see the most dramatic reduction in swelling and bruising. Think of it like this: the first week, your body is like a landscape after a huge storm—swollen and saturated. Now, the floodwaters are finally starting to recede, revealing the new contours underneath. Those deep, dark bruises will begin their beautiful transition, fading to a yellowish or greenish hue as your body clears them away.
By week two, most of our patients with desk jobs feel ready to head back to the office. If your job is more physically demanding and involves heavy lifting, you’ll definitely need more time to heal properly. The absolute most important thing during this phase is to listen to your body. Don’t push it.
Your energy will start coming back, but you'll probably still get tired more easily than you're used to. It's so important to keep prioritizing rest and getting solid, full nights of sleep to give your body the fuel it needs to keep healing.
You can start taking on light household chores and running simple errands again. Just remember, no heavy lifting! Anything over 10-15 pounds is still a no-go for now. That includes things like heavy grocery bags, full laundry baskets, and even small children. Be mindful when you bend and twist, too, as you don't want to put any unnecessary strain on the treated areas.
Your compression garment is still your best friend during this time, but how you wear it is about to change. You've been living in it 24/7, but now Dr. Fater will likely adjust your schedule.
This garment is doing critical work behind the scenes. It's controlling that last bit of major swelling and helping your skin retract smoothly over its new, slimmer shape. Sticking to the schedule is one of the single best things you can do to ensure you get that beautiful, refined result you're after.
Graduating to less wear-time is a fantastic milestone and a clear sign you’re well on your way.
After a few weeks of taking it easy, you’re probably itching to get moving. The good news is that around week three or four—once you get the official okay from your surgeon—you can start reintroducing some light exercise. This is not the time to jump back into high-impact workouts or hit the weight room hard.
Instead, we want you to focus on gentle activities that get your blood flowing without putting stress on your body:
For now, avoid any exercises that directly target the areas where you had liposuction. If you had lipo on your abdomen, for instance, crunches are off the table. The goal here is to gently ease back into a fitness routine, not to break any personal records. Most patients get the all-clear to resume their normal exercise routines after the six-week mark.
Patience is everything during this stage. While the worst of the swelling is gone, you’ll still notice some firmness, numbness, or even some minor lumpy spots. This is completely normal—it's just your tissues settling into their new home. Trust the process, follow our instructions, and know that your final results are getting closer every single day.
Once you hit the two-month mark, you’ve officially turned a corner. The toughest part of your recovery is behind you, and now the fun really begins. This is the "refinement" phase, where your job is to be patient and watch as your final, beautiful results come into focus. Think of it as the home stretch, where the last little bits of swelling finally fade away to reveal the sleek, sculpted shape you've been working towards.
I often tell my patients to think of the first month like a sculptor roughing out a block of marble—you can see the basic shape, but the fine details are still hidden. From month two on, it's all about polishing that sculpture. That last bit of subtle swelling, which you might not even notice day-to-day, will continue to go down, allowing for much greater definition. It’s a gradual process, but it’s where the real magic happens.
During this time, the changes become more and more apparent as the last of the post-op inflammation resolves. While the lion's share of the swelling is gone by about six weeks, that last 10-20% can hang around for a few more months. This is totally normal; it's just your body's way of finishing the healing process.
You’ll likely find that you look a little better each week. Any firmness in the treated areas will begin to soften, and any lingering numbness will continue to get better as the nerve endings wake back up. This is when you can truly start to see the outcome of your procedure, as your skin continues to tighten and settle smoothly over its new foundation.
Most people—about 90% of patients—see their results fully "settle" somewhere between three and six months post-op. You'll likely see about 70-80% of your new contour by the end of month two, but these next few months are all about getting that final, polished look as the last bit of swelling disappears. You can read more about what to expect as your results finalize at newbeauty.com.
Once you get the green light from your surgeon, this is usually when you can get back to your normal workout routine without restrictions. You've probably been enjoying light cardio and some moderate activity for a few weeks, but now you can typically bring back the more intense workouts.
This often includes activities like:
The most important thing is to listen to your body as you ramp things up. Start slowly and increase the intensity bit by bit. If you feel any new or unusual pain, just pull back and give yourself a little more time to heal.
Your small incision sites healed up weeks ago, but now is the perfect time to focus on making them fade away. Liposuction scars are already tiny, but with a little care, you can help them become nearly invisible. Dr. Fater might recommend using silicone sheets or gels, which help keep the scars hydrated and flat. It's also absolutely critical to protect them from the sun—UV exposure can cause them to darken permanently.
Finally, the best way to keep your results looking fantastic is to maintain a healthy lifestyle. Liposuction permanently removes fat cells, but the ones left behind can still get bigger if you gain weight. To enjoy your new shape for years to come, focus on keeping your weight stable with a balanced diet and regular exercise. Your liposuction results are an amazing head start—and a great motivator to keep investing in your health and well-being.

Following your prescribed liposuction recovery timeline is the most important thing you can do, but don't underestimate your own role in the healing process. You have the power to actively support your body and make the entire experience smoother and more comfortable.
Think of it this way: your surgeon did their part, and now it's your turn to provide your body with the best possible conditions for healing. The choices you make every day—what you eat, how much you drink, and how you care for yourself—can make a real difference in managing swelling and improving your final outcome.
Let's walk through some of the most effective ways you can help yourself heal.
Your body is working hard behind the scenes to repair itself, and that requires a lot of energy and specific nutrients. Giving it the right fuel is non-negotiable for a good recovery.
Your diet directly impacts how fast you heal and how much inflammation you experience. Nutrient-dense foods give your body the tools it needs, while poor food choices can actively slow things down.
For more helpful ideas, take a look at our guide on how to speed up healing after surgery.
Two of the biggest concerns after surgery are swelling and scarring. With a little proactive care, you can have a major impact on both.
Lymphatic Drainage Massage
Once Dr. Lakin gives you the okay (usually after the first week), lymphatic drainage massage can be a game-changer for swelling. This is a very light, specialized massage technique that helps your body clear out trapped fluid more efficiently. It's a gentle way to give your body's natural drainage system a boost. To learn more about this and other techniques, you can explore these strategies for quick healing.
Proper Incision Care
Following our instructions for keeping your small incision sites clean and dry is the best way to prevent infection. After they’ve fully closed and you get the green light from us, you can start thinking about scar care. Simple things like silicone sheets or gels are great for keeping the new skin hydrated, which helps scars flatten and fade over time.
Finally, a quick but critical reminder: stay away from smoking and alcohol. Both can seriously interfere with your circulation, slow down the healing process, and put you at a higher risk for complications. You've come this far—don't let anything get in the way of your fantastic results.
It's completely normal to have a lot of questions as you prepare for your liposuction recovery. Thinking through the practical, day-to-day details is a big part of feeling ready. To help put your mind at ease, we’ve put together answers to some of the questions we hear most often from our patients here at Cape Cod Plastic Surgery.
Our hope is that having these answers upfront will give you the confidence to navigate your healing process smoothly, knowing what to expect every step of the way.
Most people can take their first shower within 48 to 72 hours after their procedure, but always wait for the green light from your surgeon. You'll need to gently take off your compression garment first.
When you do shower, use lukewarm water and just let it run over the treated areas—no scrubbing. Afterward, carefully pat the incision sites dry with a clean towel. One thing to remember: no baths, hot tubs, or swimming pools. You’ll need to avoid submerging your incisions until they are completely healed and we've given you the all-clear, which is usually a few weeks down the road.
This is a very common concern, but the news is good. Liposuction incisions are tiny, often just a few millimeters long, so the resulting scars are minimal. We are incredibly careful about placing these small incisions in natural body creases and folds where they are hidden from the very beginning.
Over time, these small marks fade significantly. For most patients, they become so faint they’re hard to find. Following your scar care instructions—like using silicone gels or sheets after the incisions have closed—makes a huge difference in how well they heal.
While complications are rare, it’s vital to know what to look out for. Being proactive is key to a safe recovery, so never hesitate to call if something doesn't feel right.
Please get in touch with our office immediately if you notice any of these signs:
The timeline for wearing your compression garment really depends on the extent of your liposuction and your body's unique healing pace. As a general rule, expect to wear it 24/7 for the first 3 to 4 weeks, taking it off only to shower.
After that initial phase, we might suggest wearing it for half the day for a few more weeks to keep everything supported. This garment is your best friend for minimizing swelling and helping your skin conform beautifully to its new shape, so sticking to the schedule we give you is one of the most important things you can do for a great result.
At Cape Cod Plastic Surgery, Dr. Fater and our entire team are committed to supporting you through every phase of your liposuction recovery. If you have any more questions or want to talk about your own body contouring goals, we’d love to see you for a consultation. You can learn more about your options by visiting us at https://ccplasticsurgery.com.
Learn how to make your face look slimmer with expert advice on makeup, diet, exercises, and cosmetic procedures from a board-certified plastic surgeon.
June 18, 2026
Considering diastasis recti repair? Our complete guide covers diagnosis, non-surgical options, surgical techniques, recovery, and finding the right surgeon.
June 17, 2026
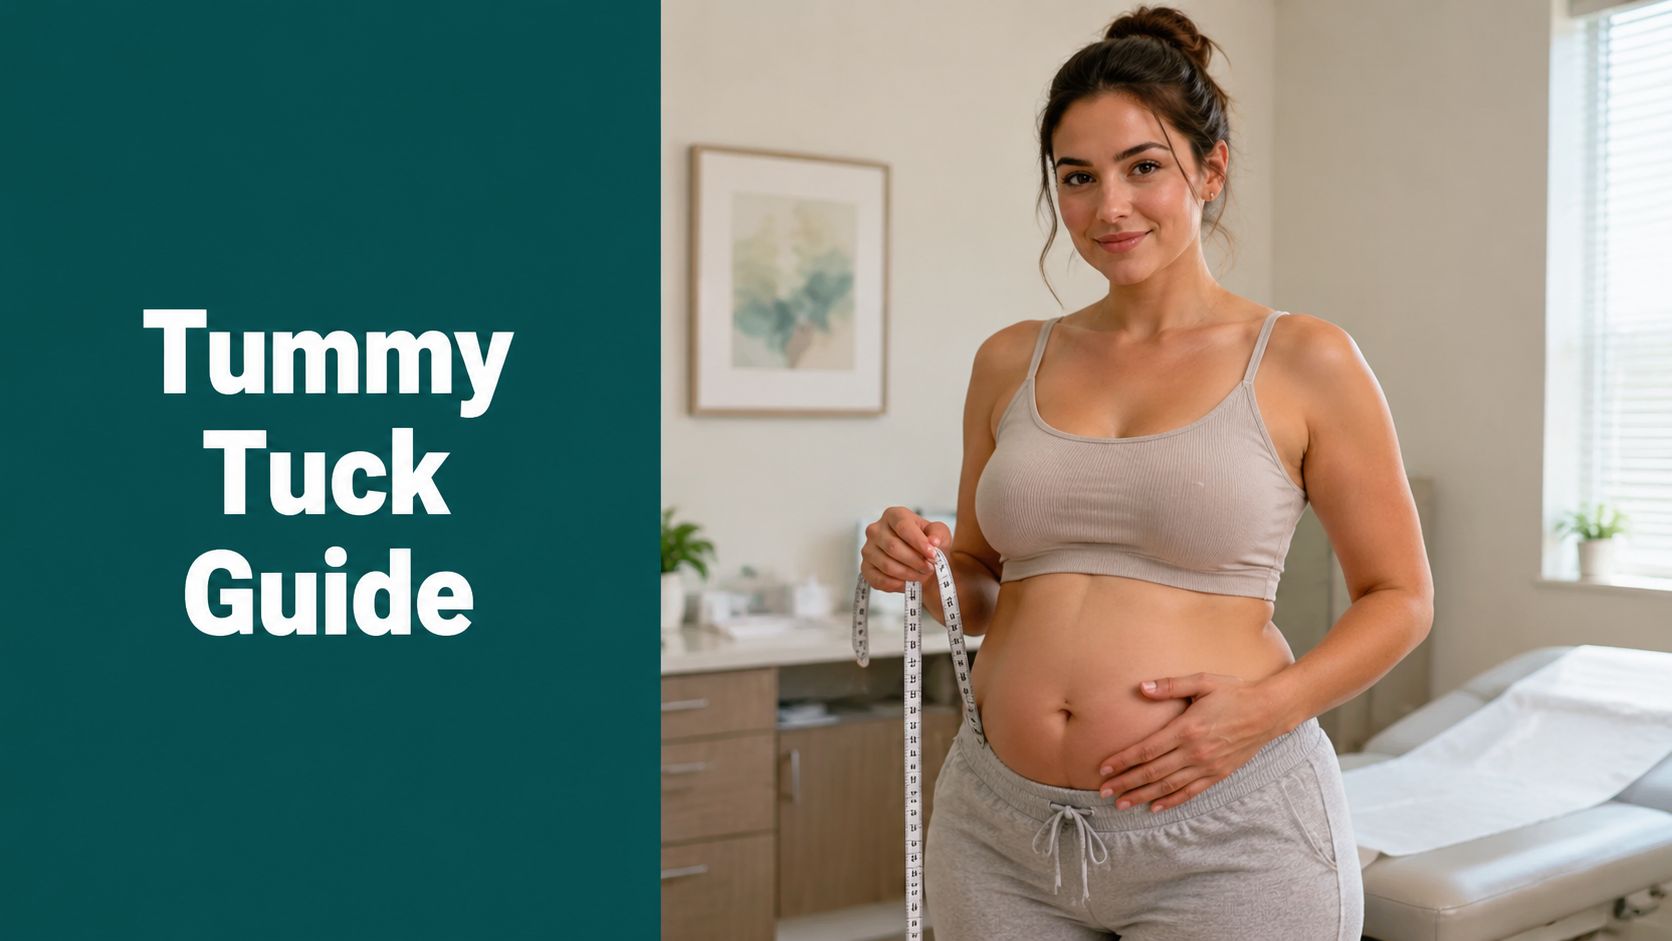
Considering a post pregnancy tummy tuck? Get our expert guide on candidacy, timing, recovery, choosing a surgeon, and addressing diastasis recti.
Cape Cod Plastic Surgery offers expert cosmetic and reconstructive procedures in a safe, accredited setting. Led by Dr. Marc Fater, we combine advanced techniques with personalized care to help you look and feel your best.
Monday: 9:00 AM – 5:00 PM
Tuesday: 9:00 AM – 5:00 PM
Wednesday: 9:00 AM – 5:00 PM
Thursday: 9:00 AM – 5:00 PM
Friday: 9:00 AM – 5:00 PM