
July 1, 2026
Advantages of Tummy Tuck After Significant Weight Loss
Transforming Your Body and Improving Wellness After Massive Weight Loss
Jan 29, 2026
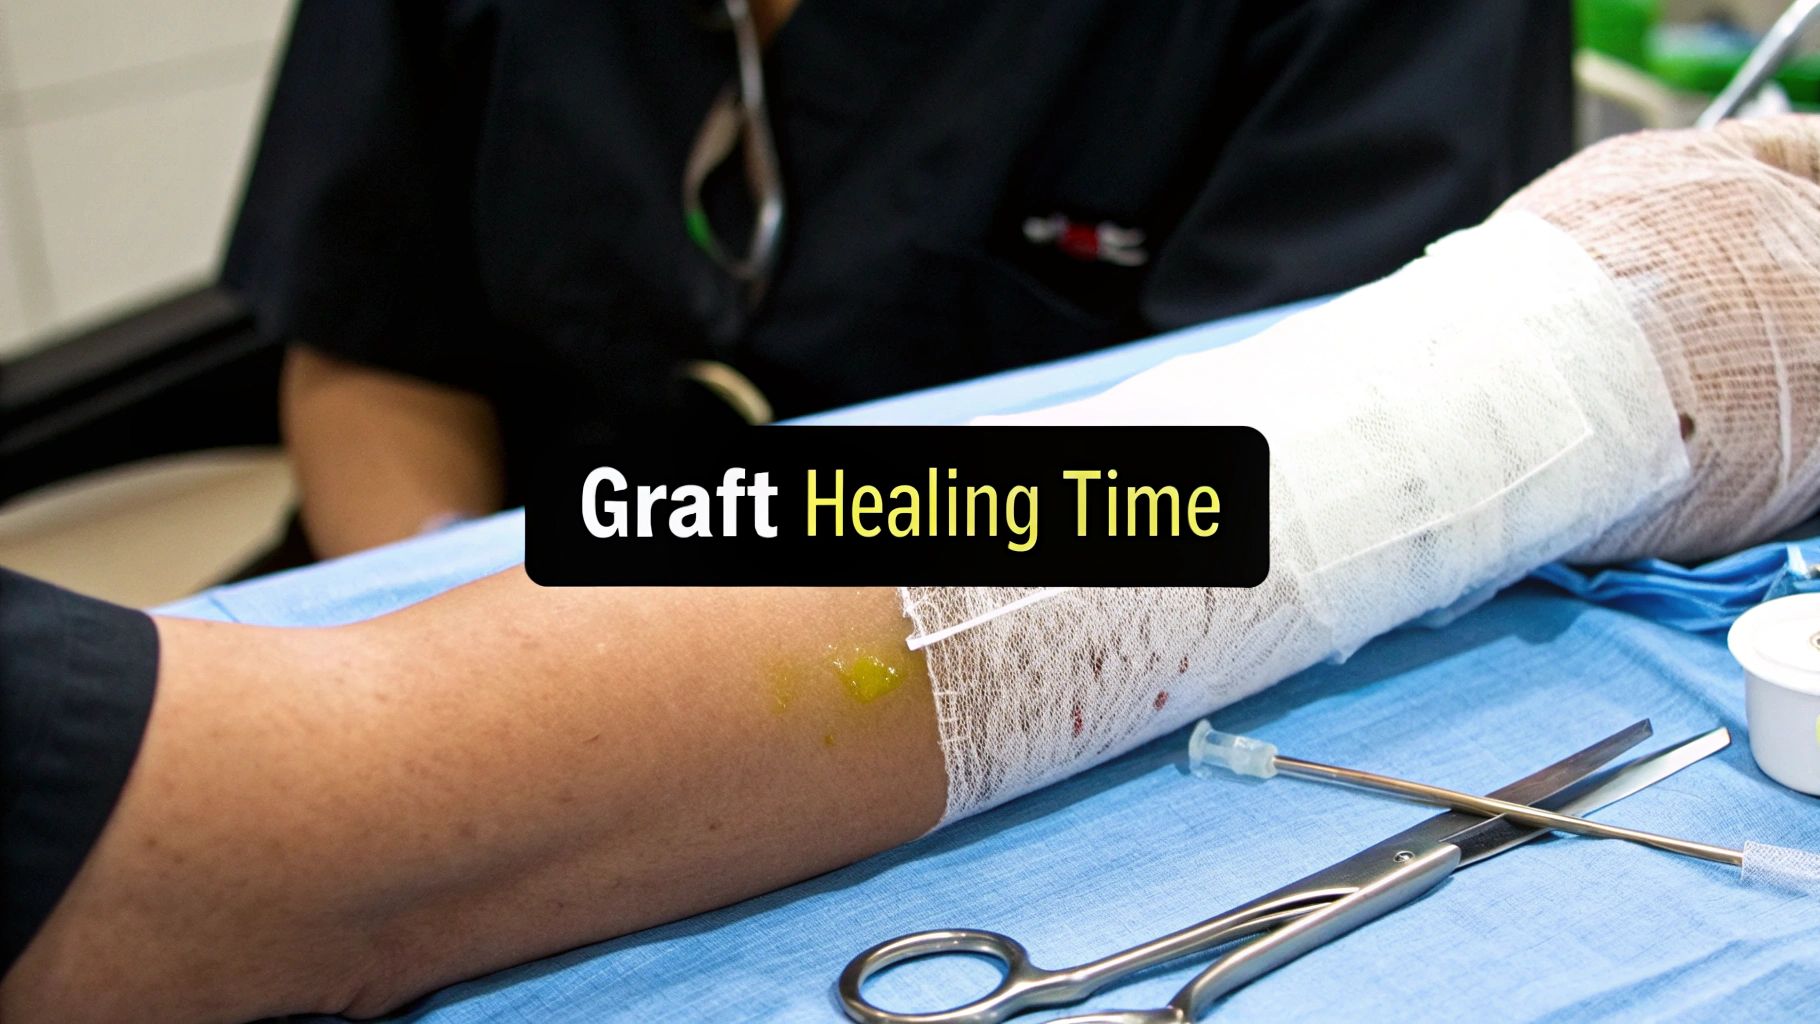
If you're preparing for skin graft surgery, one of the biggest questions on your mind is probably, "How long will this take to heal?" It's a completely normal thing to wonder, and having a clear picture of the recovery process can make the entire experience feel much more manageable.
While every patient is unique, a typical skin graft healing time is about 2-3 weeks for a split-thickness graft. For a more involved full-thickness graft, you're usually looking at a timeline closer to 3-4 weeks, sometimes a bit longer.
Knowing what’s coming is half the battle. Your healing journey will follow a predictable path, but the timeline depends heavily on which type of graft your surgeon performs. The two main types—split-thickness and full-thickness—are used for different reasons and have their own recovery roadmaps.
A helpful way to think about it is to imagine patching up a lawn. A split-thickness graft is like laying down new sod. It's great for covering a large, damaged area quickly using just the top layer of healthy grass. On the other hand, a full-thickness graft is more like transplanting an established plant, root ball and all. It’s a more delicate process used for smaller, more visible spots where you want a perfect match and long-term durability.
The real difference comes down to how deep the donated skin is.
Split-Thickness Skin Grafts (STSG): These grafts use the very top layer of skin (epidermis) and a small part of the deeper layer (dermis). They’re the go-to solution for covering large wounds, like those from a burn. The donor site for these grafts heals pretty quickly, usually within 10-14 days, much like a deep scrape.
Full-Thickness Skin Grafts (FTSG): This procedure involves taking the full depth of the skin—both the epidermis and the entire dermis. The result is tougher and looks much more natural, making it ideal for highly visible areas like the face, hands, or nose. Because the entire layer is removed, the donor site is stitched closed and heals like any other surgical incision.
This timeline gives you a great visual overview of what the healing process looks like for each.
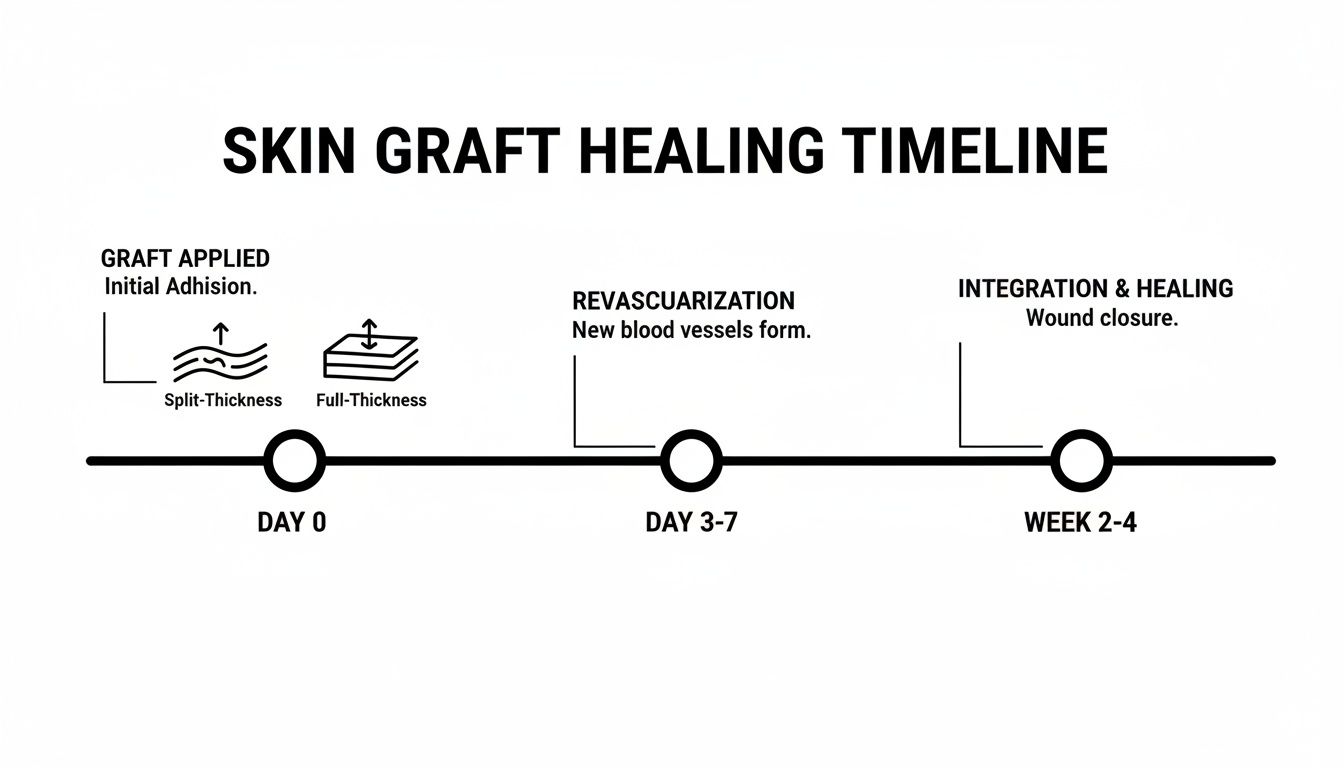
As you can see, a split-thickness graft gets you to initial wound closure faster, but a full-thickness graft provides a better cosmetic and functional result in the long run.
Under the right conditions, a successful skin graft has a success rate of about 90%. Your biggest contribution to that success is following your post-operative care instructions to the letter. This is what helps the graft "take."
For a quick side-by-side look, this table breaks down the key milestones. And for a deeper dive into the recovery experience, our general guide on recovering from plastic surgery is a fantastic resource.
This table offers a clear, at-a-glance comparison of what to expect as your skin graft heals.
Keep in mind that these timelines are general estimates. Your personal healing journey will be influenced by many factors, which we'll explore next.
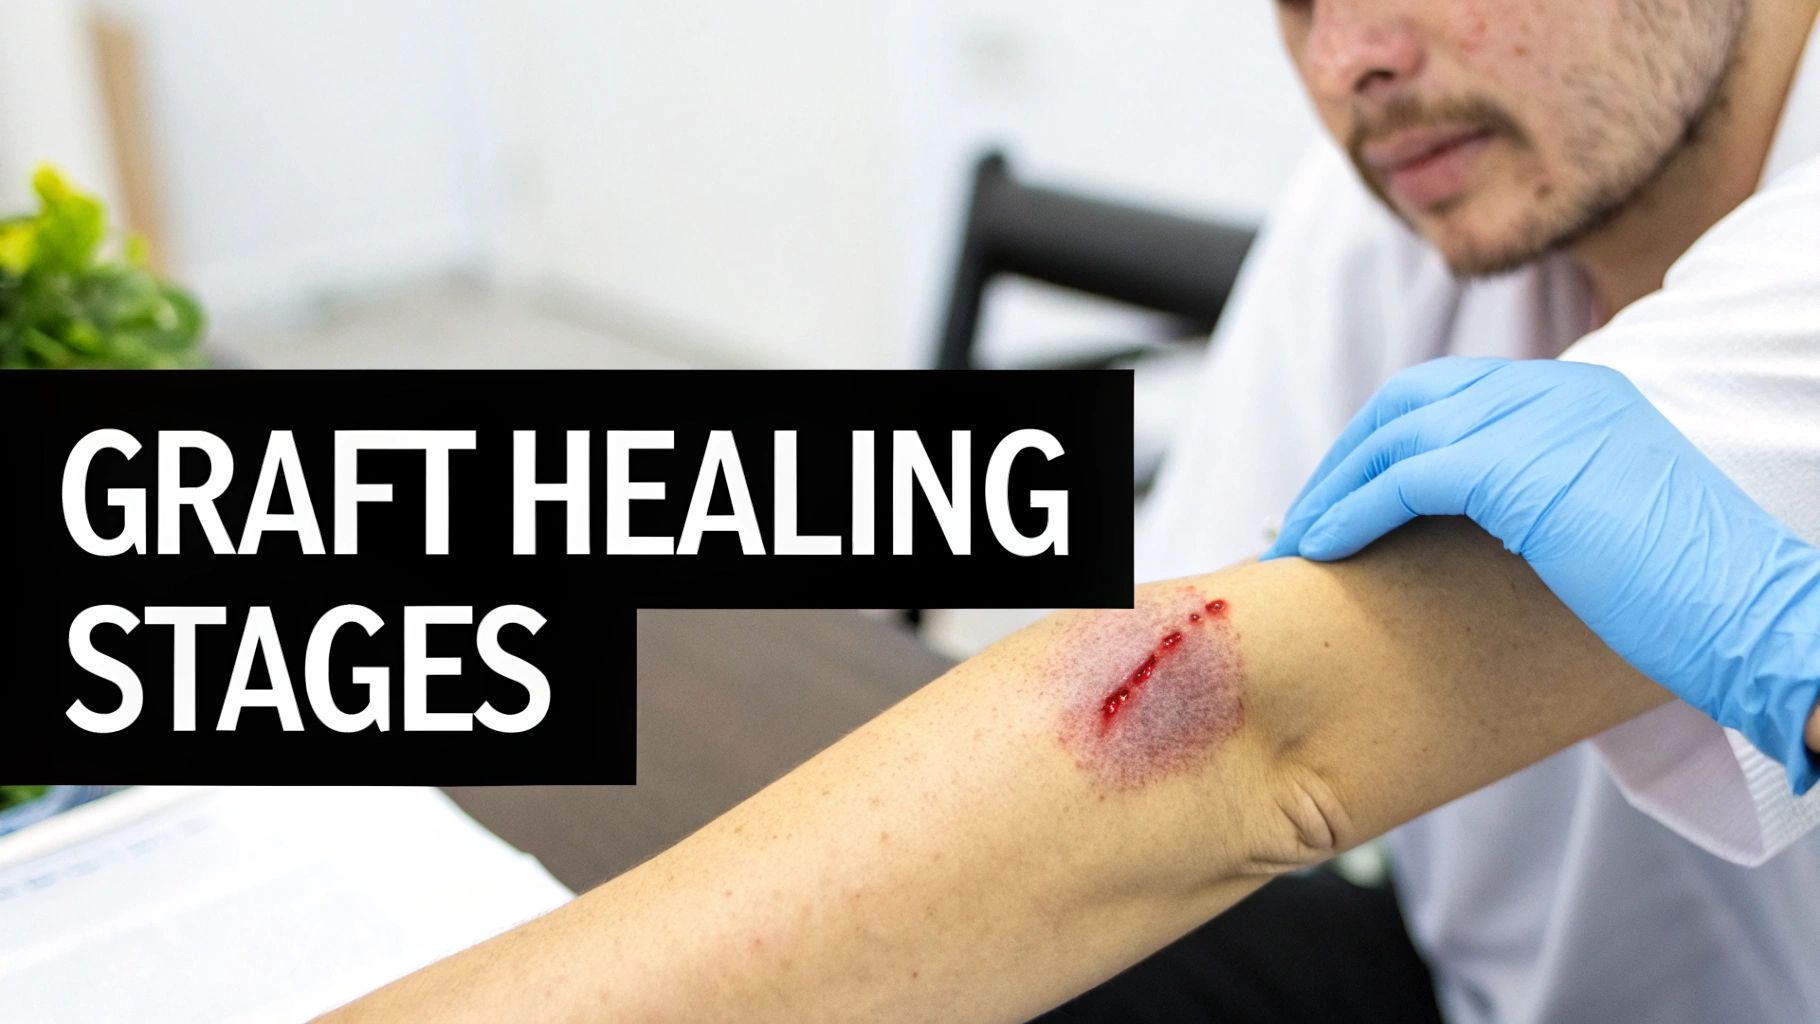
A skin graft doesn't just stick on like a bandage. It goes through an incredible biological process to truly become a living part of your body. Think of it like a new patch of sod laid on a lawn; it needs to connect with the soil beneath it to take root and turn green.
Understanding what’s happening at a microscopic level really helps explain why the first days and weeks of your skin graft healing time are so vital. Each phase sets the stage for the next, all leading to a successful outcome. Let’s walk through the three key stages.
The very first stage is all about survival. It's called plasmatic imbibition, and it happens within the first 24 to 48 hours. During this time, the graft is essentially "drinking" from the wound bed it's resting on.
Just like our patch of sod soaks up water from the damp earth before its roots grow, the graft absorbs nutrient-rich plasma from your body. This fluid keeps the transplanted skin cells alive, providing the oxygen and nourishment they desperately need.
The graft has no blood supply of its own yet, making it extremely fragile. This is exactly why we insist on keeping the area completely still. Even a slight bump or shift can break that delicate connection, cutting off the food supply and causing the graft to fail.
Once the graft has stabilized, it starts building a more permanent connection to your body. The next stage is inosculation, a fancy word for the moment the blood vessels begin to link up.
This is the point where the tiny roots from our sod start to connect with the soil. Your body’s blood vessels from the wound bed reach out and fuse with the existing (but empty) vessels inside the graft. It’s like creating hundreds of tiny bridges for blood to cross.
This amazing process usually happens between days three and five. A great sign that it's working is a change in the graft's color—it will go from pale or even a bit dusky to a much healthier pink. This blush of color means blood is finally flowing in.
A study on burn patients highlights how quickly this can happen. While recovery times varied widely (from 2 to 75 days), an amazing 46% of skin grafts had fully closed the wound by day seven. This shows how fast the body can work when conditions are right. You can dive deeper into the findings on skin graft healing in burn patients if you're interested in the data.
The final stage is revascularization, where the graft truly becomes part of you. The initial, fragile connections made during inosculation become a robust and permanent network of new blood vessels growing deep into the graft.
This is our sod putting down a strong, healthy root system that anchors it for good. The graft is no longer just a patch sitting on top; it's a fully integrated piece of your own living tissue. This process strengthens over the first couple of weeks, making the graft much more durable.
The success of these three stages determines whether the graft "takes." It's a testament to the body’s incredible ability to heal, but it’s a partnership. Your job is to provide the perfect, stable environment—free from movement, pressure, and infection—so this intricate biological dance can happen without interruption.
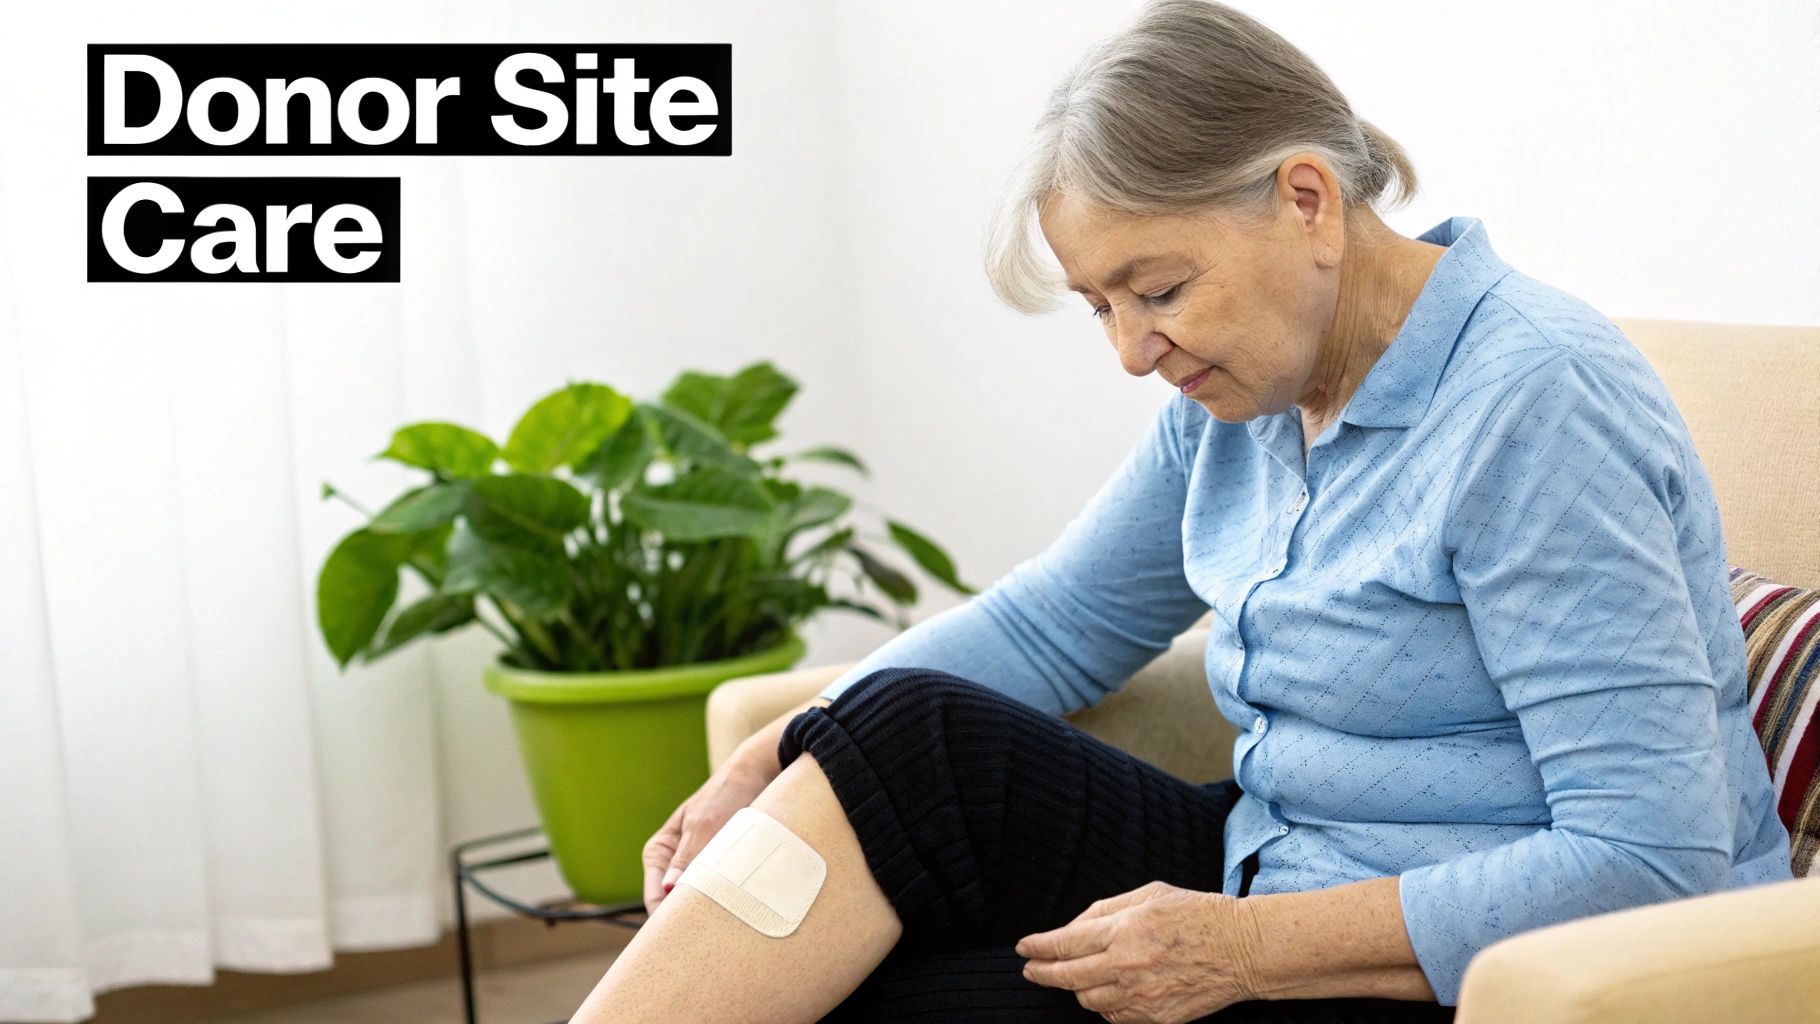
While all eyes are on the new skin graft, it’s easy to forget about the other wound created during your surgery: the donor site. This is where we harvested the healthy skin, and it has its own healing journey to go on. In fact, many of our patients tell us the donor site can be surprisingly more uncomfortable than the graft itself, especially in those first few days.
Think of a split-thickness donor site as a very deep scrape, almost like a bad case of "road rash." We remove the top layers but leave behind the deeper structures, like hair follicles, which hold all the building blocks for new skin. This allows the area to heal from the bottom up, almost like a garden reseeding itself, so it doesn't need stitches.
For a typical split-thickness graft, the donor site should be healed over within about 10 to 14 days. In the beginning, it will look quite raw and may weep a clear or yellowish fluid—this is totally normal and a sign your body is hard at work building a new protective layer.
During the first week, a moist, scab-like covering will develop. It’s crucial that you leave this alone. Picking at it can set back your healing. This covering is nature’s own bandage, and once the new skin is fully formed underneath, it will start to peel away on its own, revealing a fresh, pink, and very sensitive layer of new skin.
"Managing the donor site effectively is just as important as caring for the graft. A well-healed donor site reduces pain, minimizes the risk of infection, and leads to a better long-term cosmetic outcome for the patient."
The story is a little different for a full-thickness graft donor site. Since we take the full depth of the skin, we treat it like any other surgical incision and close it with stitches. This wound heals along a similar timeline, and we typically remove the sutures after 7 to 14 days.
We're always looking for ways to improve the skin graft healing time for our patients, and donor sites are no exception. New research has explored some fascinating techniques, like using a paste made from minced skin to accelerate recovery. One study found this method could cut the average healing time from about 13 days down to just 10.5 days. If you're interested in the science, you can read the research on cosmetic outcomes in donor sites for a deeper dive.
Here at Cape Cod Plastic Surgery, we use very specific dressings designed to protect the donor site, keep you comfortable, and create the perfect environment for your skin to regenerate. The right dressing depends entirely on the size and location of the site.
Some common types of dressings we might use include:
We’ll send you home with detailed, personalized instructions for your specific dressing. The golden rules are always the same: keep the area clean and dry, and make sure clothing doesn't rub against it. Following these instructions carefully is the key to making sure both your graft and your donor site heal beautifully.
Ever wonder why one person's skin graft seems to heal in the blink of an eye, while another's takes its time? The reality is, your personal skin graft healing time isn't a fixed date on the calendar. It’s a complex process that depends on a unique mix of your body's internal environment and your daily habits.
Think of it like planting a sapling. A garden with rich, well-tended soil will help the new plant thrive, but poor soil can make it a real struggle. In the same way, several key factors create the conditions—either ideal or less-than-ideal—for your new skin graft to take root and flourish. Knowing what these are puts you in the driver's seat of your own recovery.
Your overall health lays the groundwork for how well your body can repair itself. Some of these things you can't change, but others can absolutely be managed with a little proactive care.
Age and Overall Health: It's no secret that younger bodies tend to have faster cell turnover and more robust circulation, which can definitely speed up healing. On the flip side, chronic conditions like diabetes, autoimmune disorders, or vascular disease can put the brakes on recovery by compromising blood flow and the body's natural healing response.
Nutritional Status: Healing is demanding work, and it requires a ton of fuel. Your body is desperate for a surplus of protein, vitamins (especially A and C), and minerals like zinc to build all that new tissue and blood vessels. A poor diet can essentially starve the healing process of its most critical building blocks.
Blood Supply and Oxygenation: A skin graft's survival comes down to one thing: getting enough oxygen-rich blood. Anything that affects your circulation, from peripheral artery disease to something as simple as dehydration, can put the graft in serious jeopardy. A healthy blood supply is truly the most critical ingredient for success.
For patients who face challenges with healing, some advanced therapies can give the body a significant boost. For example, treatments like Hyperbaric Oxygen Therapy can be incredibly helpful by delivering super-concentrated oxygen directly to the healing tissues.
The choices you make every single day have a direct and surprisingly powerful effect on your recovery timeline. Some habits will actively sabotage the healing process, while others create the perfect environment for your graft to thrive.
The single worst thing you can do for a healing graft is smoke. Nicotine clamps down on your blood vessels, drastically cutting off blood flow. Just one cigarette can shrink those vessels for hours, starving the delicate new graft of the oxygen it desperately needs to survive.
Quitting smoking, even just for the recovery period, is one of the most important things you can do to ensure your graft makes it. A healthy, balanced diet is right up there, too. For more ideas, check out our guide on how to speed up healing after surgery, which dives deeper into nutrition and other helpful strategies.
Finally, where the graft is on your body plays a huge role in its healing journey. A graft placed on a flat, stable area like your thigh has a much easier time than one trying to heal over a busy joint.
Mobility and Shear Forces: Grafts on knees, elbows, or hands are under constant assault from movement. Any stretching, rubbing, or "shearing" can rip apart the fragile new blood vessels that are trying to connect, causing the graft to fail. This is exactly why we often have to immobilize these areas with splints or casts.
Pressure: Lying or sitting on the graft site for too long can cut off its blood supply just as effectively as poor circulation. Following your surgeon’s instructions about positioning is absolutely essential to protect the graft from this kind of damage.
Every patient's healing journey is different, but understanding the variables can make a world of difference. Here’s a quick summary of the major players.
By focusing on the things you can control—like optimizing your nutrition, ditching cigarettes, and protecting the surgical site from harm—you give your body the best possible shot at a smooth, speedy, and successful recovery.
A successful skin graft isn't just about what happens in the operating room; it's a true partnership between you and our team here at Cape Cod Plastic Surgery. Your role in the days and weeks after surgery is just as critical as the procedure itself. Think of this as your guide to giving your new graft the very best chance to heal beautifully.
I often tell my patients to picture a new skin graft like a delicate patch of sod laid on a lawn. The surgery is just the first step. For that patch to take root and thrive, it needs to be protected, kept still, and given the right conditions to grow. Your commitment to these instructions is what allows those new "roots"—tiny blood vessels—to connect and bring the graft to life.
The first dressing we place on your graft and donor site is your most important shield. It's specifically designed to protect the fragile tissue, manage moisture, and, most importantly, prevent the graft from shifting. It is absolutely crucial that you leave this initial dressing completely undisturbed until we see you for your first follow-up.
When we do see you, we'll carefully remove it and show you what to do next. This might involve using specialized materials, like advanced alginate wound dressings, which are excellent at absorbing fluid without sticking to the healing skin.
For more general tips that apply to any surgical wound, our guide on how to care for surgical incisions is a great resource to review.
For the first week or two, the single biggest threat to your new graft is movement. Any rubbing, bumping, or sliding motion—what we call "shearing force"—can instantly tear the microscopic blood vessels that are trying to grow into the graft. This is why keeping the area still isn't just a suggestion; it's a requirement.
Here’s exactly what that means for you:
It's normal to have some discomfort, and many patients are surprised to find that the donor site is often more sore than the graft site itself. In fact, one study found the median healing time for a donor site was around 20 days, so be patient with that area. Your prescribed pain medication is there to help you stay comfortable, which is key to getting the rest you need to heal.
Once we give you the all-clear, your focus will shift to long-term care, specifically moisturizing and sun protection.
Long-Term Graft Care Essentials:
- Moisturize Daily: Grafted skin doesn't have its own oil glands, so it can get very dry and flaky. A simple, fragrance-free moisturizer will keep it soft and prevent cracking.
- Protect from the Sun: This is non-negotiable. New skin has zero natural sun protection and will burn in minutes. You must be diligent about using a broad-spectrum SPF 30+ sunscreen to prevent serious damage and discoloration.
- Gentle Massage: After a few weeks, we may show you how to gently massage the area. This helps soften scar tissue and keeps the skin flexible.
Finally, knowing when to call us is part of the healing process. We have a careful follow-up schedule planned for you, but you should contact our Cape Cod Plastic Surgery office right away if you see any red flags.
Your active participation is the final, crucial ingredient for a fantastic result. By being vigilant and treating your graft with care, you are protecting the investment you've made in your health and ensuring the success of your surgery.
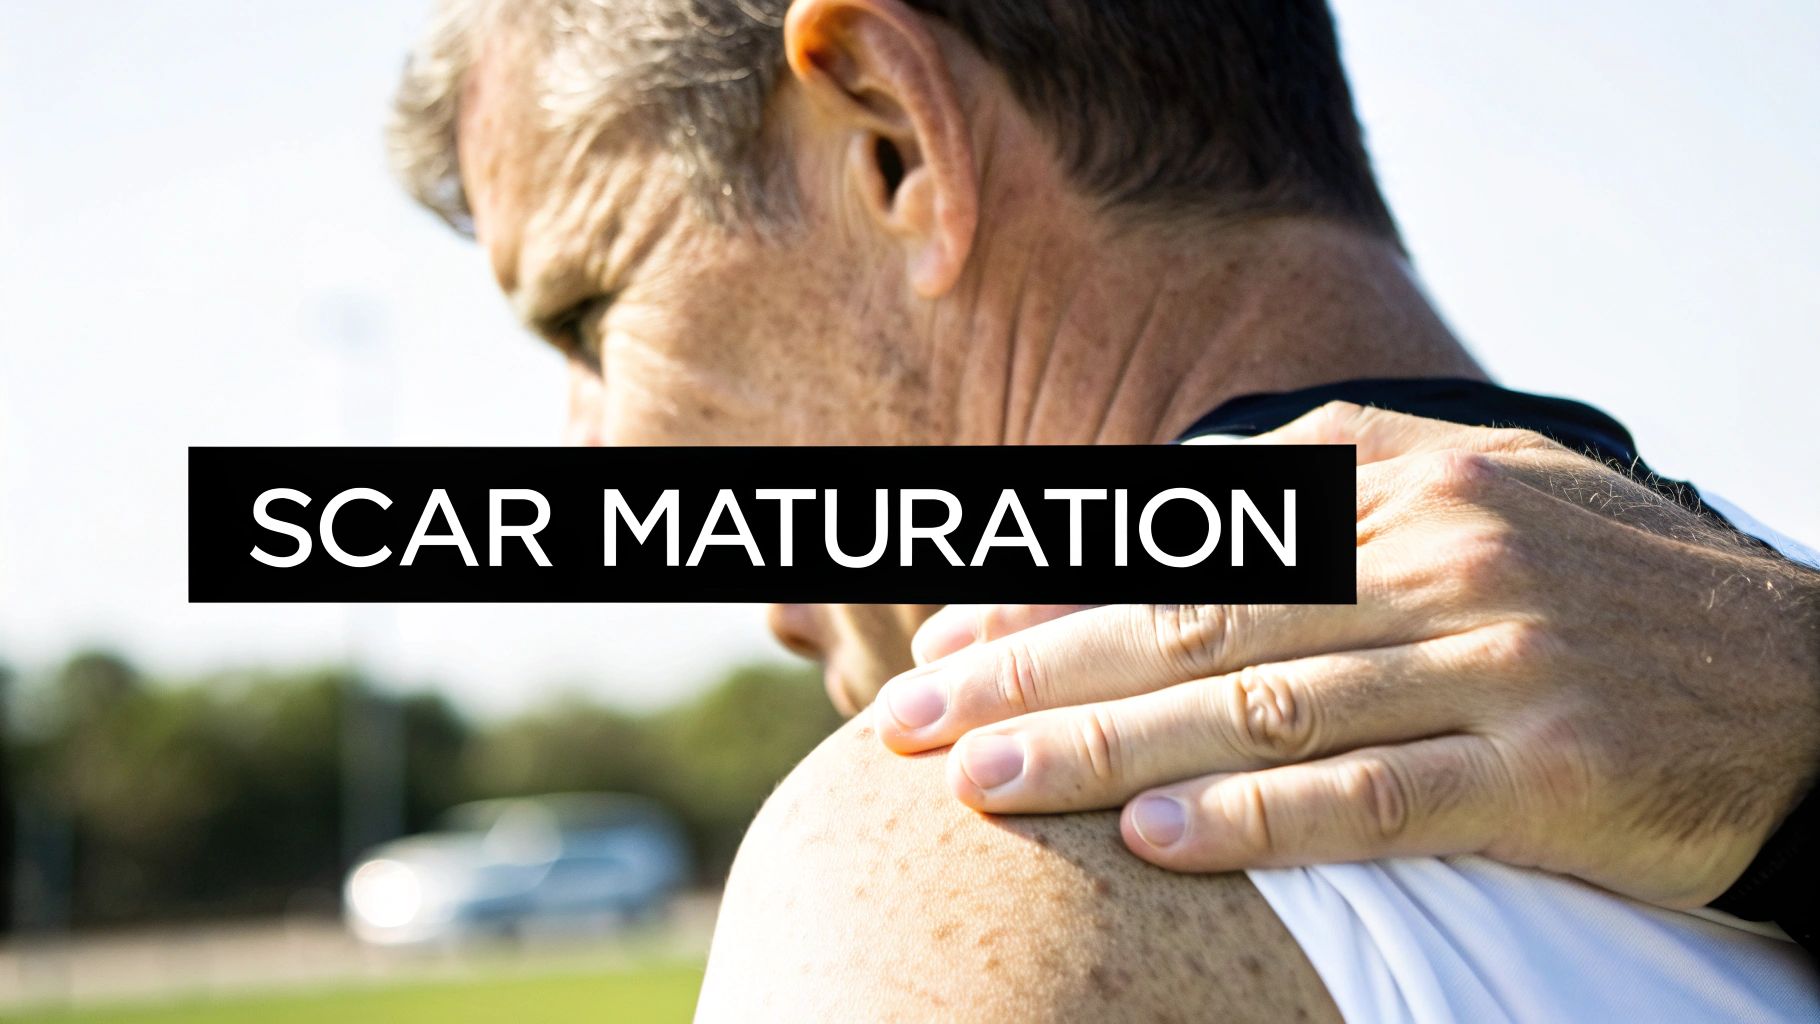
The moment your graft has “taken” is a huge milestone, but it’s not the end of the story. Now begins the final, and longest, chapter of your recovery: scar maturation. Think of it as your body's slow, meticulous remodeling project, a process that can easily take a year or more.
Patience is probably the most important tool you have during this phase. What you see in the first few weeks or even months is just a temporary state. Your body is working behind the scenes to soften, flatten, and fade the scar tissue at both the graft and donor sites. The final result will be a vast improvement from where it started.
Early on, it's completely normal for a new scar to look angry—often red, raised, and feeling firm or lumpy. It might be discouraging, but this is actually a sign of robust healing. Your body is busy laying down a strong network of collagen to fortify the area.
Over the coming months, that chaotic collagen network begins to remodel and reorganize itself into a more refined structure. You'll notice a slow but steady evolution:
This entire maturation process can take anywhere from 6 to 18 months. Knowing this helps set realistic expectations. It reminds you that even when it feels like nothing is changing, your body is still hard at work long after the initial wound has closed.
While your body handles the heavy lifting, you can absolutely play a role in guiding the healing process toward the best possible outcome. Once we give you the green light here at Cape Cod Plastic Surgery, we typically recommend a few simple, powerful techniques.
"A scar's final appearance comes down to a lot of things, like genetics and the original injury. But consistent, gentle scar management can make a world of difference in its final texture, color, and flexibility."
Here are the strategies we find most effective:
Going through a skin graft procedure naturally brings up a lot of questions. We get it. Knowing what to expect can make the whole recovery process feel less daunting and put you back in the driver's seat of your own healing. Here are some of the most common questions we hear from our patients right here at Cape Cod Plastic Surgery.
Our aim is to take the mystery out of your recovery, so you can feel confident and prepared. Let's walk through some specifics.
This is easily one of the most-asked questions! The short answer is: you have to keep the area completely dry at first. For at least the first 5 to 7 days, it's crucial to keep both the graft and the donor site away from water. This is a fragile time when the new skin is just beginning to take hold, and we don't want anything to disrupt that.
After your first follow-up visit with us, where we change the initial dressing, your surgeon will give you the green light and specific instructions. Usually, this means you can start taking gentle showers. The key is to let the water run over the areas—absolutely no scrubbing. Afterward, you’ll need to very carefully pat everything completely dry.
A critical point to remember: submerging the graft in a bath, hot tub, or pool is strictly forbidden for much longer. You’ll need to wait at least 3-4 weeks, and sometimes more, until your surgeon gives you the explicit all-clear. This helps prevent infection and protects the delicate, healing skin.
Knowing what to look for is your best defense against complications. Catching an infection early is absolutely essential for protecting your graft and making sure your skin graft healing time stays on track.
Please call our office right away if you notice any of these red flags:
Everyone's pain tolerance is different, but there’s an interesting thing most patients report: the donor site often hurts more than the graft itself. People frequently describe the feeling as being like a really bad scrape or a severe sunburn. Don't worry, your surgeon will set you up with a pain management plan to keep you comfortable.
One of the simplest and most effective things you can do for pain management is elevation. Keeping the affected arm or leg propped up above the level of your heart works wonders. It uses gravity to help drain fluid and reduce swelling, which in turn eases that throbbing pressure, especially in the first few days after your surgery.
Your timeline for getting back to your routine really hinges on two key factors: where your graft is located and what you do for a living. For example, someone with a desk job who has a graft on their back or torso might feel ready to return to work in just 1-2 weeks.
On the other hand, if your job is physically demanding or the graft is over a joint that moves a lot, like a knee or elbow, you'll need more time. In those situations, expect to be out for 4-6 weeks or even longer. The goal is to avoid stretching or putting any stress on the new skin until it's fully healed. Your surgeon will give you a personalized recommendation based on your specific case.
At Cape Cod Plastic Surgery, Dr. Fater and our entire team are here to support you at every step of your recovery. If you have more questions or are thinking about a procedure, we invite you to schedule a consultation to talk about your goals.
July 1, 2026
Transforming Your Body and Improving Wellness After Massive Weight Loss
Understand the full gynecomastia surgery cost in 2026. This guide breaks down fees, factors, insurance, and financing options to help you plan your budget.

June 29, 2026
Explore the 2026 radiofrequency skin tightening cost. Our guide covers prices, influencing factors, and what's included for wise aesthetic investment.
Cape Cod Plastic Surgery offers expert cosmetic and reconstructive procedures in a safe, accredited setting. Led by Dr. Marc Fater, we combine advanced techniques with personalized care to help you look and feel your best.
Monday: 9:00 AM – 5:00 PM
Tuesday: 9:00 AM – 5:00 PM
Wednesday: 9:00 AM – 5:00 PM
Thursday: 9:00 AM – 5:00 PM
Friday: 9:00 AM – 5:00 PM