
Capsular Contracture Prevention: A Patient's Guide
Learn evidence-based capsular contracture prevention strategies, from surgical technique and implant choice to aftercare and early warning signs.
Mar 12, 2026

The moment your erbium laser treatment is over, the recovery process begins. It’s completely normal for your skin to feel warm, look quite red, and feel tight—almost like you got a bit too much sun on a day out at Corporation Beach. This is actually a good thing; it's the first sign that your body’s natural healing response is kicking into high gear.
Before we dive into the nitty-gritty of the first 24 hours, let's take a quick look at the overall recovery journey. Knowing what to expect in the coming days and weeks can make the initial phase much easier to navigate.
This table provides a snapshot of the key phases you'll go through. It's a helpful reference to keep in mind as you heal.
Think of this as your roadmap. Right now, you're squarely in that first phase, and your focus is all about comfort and creating the perfect environment for healing.
The first day is less about seeing dramatic changes and more about managing the immediate after-effects of the laser. We often tell our patients to think of it as creating a "recovery nest" at home so you can rest and let your skin begin its work.
The redness you're seeing is the "controlled wound" response we aimed for. The laser has meticulously removed the very top layers of skin, signaling your body to start building fresh, new tissue and ramp up collagen production from the deeper layers.
I always recommend getting your post-procedure essentials ready before you come in for your appointment. The last thing you’ll want to do is run errands afterwards. Having everything on hand means you can go straight home and relax.
Here's what your immediate post-procedure toolkit should look like:
Key Takeaway: For the first 24 hours, your job is simple: keep the treated skin cool, clean, and consistently covered with the ointment we provide. Absolutely no sun exposure or strenuous activity.
This timeline gives you a great visual of what to focus on right now.

As you can see, the focus immediately shifts from the procedure itself to simple, but crucial, at-home care.
It’s important to know what’s normal. That sunburn-like redness (erythema) and mild swelling are not only normal but expected. In fact, clinical data shows that around 89.6% of patients experience this immediately post-laser, and it resolves quickly. This is your skin beginning the process of re-epithelialization—building a brand-new, fresh top layer.
The basic principles of care here are similar across many aesthetic treatments. For instance, this detailed skin needling aftercare guide shares the same core concept of protecting a healing wound, even though the procedure is different. And if you've had other laser treatments with us before, you might find our https://www.ccplasticsurgery.com/blog/bbl-laser-day-by-day guide a useful comparison for understanding the initial downtime.
Once you’re through the first 24 hours, your skin really kicks into high gear. I’m not going to sugarcoat it—days two and three are the most intense part of your recovery. You’ll look and feel your worst, but everything you're seeing is a sign that your body is hard at work, healing at a deep level.
Expect the swelling and redness to hit their peak during this time. Your skin will feel incredibly tight, and you'll start to see a "bronzed" or dark cast develop. This is the old, treated skin getting ready to shed, and it’s a completely normal part of the process.

This is precisely when following our aftercare instructions to the letter becomes non-negotiable. Your only job is to keep your skin clean, moist, and protected so those brand-new cells can form without a hitch.
At Cape Cod Plastic Surgery, we have all our patients do a specific cleansing routine using dilute white vinegar soaks. This isn't just some old home remedy; it's a proven method for creating the perfect healing environment.
Here’s what the vinegar solution is doing for you:
You’ll simply mix the prescribed amount of white vinegar with cool, distilled water. Then, soak a soft washcloth or clean gauze in the bowl, wring it out gently, and drape it over the treated areas for a few minutes, just as Dr. Fater instructed.
Right after each vinegar soak, your next move is to apply a thick, generous layer of your healing ointment, like Aquaphor. This creates what we call an occlusive barrier, which is the secret to successful moist wound healing.
Think of it this way: the ointment acts like a protective greenhouse for your new skin cells. It locks in moisture and shields the delicate healing process from the outside air, which prevents a hard scab from forming. Dryness and scabbing are the enemies of good healing—they can lead to scarring and slow things down.
Pro Tip: This is not the time to be stingy. Your skin should have a constant glossy sheen from the ointment. If it ever starts to feel tight or dry, that’s your cue to reapply. You truly cannot overdo it during this phase.
Now, let's talk numbers. During days 2-3, crusting or scabbing appears in 100% of ablative treatments. This phase typically lasts 3-4 days for the erbium laser, which is a bit shorter than the 3-8 days seen with CO2 lasers. The good news? Clinical data shows that 89% of patients who are diligent with their care during these "hardest days" have the best outcomes. By day 3, you're already well on your way, with new skin rapidly forming underneath. For a great visual guide, you can explore this laser resurfacing recovery timeline from Westlake Dermatology.
What you avoid doing right now is just as critical as what you do. Resisting a few key temptations will protect your investment and ensure a beautiful, smooth result.
The Golden Rules:
By the end of day three, that bronzed look will likely intensify, and your skin's texture may start to feel like sandpaper. This is great news! It’s the final step before the peeling and flaking begins, revealing the fresh, new skin you’ve been waiting for.
You’ve made it through the most intense part of the healing process. Now, between days four and seven, you'll start to see the results of all that diligent aftercare. This phase is less about intensive wound care and more about nurturing the brand-new, baby-soft skin that’s about to emerge.
That tight, bronzed, and sandpaper-like layer of skin you’ve been looking at is about to give way. This is the turning point you’ve been waiting for, but it requires just a little more patience.

Right around day four or five, you’ll start to see the old, treated skin begin to flake and peel. This process usually hits its peak around day five. For many people, it starts around the mouth, where the skin moves the most, but it can also happen more evenly across the face.
Don't expect a dramatic, sheet-like peel like you might see in videos of chemical peels. This is a much more delicate, flaky shedding. You'll likely notice it most during your gentle cleansing soaks. One minute you have that rough texture, and the next, you’re catching your first glimpse of smooth, bright pink skin underneath.
Our Golden Rule: Let your skin peel on its own timeline. Whatever you do, do not pick, rub, or scrub at the flaking skin to try and speed it up. This is the single biggest mistake people make, and it’s the fastest way to cause scarring or hyperpigmentation, which can completely undo the benefits of your treatment.
Once the peeling is well underway and your skin is no longer raw or weepy, it’s time to switch from the thick healing ointment to a gentle, hydrating moisturizer. This transition typically happens around day six or seven. The best indicator is your skin itself—once large patches of new skin are exposed, it’s ready for the change.
Your new skin is incredibly fragile. We'll guide you on the exact product to use, but the key is to choose a bland, non-irritating moisturizer that is completely free of:
The only goal here is simple hydration and barrier support. This will keep your fresh skin comfortable and protected while it continues to mature.
Moving away from the constant ointment application is a huge milestone. It marks a return to a more normal-feeling routine. This is when the "social downtime" really kicks in—while you may have been home for the first few days, by this point, the intense healing is over. Some reports show 100% of patients feel comfortable returning to work or school by day five or six. While your skin will still be quite pink, the surface will be healed, allowing you to get back to your life. You can discover more insights about erbium laser recovery statistics if you're curious about the data.
The second your skin is done peeling and no longer needs a thick coat of ointment, sun protection becomes the most important part of your daily routine. This is non-negotiable. Your new skin has almost no natural defense against UV radiation and is more vulnerable to sun damage than at any other time in your life.
Even what seems like minor exposure—sitting by a window in your office, driving in your car, a quick walk to the mailbox—can cause serious setbacks.
Your Sunscreen Game Plan:
By the end of this first week, almost all of the peeling should be finished. What you'll see in the mirror is a smooth, bright, but very pink complexion. This pinkness is a great sign! It indicates healthy blood flow to the area, which is fueling collagen remodeling deep in the dermis. You’ve successfully navigated the toughest part of your erbium laser recovery. The recovery from here shares some similarities with other advanced treatments, and you can learn more about the CoolPeel laser in our detailed article to see how post-procedure care compares.
Once you hit the second week of your erbium laser recovery, you can breathe a huge sigh of relief. The most intense part of the healing process is behind you. The peeling and crusting have subsided, and now you’re looking at a fresh, new layer of skin that's noticeably pink.
Don't be alarmed by the color! We call this the "pink phase," and it's a fantastic sign. That persistent flush is visible proof of increased blood flow rushing to the area, building a strong new foundation of collagen. Your body is working hard, and this is what healing looks like. This stage is all about protecting that delicate new skin and feeling confident as you start getting back to your normal routine.
While your skin's surface has healed, it's still incredibly fragile underneath. It's time to slowly move away from the simple post-procedure ointments and back to a real skincare routine, but the key word here is gently. The best approach is to add products back one at a time, giving your skin a day or two to react before introducing something new.
Your number one priority, the one thing you absolutely cannot skip, is a mineral-based sunscreen every single morning. Your new skin has zero tolerance for UV radiation right now. After that, you can start bringing in products that focus on hydration and rebuilding your skin’s protective barrier.
What Your Skin Will Love Right Now:
A Pro Tip From Our Practice: Listen to your skin. If you apply a product and it stings, tingles, or makes you redder, that’s your skin telling you it’s not ready. Simply wash it off and stick to what feels comfortable.
What you don't put on your skin is just as important as what you do. Adding powerful, "active" ingredients too soon is a recipe for irritation. It can prolong redness, create inflammation, and even set back the beautiful results you've worked so hard for.
You must continue to avoid these ingredients for at least the first month after your procedure, and only reintroduce them after getting the green light from Dr. Fater:
By the time you're in week two, you’ll start feeling much more like yourself. The pinkness is usually manageable, and you're ready for the next big milestone.
One of the most exciting moments for our patients is getting the okay to wear makeup again. This can make all the difference in your confidence as you head back to the office or out with friends. The goal isn't to mask your skin, but to cleverly tone down the pinkness.
First, find a green-toned color-correcting primer. Green is opposite red on the color wheel, so even a very thin layer will neutralize that pink hue without looking thick or cakey.
For your foundation, we strongly recommend a mineral-based powder. These formulas are breathable and far less likely to cause irritation than many heavy liquids. The trick is to apply it in sheer layers. Use a soft, fluffy brush and gently pat or buff the product on. Avoid any wiping or rubbing motions, which can create friction. You'll be amazed how little you need to create a smooth, natural finish once the primer has done its job of canceling out the pink.
The first two weeks after your erbium laser are all about surface healing. Now that you’re past that initial phase, the real work begins deeper within the skin. While the most intensive part of recovery is behind you, these next few months are when the collagen remodeling process truly hits its stride, delivering the lasting changes we're aiming for.
Think of this period as a time for patience and protection. That lingering pinkness isn't a problem; it's the sign of a healthy, active healing response. Your job is simply to protect this new skin and give it the support it needs to rebuild itself into a firmer, smoother version of its former self.
Throughout the first month, you'll watch that initial bright pink color slowly mellow out. Your skin will probably still flush when you exercise, get warm, or have a glass of wine, but day by day, you'll see it calming into a soft, healthy glow. Gentleness is still the name of the game here.
By about week four, most of our patients find the most obvious pinkness has subsided. Your skin's texture should feel remarkably smooth, and you’ll start to see a new brightness coming through. This is also when we'll have you come in for a follow-up with Dr. Fater. He'll assess your healing and we'll map out your long-term skincare plan.
Once that new skin is fully healed and less sensitive, we can start reintroducing more active skincare ingredients. This is a crucial step for maximizing and maintaining your results. We're essentially giving your skin the high-performance fuel it needs to keep regenerating.
The golden rule is to add only one new product at a time, leaving a few days in between to make sure your skin is happy with the new addition.
You’ve just given yourself a fresh canvas with the erbium laser. Think of this long-term skincare routine as the key to preserving that beautiful artwork. We're working with your skin to support the amazing work it's already doing.
For a great overview of the principles behind this healing process, our guide on what to expect during laser skin resurfacing recovery is an excellent resource to review at this stage.
This is what it's all about. Between three and six months post-treatment, you're going to see the peak results from your procedure. The deep collagen remodeling that the laser set in motion is now fully underway, leading to visible improvements in skin tightness, firmness, and a softening of fine lines and wrinkles.
The changes are gradual, but they are absolutely happening. One day you'll just notice your skin has more "snap" and resilience. Or friends might start commenting on how rested and fresh you look. This deep, structural improvement is the ultimate goal of ablative laser resurfacing. To support this process, some patients also explore complementary treatments like Red Light Therapy for skin health and recovery.
If there is a single piece of advice I can give to make your results last for years, this is it: you must become absolutely devoted to sun protection. UV radiation is what caused most of the wrinkles, texture, and sun spots we just worked so hard to correct. Unprotected sun exposure will actively reverse your results.
This isn’t just for beach days. It means applying a broad-spectrum sunscreen of SPF 30 or higher every single morning, rain or shine. Make it the last step of your routine, right before makeup. It's the single most powerful thing you can do to protect your investment and enjoy your beautiful, luminous skin for a long, long time.
We've given you the day-by-day playbook for your erbium laser recovery, but we know that real-life questions always pop up along the way. At Cape Cod Plastic Surgery, we've heard just about everything, and our goal is to make sure you feel completely supported.
Here are some of the most common concerns we address with our patients, with straightforward answers from our team.
This is the big one we get from almost everyone. We need you to hold off on makeup until your skin has completely finished its initial peeling phase and is no longer raw or weepy. For most of our patients, this happens right around day 7 to 10.
Putting makeup on too early can be a recipe for irritation or, worse, introduce bacteria to your brand-new skin. Once you get the all-clear from us, start with a mineral-based powder. It's much gentler and lets your healing skin breathe, which is exactly what you want.
Yes, a certain amount of itching is not only normal but expected, especially between days 4 and 7. Think of it as a good sign—it means your body is hard at work building healthy, new skin cells underneath the surface. That sensation is part of the old, treated layer getting ready to shed.
The single most important rule here is: do not scratch. It’s tempting, we know, but scratching can easily damage the delicate new tissue, potentially leading to scars or pigmentation issues.
If the Itch Becomes a Nuisance:
- Often, itching is just your skin telling you it's thirsty. Applying your approved moisturizer can bring immediate relief.
- A clean, soft washcloth dipped in cool (not icy) water and gently pressed against the skin works wonders.
- Pro-Tip: Keep your moisturizer in the fridge. The extra cooling effect feels amazing on itchy, healing skin.
If the itching feels truly intense or you notice a rash developing, don't wait. Call our office right away.
While erbium recovery is overwhelmingly safe and predictable, you need to know the difference between what's normal and what's not. Redness, swelling, and peeling are all part of the standard healing process.
However, you need to call Dr. Fater immediately if you see any of the following:
Always trust your gut. If something just doesn't feel right during your recovery, it’s always better to be safe and get in touch with us.
Because the erbium laser physically removes damaged skin and triggers a deep collagen renewal process, the results are truly long-lasting. You can expect to enjoy your smoother, refreshed skin for several years.
How long they last, however, has everything to do with how you treat your skin after you’ve healed. Think of the laser as hitting the reset button; your daily habits are what protect that investment.
Your two most powerful tools are:
At Cape Cod Plastic Surgery, Dr. Fater and our dedicated team are here to guide you through every phase of your recovery. If you have more questions or are ready to begin your skin rejuvenation journey, we invite you to schedule a personalized consultation.
Learn evidence-based capsular contracture prevention strategies, from surgical technique and implant choice to aftercare and early warning signs.
July 26, 2026
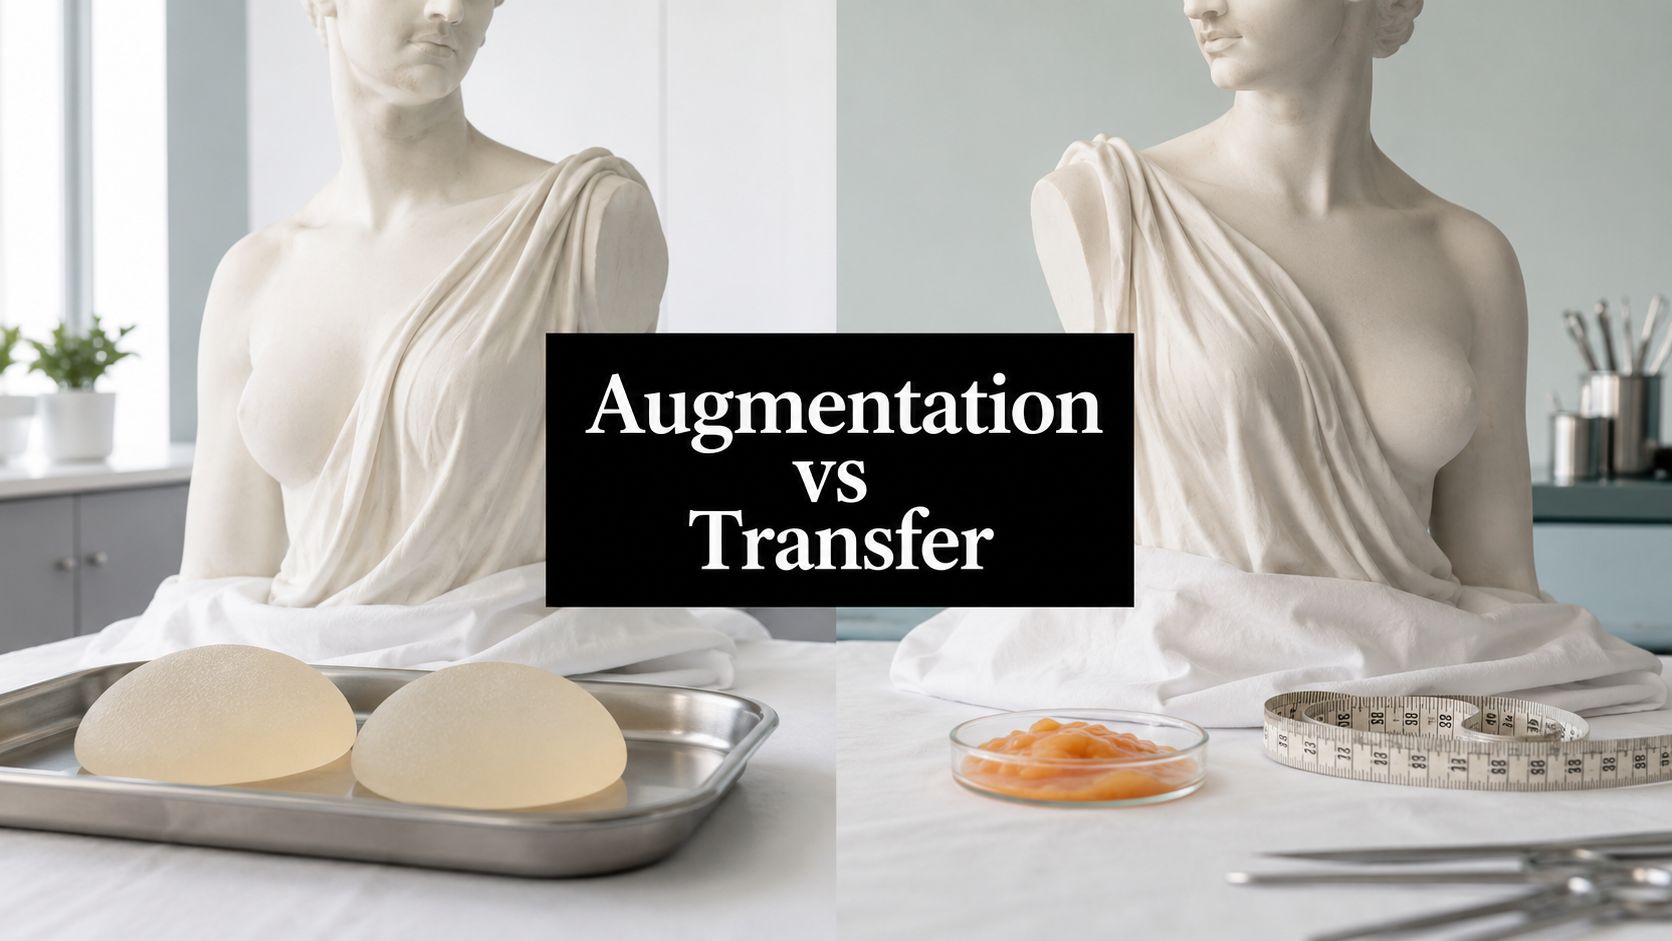
Breast augmentation vs fat transfer explained honestly. Compare results, recovery, cost, candidacy, and mammogram impact to choose with confidence.
July 25, 2026
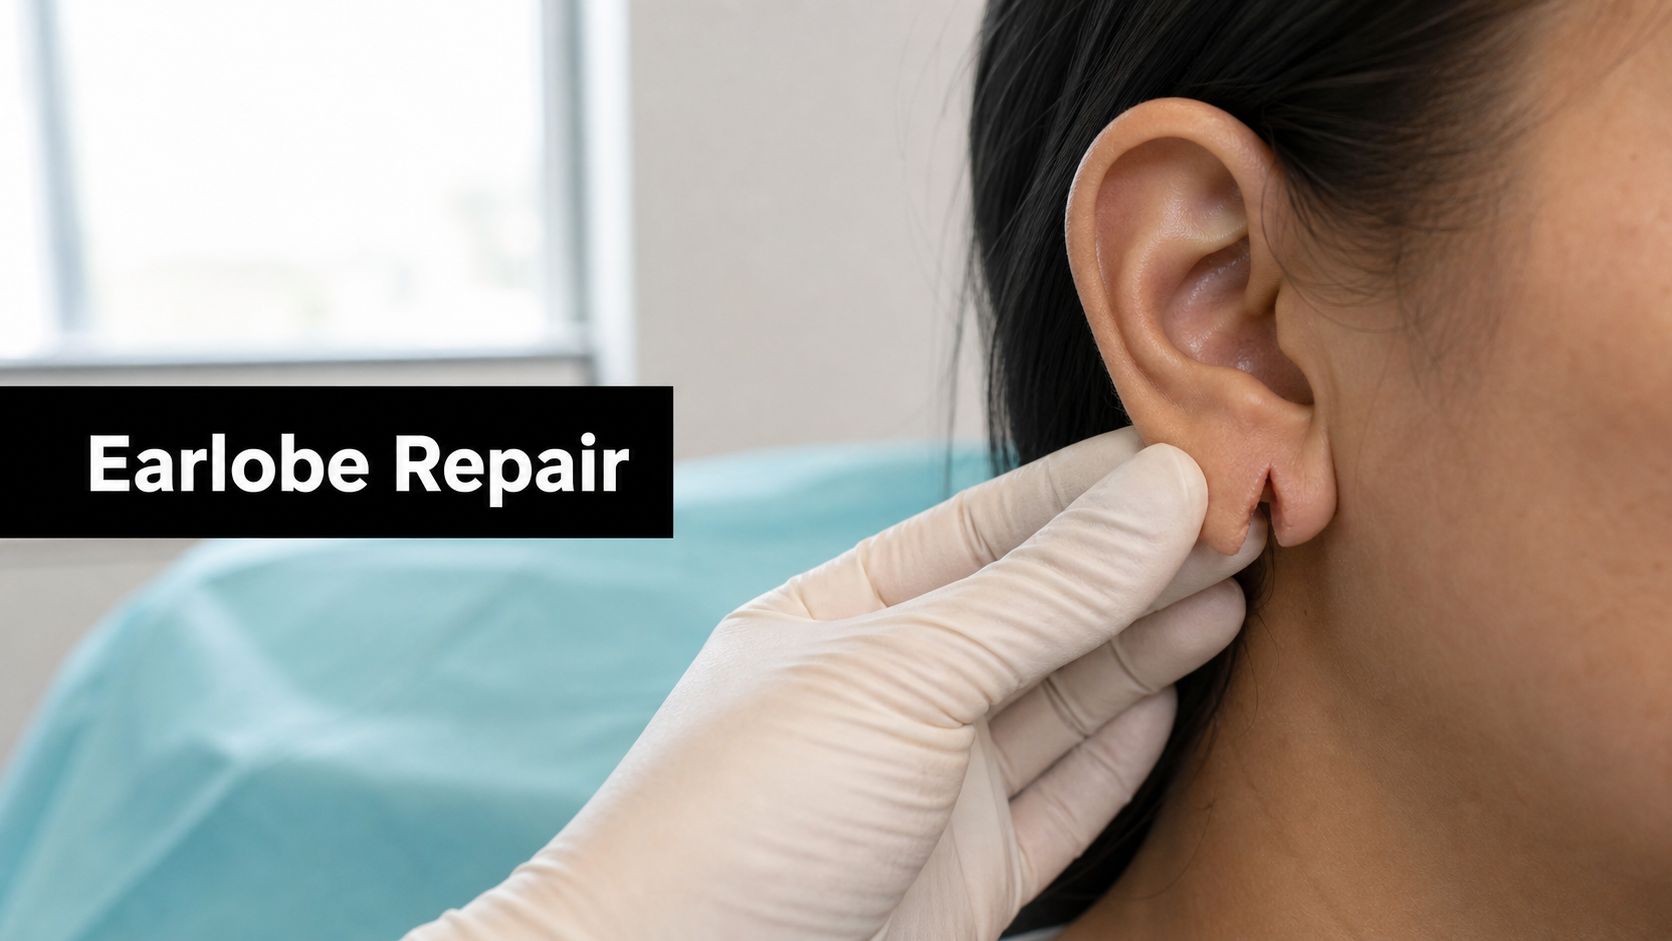
Considering split earlobe repair? Learn about causes, techniques, costs, healing, and how to choose a qualified surgeon for natural-looking results.
Cape Cod Plastic Surgery offers expert cosmetic and reconstructive procedures in a safe, accredited setting. Led by Dr. Marc Fater, we combine advanced techniques with personalized care to help you look and feel your best.
Monday: 9:00 AM – 5:00 PM
Tuesday: 9:00 AM – 5:00 PM
Wednesday: 9:00 AM – 5:00 PM
Thursday: 9:00 AM – 5:00 PM
Friday: 9:00 AM – 5:00 PM